Get perfect hard-boiled eggs with soft whites and smooth, creamy yolks in 7 easy steps. The superb eggs peel flawlessly every single time.
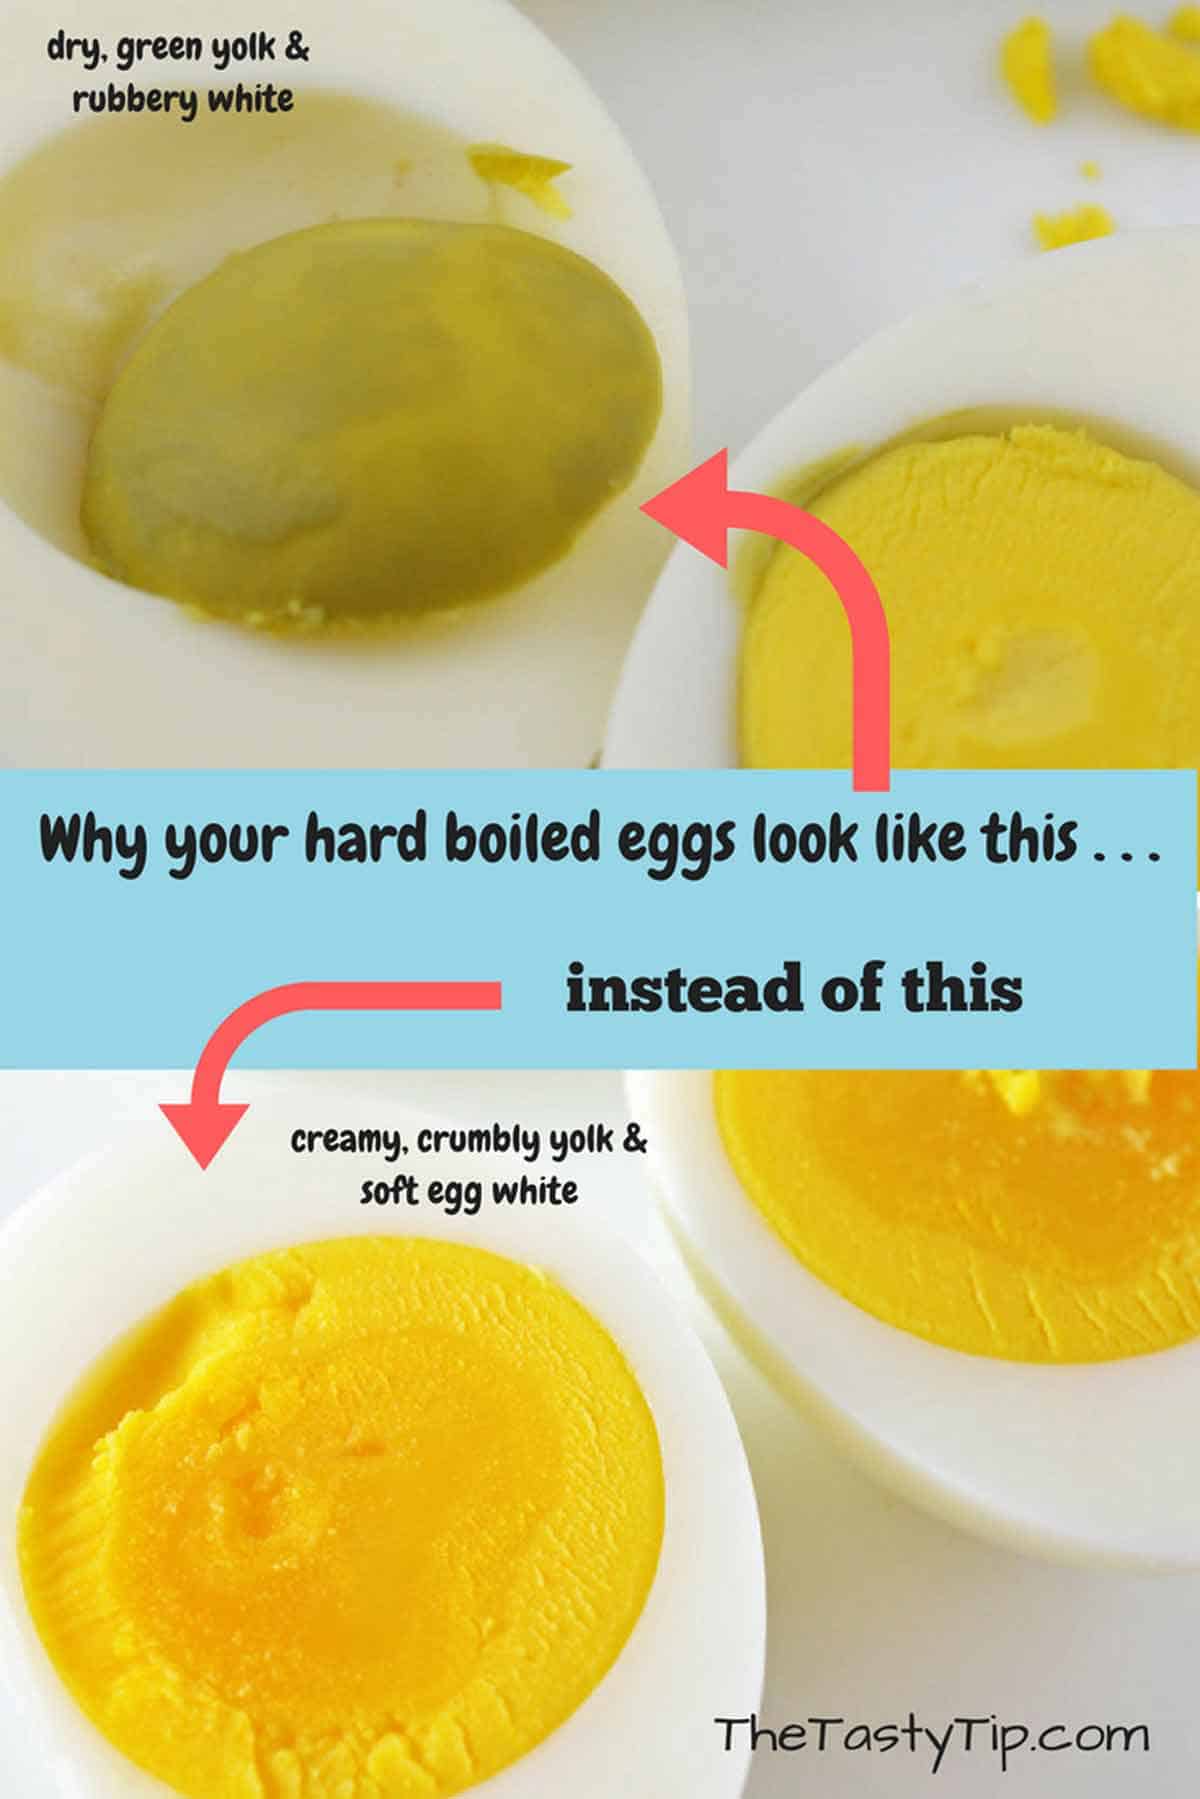
How often have you cooked hard-boiled eggs only to find that the egg whites are rubbery and the yolk isn’t thoroughly cooked? Or maybe the yolk is dry and crumbly and has a strange green tint.
Maybe your biggest problem is getting the shells off the eggs. You want to make deviled eggs, but so much of the egg white comes off with the peel that the eggs look terrible.
I have been there. Perfect hard-boiled eggs are tricky. It doesn’t seem like they should be that hard to cook. But they can be.
This guide will give you step-by-step cooking tips to get the perfect, soft whites and creamy yolks every time you hard-boil eggs.
Jump to:
- This is Why You Struggle to Get Hard-Boiled Eggs Right
- What are the Best Eggs to Use to Hard-Boil Eggs?
- How to Hard-Boil Eggs Flawlessly Every Time
- How to Store Hard-Boiled Eggs
- How to Tell if an Egg is Hard-Boiled
- Frequently Asked Questions
- Consistent Results
- What to Do with Hard-Boiled Eggs
- Recipe
- Comments
This is Why You Struggle to Get Hard-Boiled Eggs Right
Eggs cook from the outside in. The egg white and the egg yolk are finished cooking at different temperatures.
An egg white is finished cooking at 180°F (80°C). If it gets any hotter, you end up with dry, rubbery whites.
On the other hand, the egg yolk is finished cooking between 158° (70°) and 170°F (75°C). At this temperature, you will have a creamy soft yolk.
Egg yolks above 170°F (75°C) are crumbly and dry. The outside yolk will have a green ring. This green circle is a ferrous sulfide tinge.
This is all good information. But the problem is, you can’t measure the temperature of an egg inside of its shell as it cooks.
In addition, the bigger the temperature difference between the egg and the water it is cooked in, the more uneven the cooking will be.
After reading the varied and sometimes opposite opinions of experienced chefs, it was time to experiment.
The Goal:
- Perfect hard-boiled eggs with a set and soft egg white and smooth moist yolks.
- They had to be easy to peel.
- The method had to be time-efficient. No hovering over these eggs. A simple timer, a pot with a lid, water, eggs, and ice are all that is needed.
The result of the experiment is 7 Steps to get a perfect hard-boiled egg that is easy to peel every time.
What are the Best Eggs to Use to Hard-Boil Eggs?
Use fresh eggs if you are lucky enough to have your own chickens.
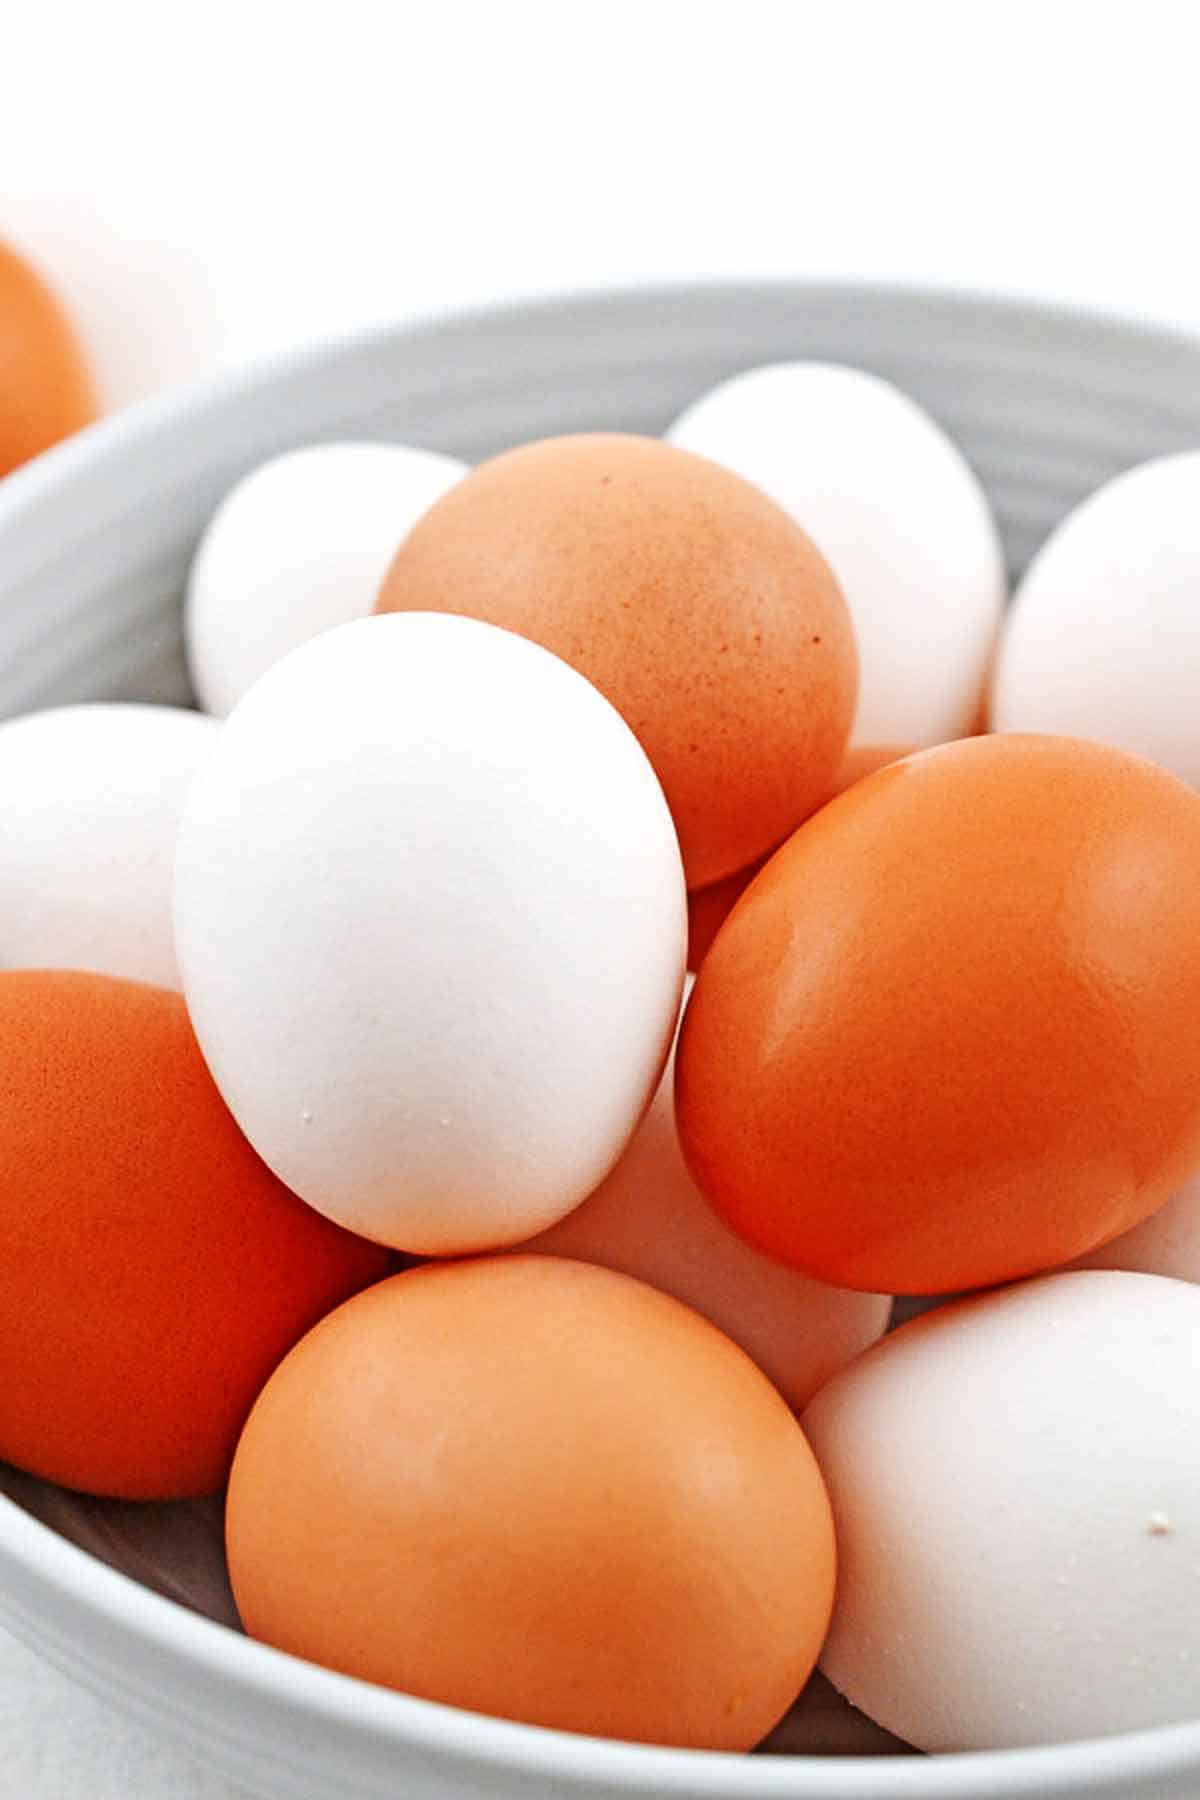
No farm in your backyard? Then use eggs from the grocery store. Hard-boil brown or white eggs. Eggshell color does not matter.
- You can hard-boil many types of eggs besides chicken eggs. Try hard boiling duck eggs, quail eggs, or turkey eggs if you have them.
Depending on the size of the eggs, you may have to adjust the cooking time a little bit.
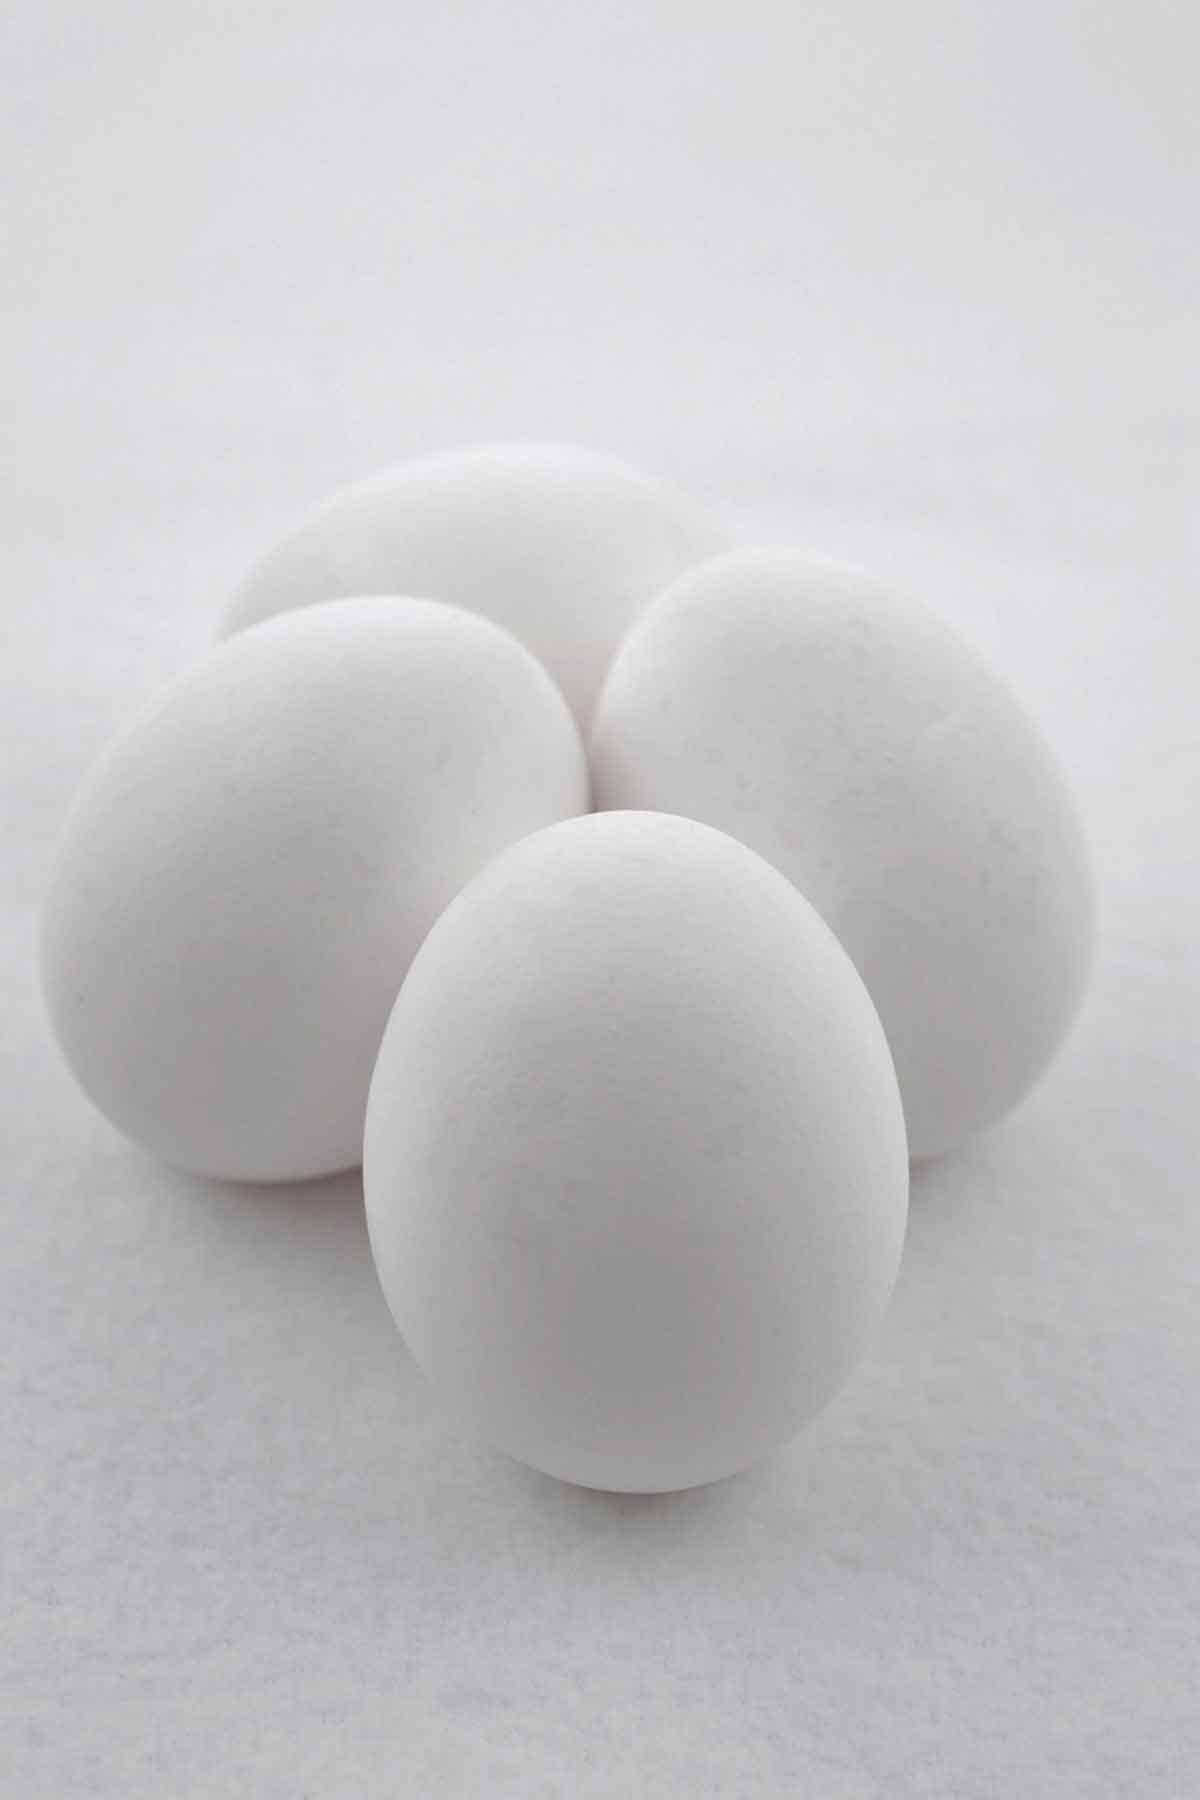
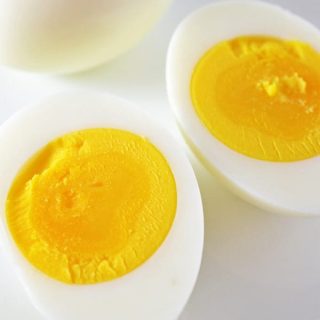
- Use fresh eggs. Fresh eggs always taste better. Plus, they have tight yolks and whites that hold their shape. This looks beautiful in sliced eggs.
Older eggs have looser yolks that pull toward the egg wall. Sliced eggs will show the yolk hugging the white edge rather than the center. Despite this, older eggs can still be boiled and eaten.
How to Hard-Boil Eggs Flawlessly Every Time
Follow these easy steps for soft creamy yolks and soft but firm egg whites.
Step 1: Bring the Egg to Room Temperature
Eggs cook more evenly when they are closer to the water temperature they will be cooked in. Cold raw eggs from the refrigerator placed in boiling hot water cook unevenly.
Experiment: Room temperature egg vs. cold egg
Results: My experiment showed that an egg brought to room temperature cooked more evenly than an egg taken straight from the refrigerator into boiling water.
To bring an egg to room temperature quickly, soak it in a bowl of warm water for 3-5 minutes.
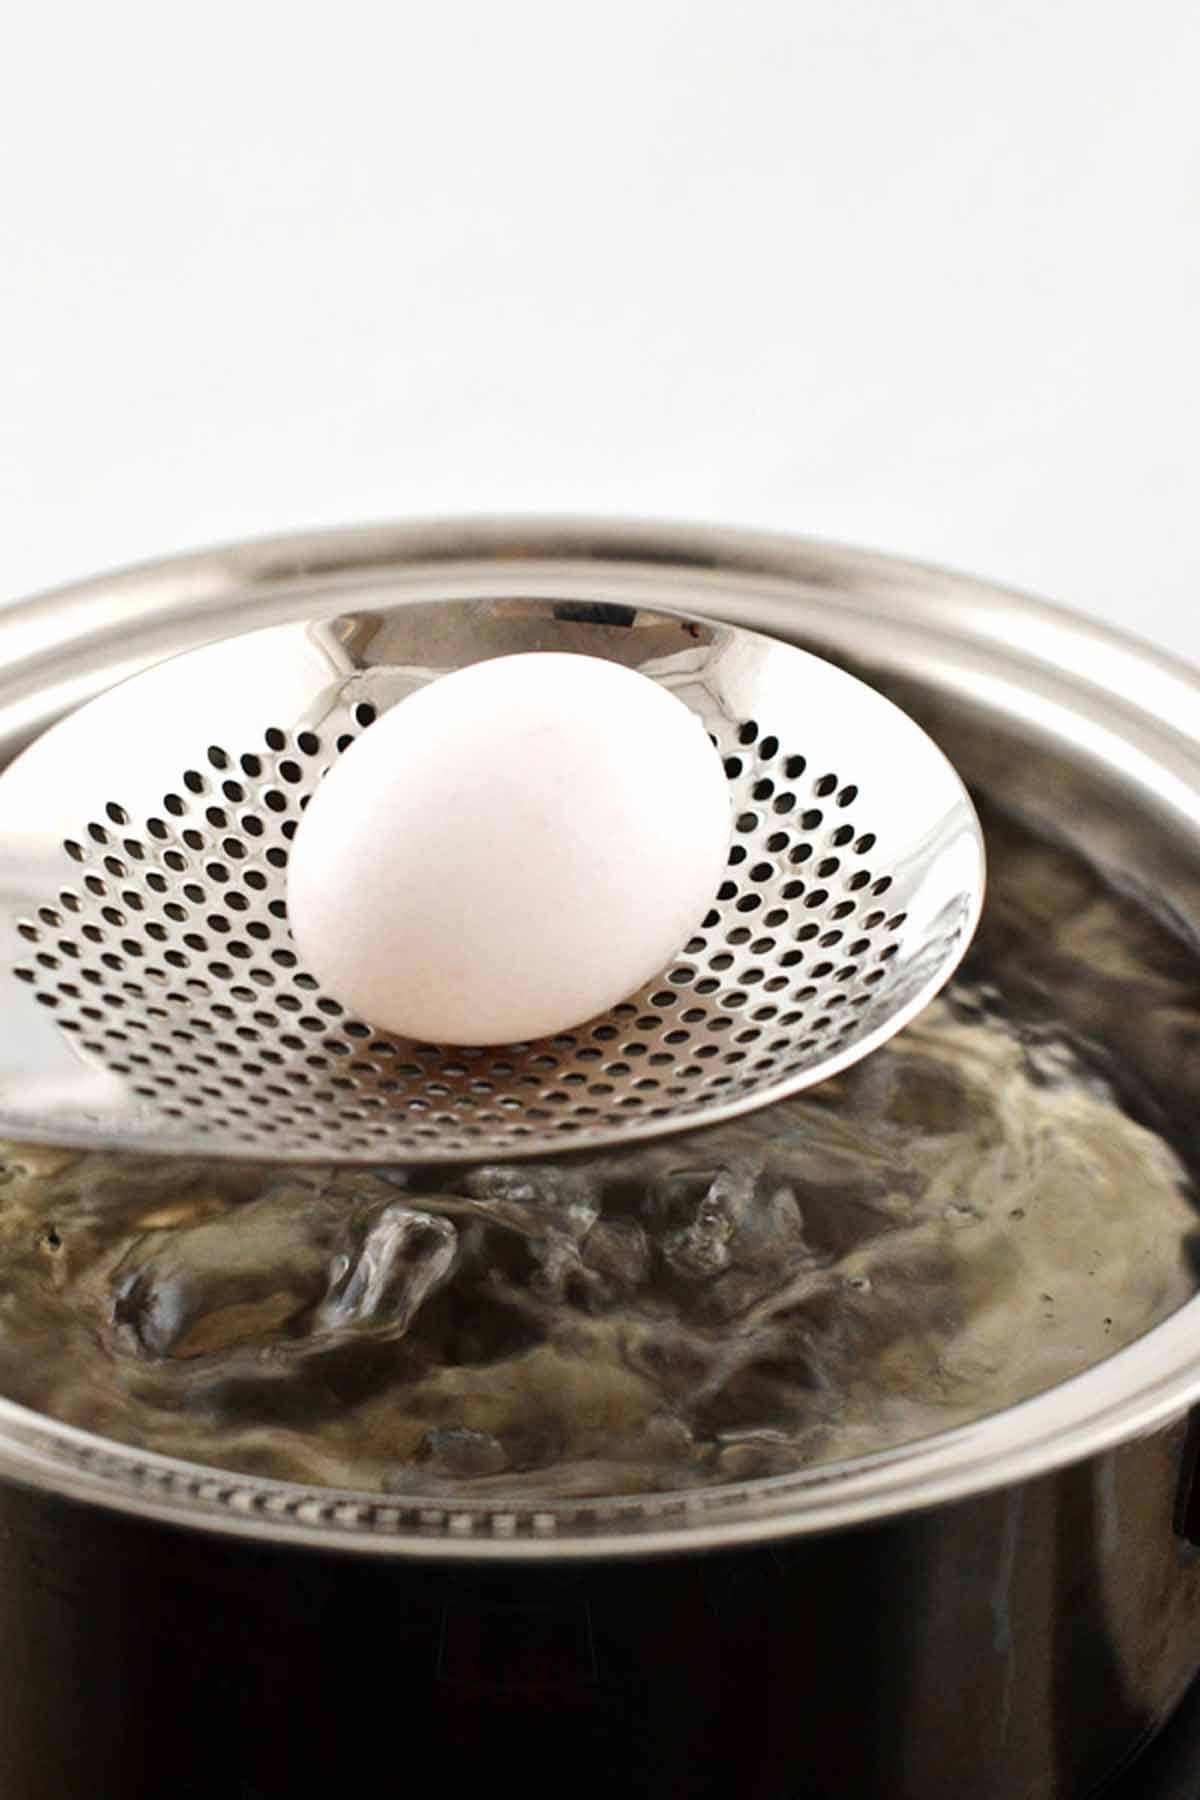
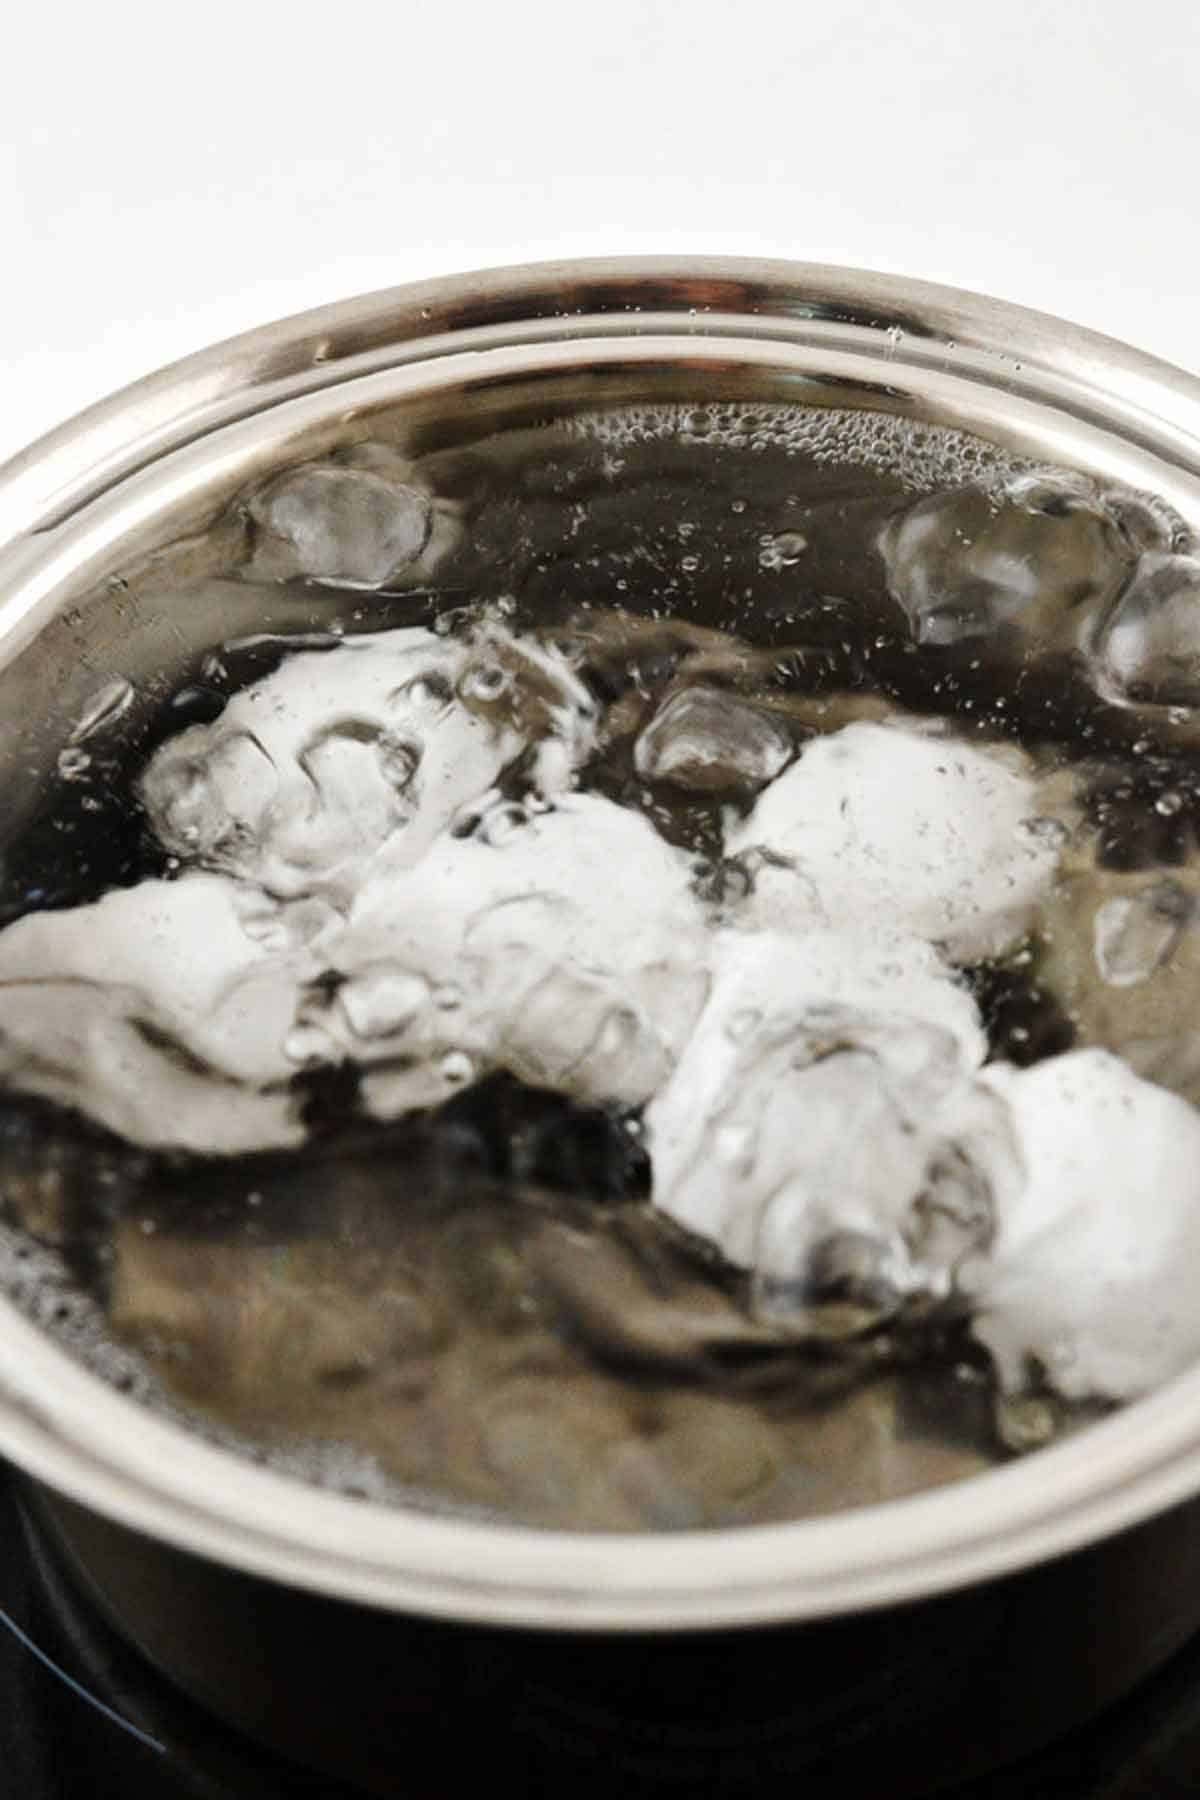
Step 2: Place Eggs in Boiling Water, Not Cold Water
Experiment: Starting an egg in cold water and bringing it to a boil vs. boiling the water and then adding the eggs
Some chefs suggest placing the eggs in cold water and then bringing the water to a boil. This is called a cold start.
At first glance, this makes sense. Wouldn’t an egg cook more evenly if it heated as the water heated?
Maybe, but the problem with this method is that it fuses the eggshell to the egg white, making it very difficult to peel.
Trying to peel eggs like this is frustrating and messy. You want an easy peeling job, so avoid the cold start.
Instead, use the hot start method. It is a cooking process resulting in an easy-to-peel eggs.
Results: The winner is boiling the water and then adding the eggs. This resulted in eggs that peeled much easier.
In addition, boiling the water before adding the eggs meant less babysitting the pot of water. When starting eggs in cold water, you have to watch the water reach a full rolling boil. Only then can you begin the cooking countdown.
If you don’t watch your boiling water closely enough, you may overcook the egg.
- Start with enough water to submerge all your eggs. This is 2 quarts of water for 1 to 6 eggs. Or 4 quarts of water for up to a dozen eggs.
As long as the water doesn’t boil over, too much water won’t be a problem. However, too little water will interfere with the cook time. So, make sure you start with enough water.
Step 3: First, Boil the Egg in the Pan Over Heat
Chef J. Kenji Lopez-Alt noted that the white and yolk are finished cooking at different temperatures. The best way to hard-boil an egg is to cook it over heat for a short time (cooking the egg white quickly). Then remove it from the heat to lower the temperature and slow down the rest of the cooking.
I played with his timing and method and was pleased. This is the best method for cooking the whole egg just right.
Experiment: Cooking in the boiling water for 30 seconds vs. 1 minute before cooking off the heat
Results: The right balance of cooking the egg on heat was one minute.
If your pot of water maintains a full boil with the lid off, keep it off as the egg cooks on medium-high heat for one minute.
However, if the water does not maintain a rapid boil with the lid off when the eggs are added, keep the lid on the pot for the on-heat cooking minute.
Step 4: Then Finish Cooking the Egg Off Heat
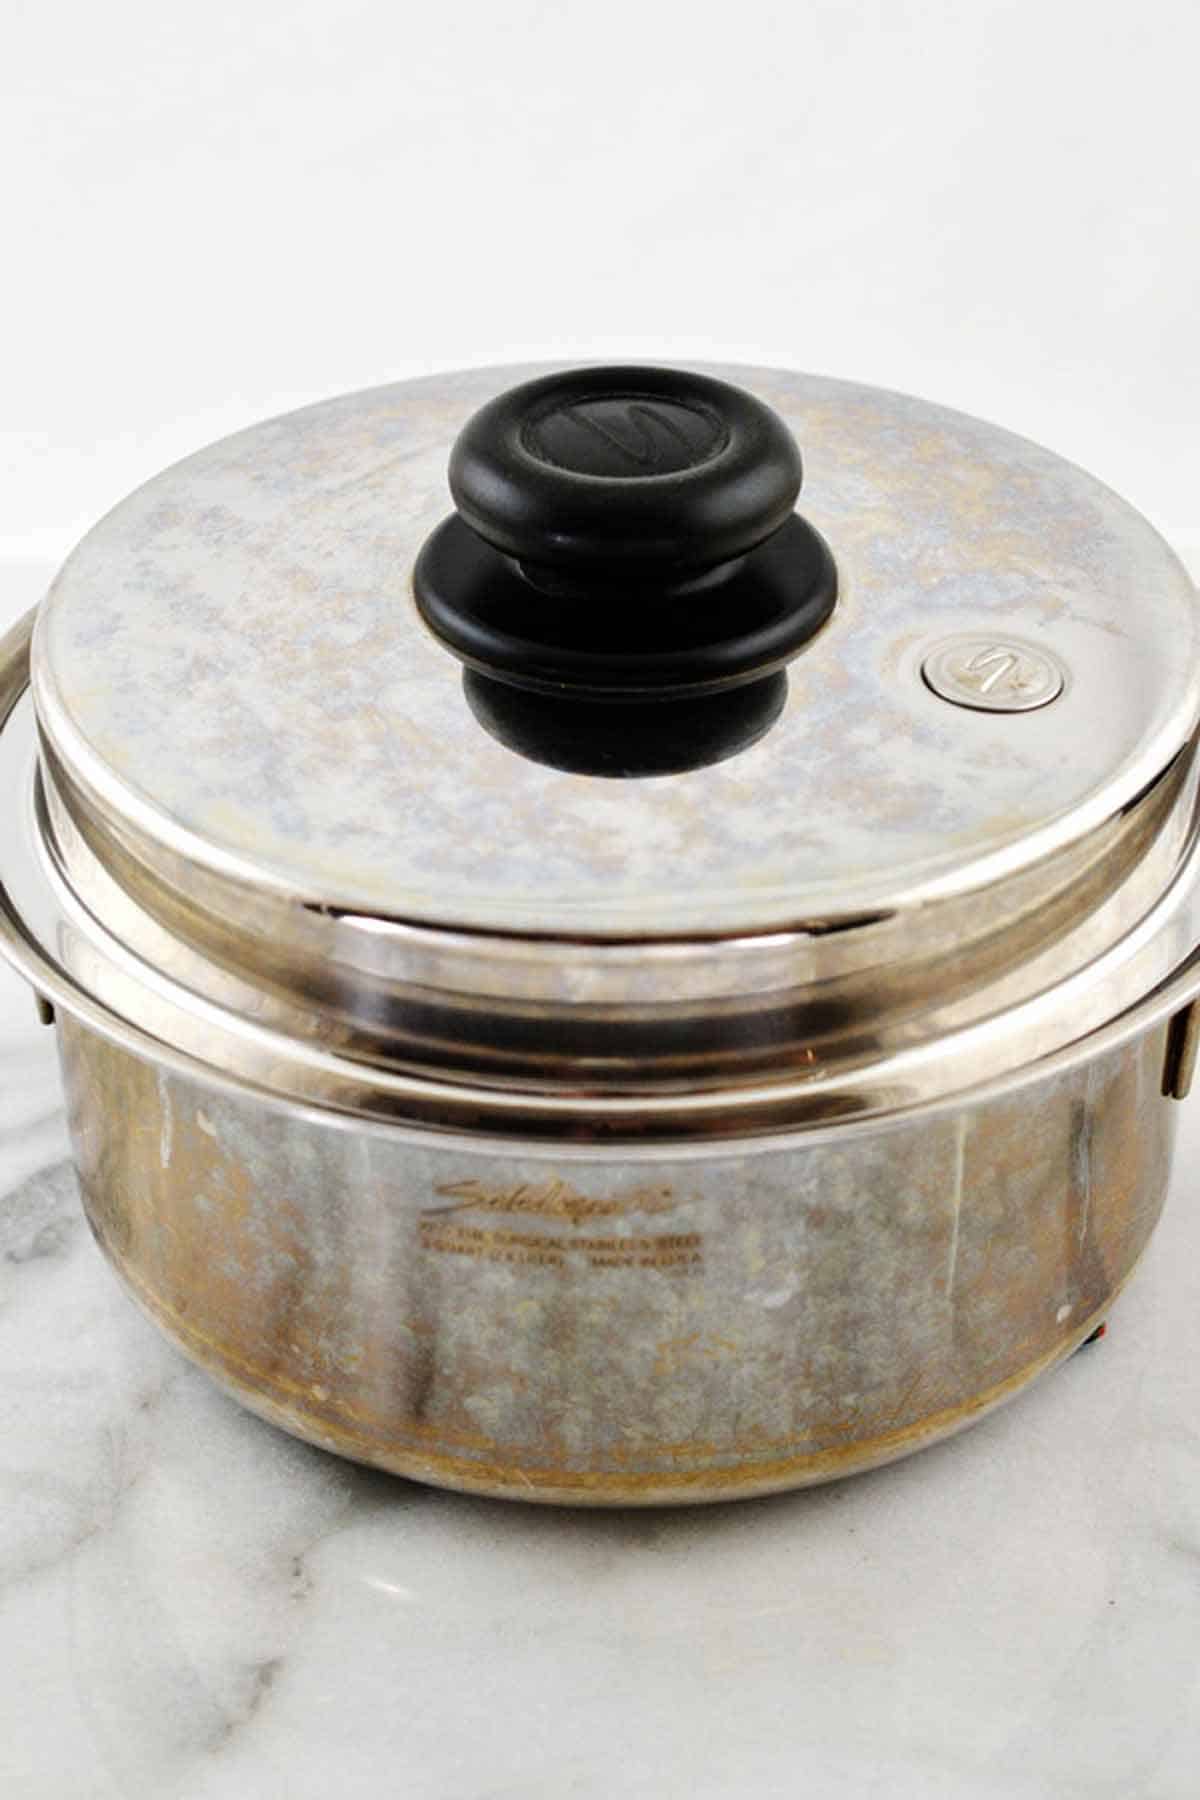
After cooking the egg over heat for one minute, remove the pot from the heat. Keep the lid on the pan. Cook the egg off the heat until it is done.
Experiment: Cooking off the heat for 9, 10, 11, and 12 minutes
Results: I preferred eggs cooked off the heat for 11 or 12 minutes to get my eggs hard-boiled with more solid but softer yolks.
This is a matter of preference though. The yolks were hard-boiled after even 9 minutes. And with no green yolk in sight. This time is based on large eggs.
Small, medium, and extra-large eggs will finish cooking at different times. Small eggs will take a shorter time and jumbo eggs a long time.
Step 5: Cool in Ice Water for 5 Minutes
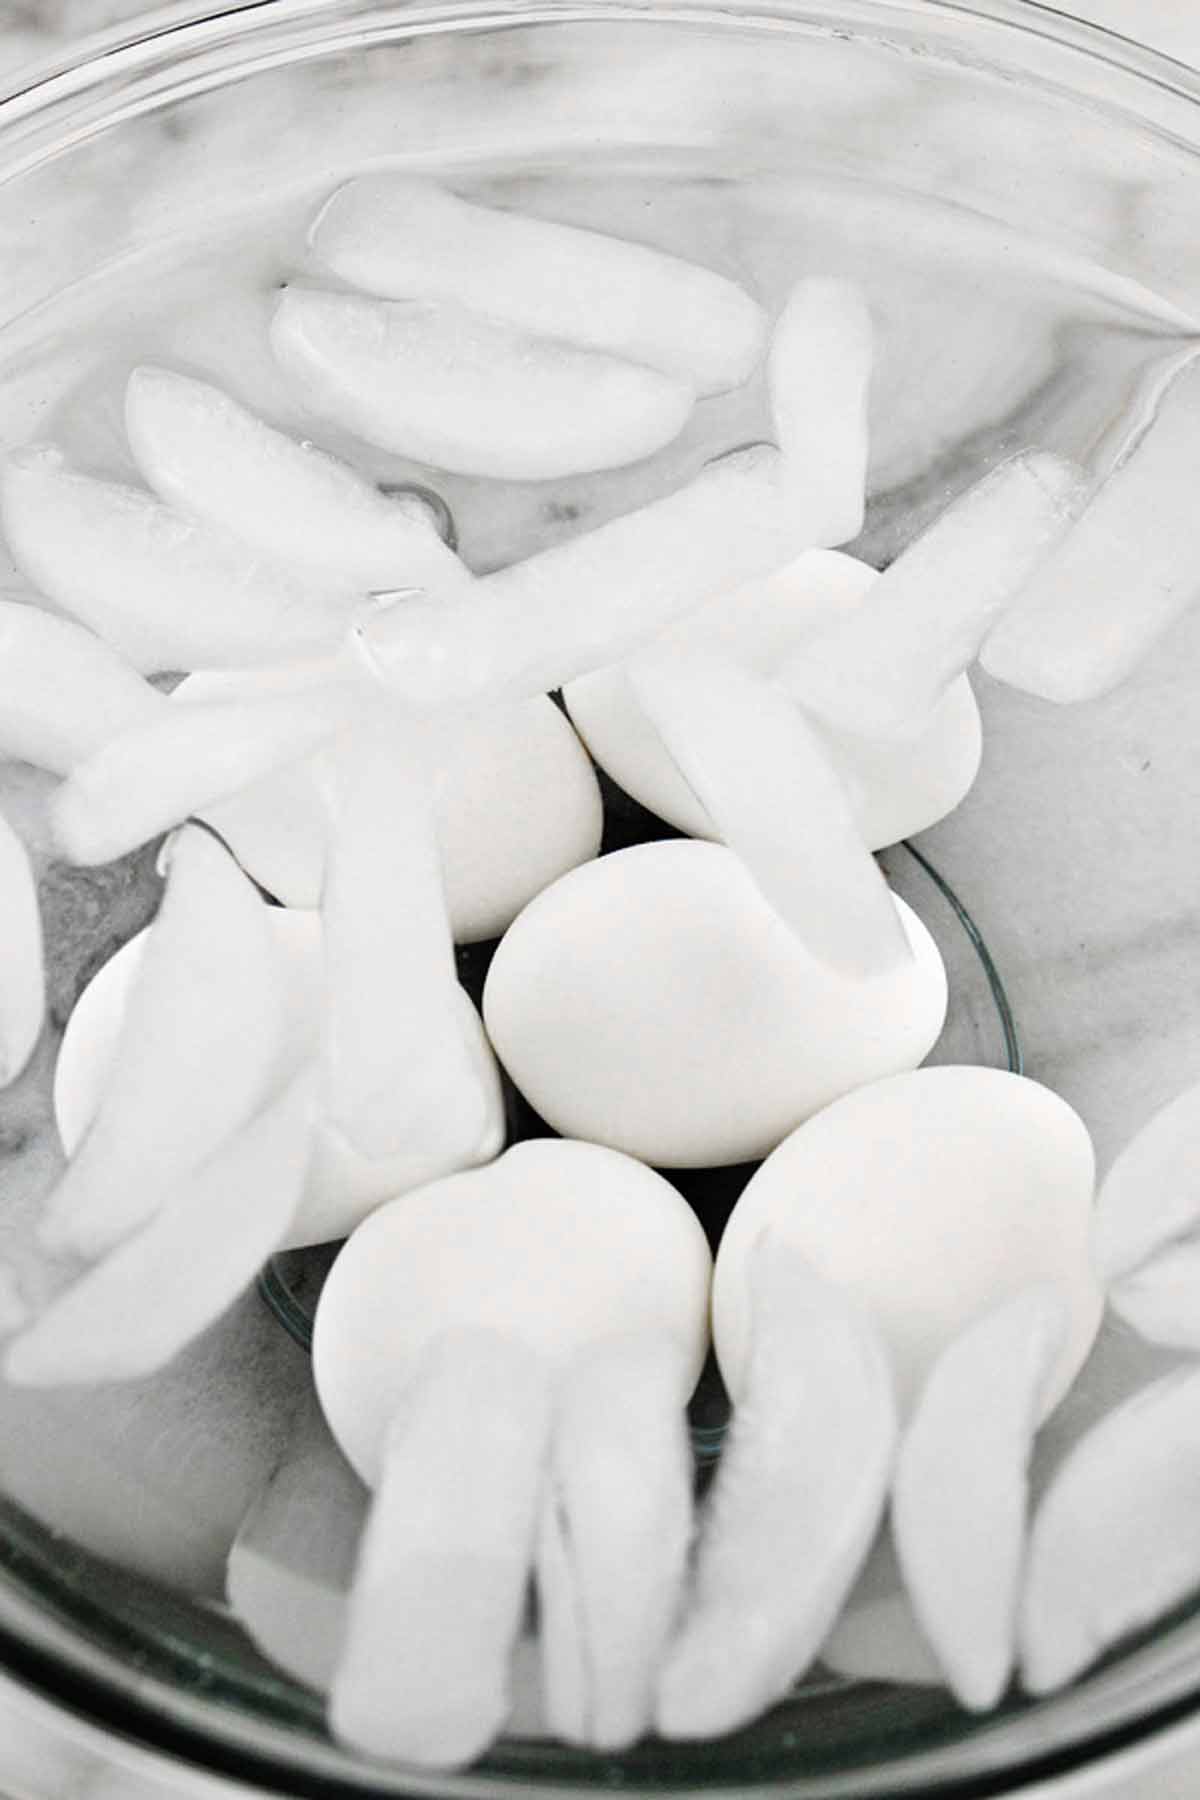
Chefs have different opinions on cooling the hard-boiled eggs. I found that cooling eggs in a large bowl of ice water was the most effective way to cool them to get them ready for an easy-peel.
When the eggs are cooled quickly, they constrict a bit, pulling away slightly from the shell.
Experiment: Cooling cooked eggs in ice water for 3 minutes vs. 5 minutes vs. 10 minutes
Results: The eggs peeled better when soaked for 5 or 10 minutes.
Use a slotted spoon to remove the eggs from the pan of hot water into the ice bath.
If you aren’t eating the eggs right away, store them unpeeled in the refrigerator for a week.
Keep in mind that peeling cold eggs from the refrigerator was more difficult than peeling fresh eggs.
Step 6: Crack Eggs on their Chubby Bottom
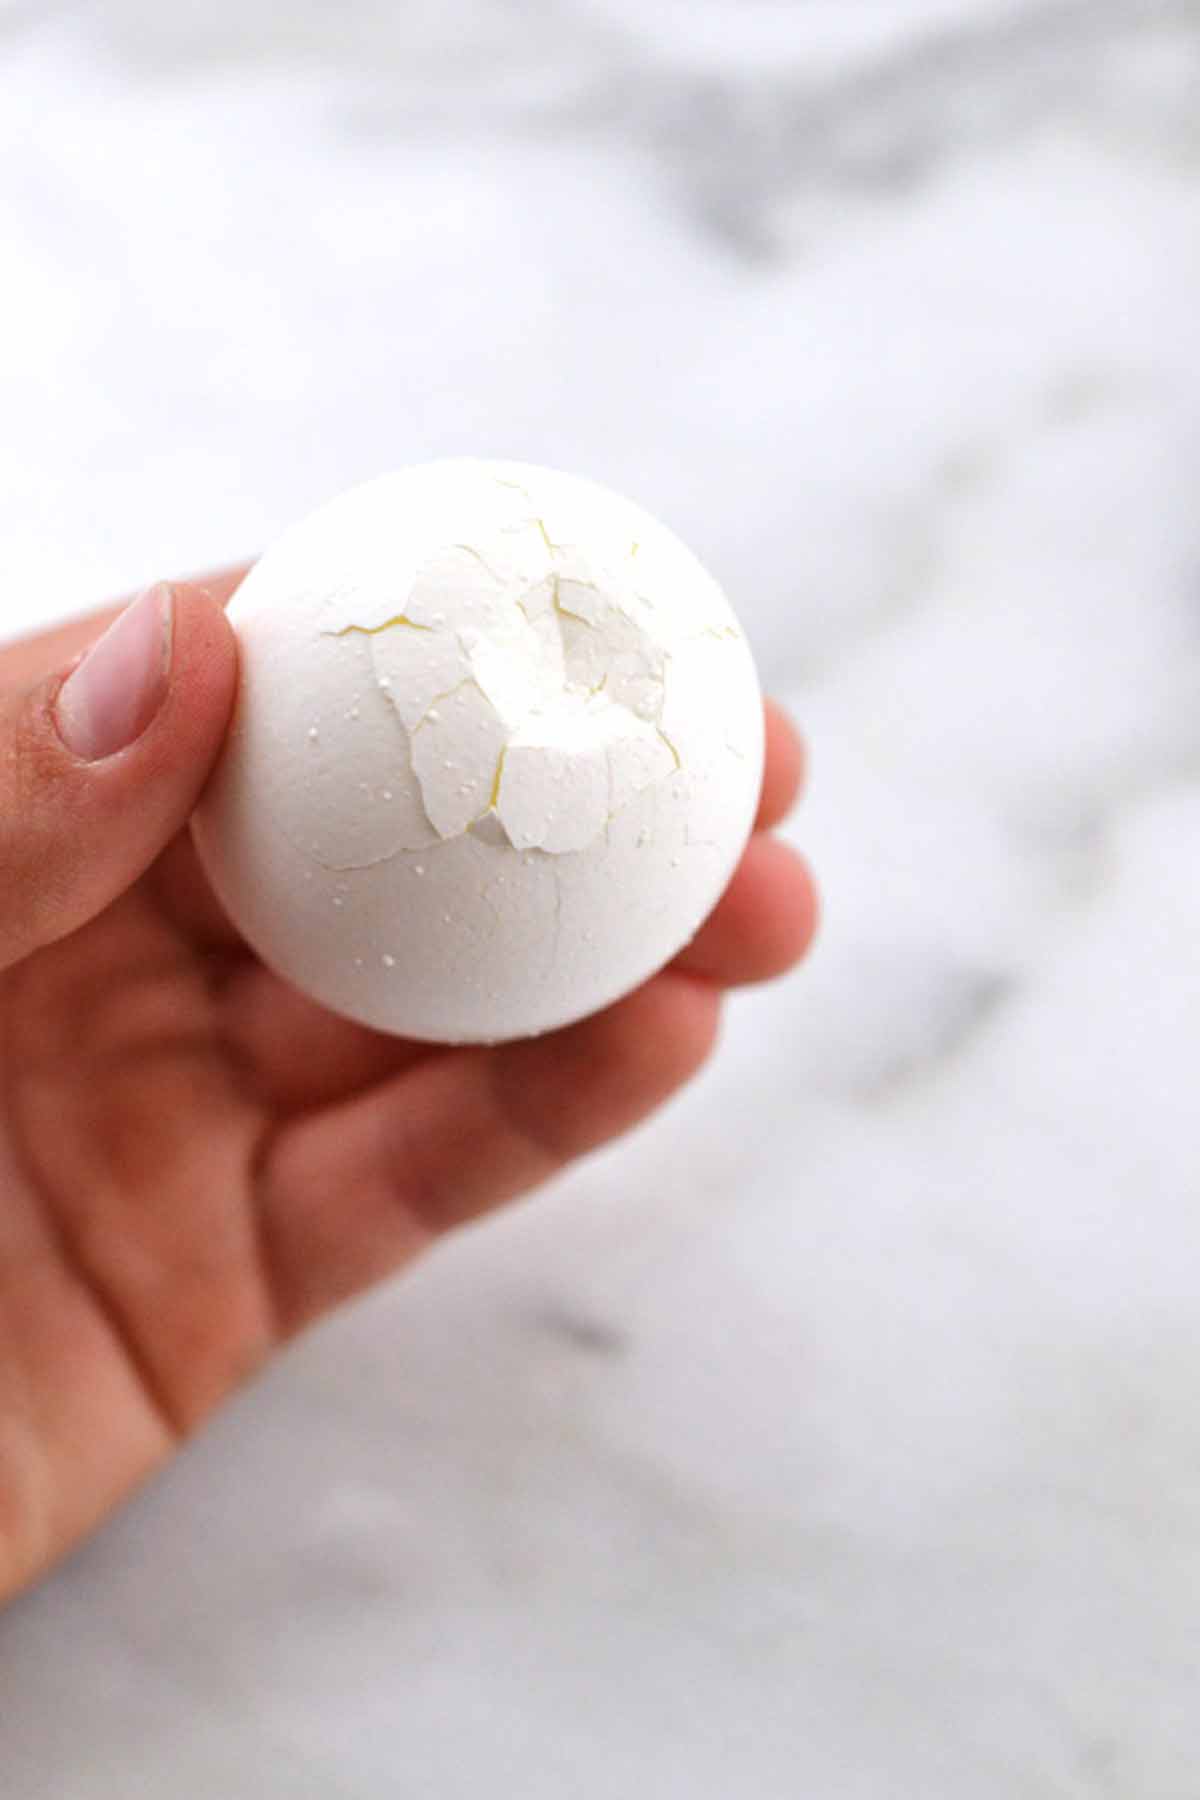
After pulling the eggs from the cool water, you are ready to remove the shells.
There is an air pocket on the chubby end of the egg. Cracking it on that end helps you get an excellent grip to peel the shell off.
Experiment: Cracking the egg on its side vs. on the chubby bottom
Result: Cracking the egg on its side made more cracks and was harder to peel. The bottom larger end usually has an air pocket, useful when peeling.
Treat the egg gently to peel it smoothly.
Step 7: Roll Egg Gently Between Palms
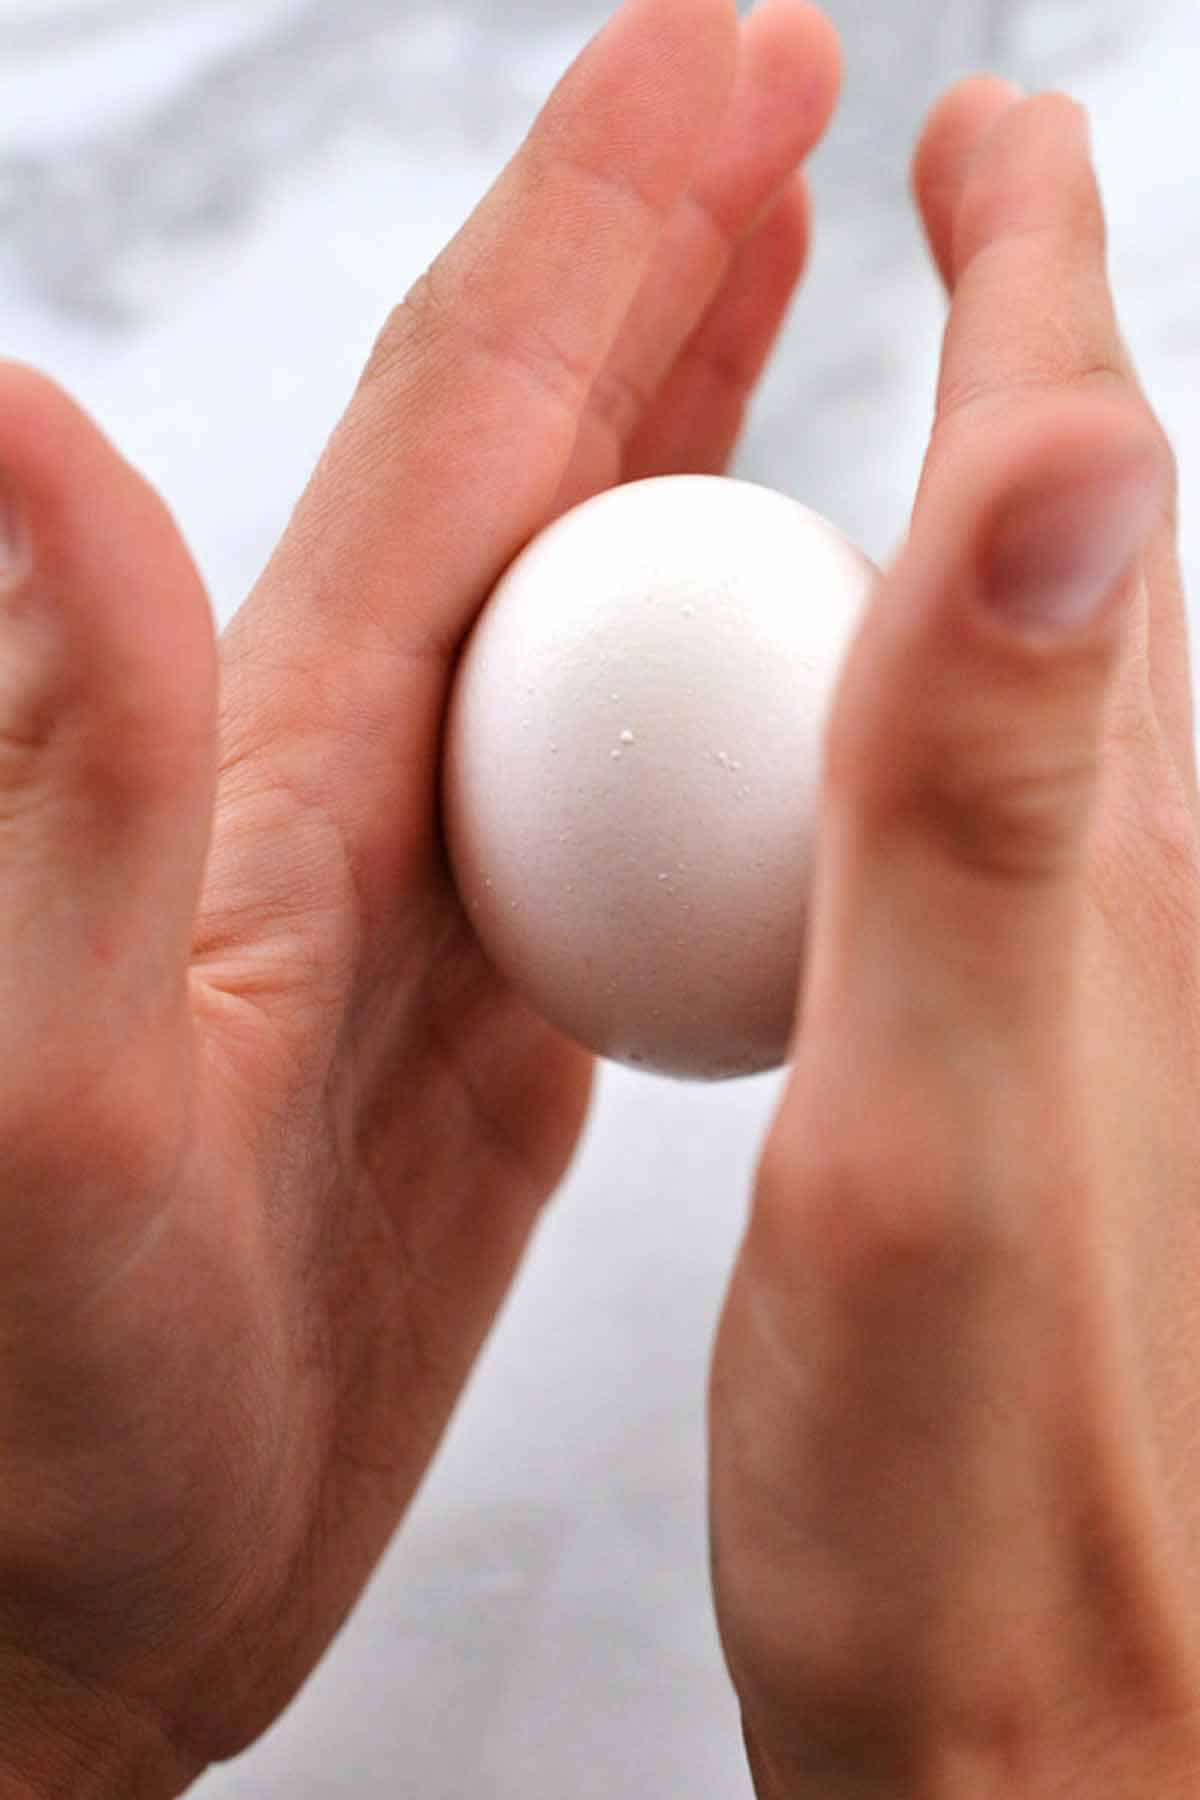
Experiment: Rolling in palms to peel vs. picking the pieces off
Result: If the eggs are rolled gently, rolling the egg is an easy way to loosen and remove the shells.
How to Store Hard-Boiled Eggs
After peeling hard-boiled eggs, refrigerate them within two hours of cooking them. Store them in an airtight container in the fridge.
Eggs kept in a sealed container will last up to 7 days. And hard-boiled eggs can be stored peeled or unpeeled.
How to Tell if an Egg is Hard-Boiled
If you forgot to label your egg carton, you might not remember if they are hard-boiled. Don’t worry. I have an easy way for you to figure it out.
- Pull one egg out of the carton.
- Turn it on its side and try to spin it on a hard surface.
- The egg will spin quickly, just like a top, if it is hard-boiled. If it is raw, it will turn once but not hold the spin.
Frequently Asked Questions
It is easy to boil eggs in a pressure cooker. It’s a different method but works well. Here are the short version instructions.
Add an inch of water to the pot. Place the eggs in a single layer in a steamer basket. Pressure cook on high for 5 minutes.
For best results after cooking, let the eggs sit for 5 minutes. Then manually release the pot. Let the eggs continue to rest for another 5 minutes.
If the egg recently cracked (when removing it from the fridge or on the way home from the grocery store), use it right away. Otherwise, bacteria can enter through the crack and contaminate the egg.
Hard boiling is one way to use the eggs. You can hard-boil cracked eggs.
However, the egg white will start to escape the shell during boiling. White strings will end up in the water, clouding the water. The boiled and peeled egg will be misshapen.
This only means not to use these eggs in any showy dish, like deviled eggs. However, pasta salad, potato salad, or grain bowls are ideal for misshapen boiled eggs.
Consistent Results
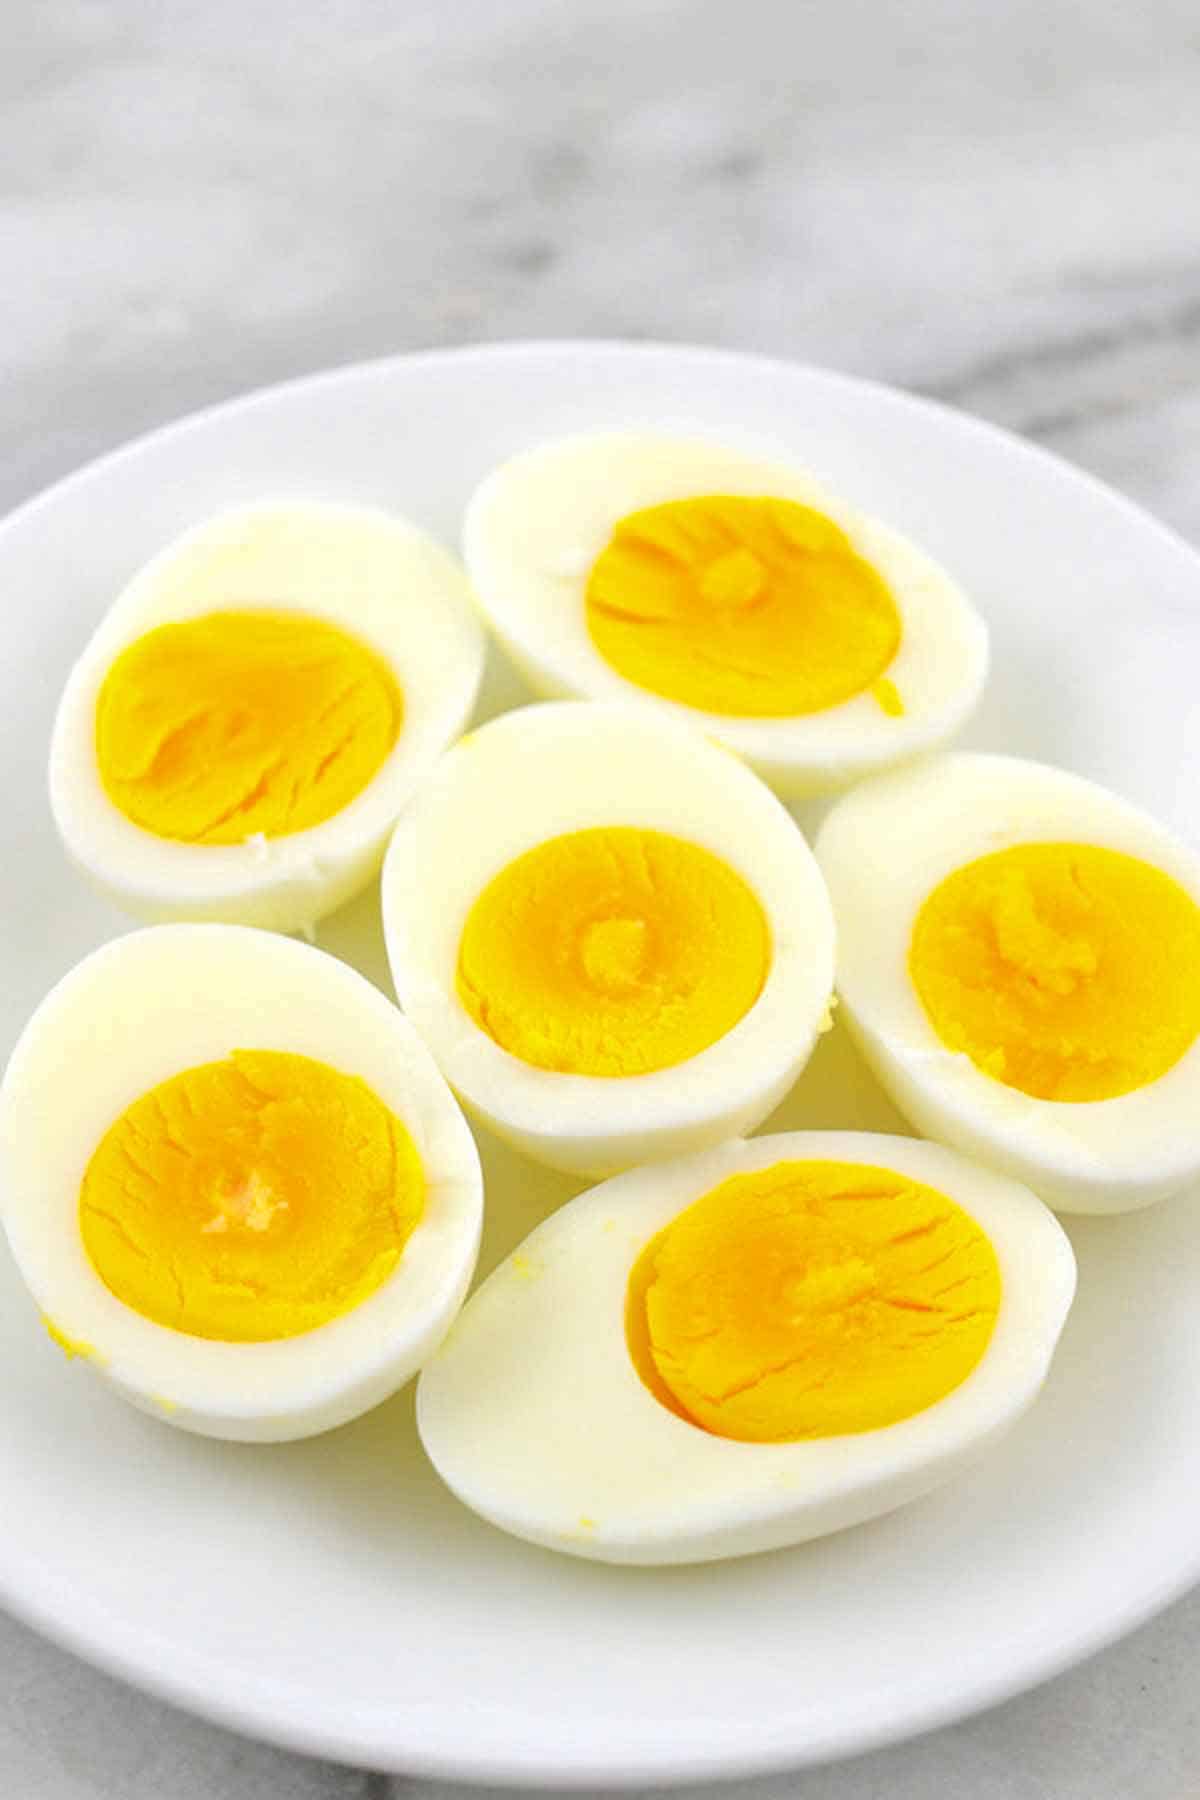
Following these simple steps is a foolproof method to get perfect hard-boiled eggs. They have firm whites, creamy yolk, and easy-to-peel shells.
You will never have a problem achieving perfect hard-boiled eggs again. These simple tips solve all of the issues you have ever had with eggs.
Give it a try. You will love the results.
What to Do with Hard-Boiled Eggs
- Dye Easter eggs. That is probably one of your favorite ways to use these eggs.
- Slice them into a cobb salad.
- Make egg salad sandwiches for a quick Sunday lunch. Try this egg recipe with bagel seasoning. Yum!
- Chop them into grain bowls. There are different ways to cut the eggs for the bowls. Try cutting the eggs in half, slices, or chunks.
Did you like this post? Then let's be social. FOLLOW ME on INSTAGRAM and PINTEREST to keep up with the latest happenings.
Recipe
Perfect Hard-Boiled Eggs
Ingredients
- 1 to 6 eggs
- 2 quarts water
- Ice water for cooling
Instructions
- BRING the eggs to room temperature. Set the eggs on the counter for 30 to 60 minutes, depending on how warm the kitchen it. To speed up the process, place the eggs in a bowl of warm water for 5 to 10 minutes.
- BOIL 2 quarts of water on the stove top in a 4-quart pan with a lid. If cooking more than 6 eggs, use more water and a larger pan. There should be enough water that the eggs are completely covered when you add them to the pan.
- COOK OVER HEAT. When the water starts boiling, add the eggs to the pan. Use a slotted spoon, taking care not to crack the shells when lowering them into the water. Keep the lid on the pan to keep the water boiling. Cook the eggs over heat for one minute.
- REMOVE THE PAN FROM HEAT. Take the pan off the burner. Leave the lid on and continue to cook the eggs off the heat for 9 to 11 minutes, depending on how well done you like your yolks.
- COOL IN ICE BATH. Fill a bowl with ice water. Remove the eggs from the pan with a slotted spoon and place them in the ice water. Cool for 5 to 10 minutes.
- CRACK THE CHUBBY BOTTOM. Gently, but firmly tap the chubby bottom of the egg on the kitchen counter. Peel the shell off the egg. Sometimes it helps to gently roll the egg in the palms of your hand to loosen the shell.
- EAT RIGHT AWAY seasoned with salt and pepper. Or cool in the refrigerator for 30 minutes before using in a recipe. (See Note #1.)
Notes
- If you will not be eating the egg for more than a day, do not peel the eggs. Instead, store the unpeeled eggs for up to 1 week. Crack and peel before using. Unpeeled hard-boiled eggs stored in the refrigerator are sometimes harder to peel than freshly cooked and cooled eggs.
Nutrition
Did you make this recipe? Tag @thetastytip on Instagram and hashtag it #thetastytip.

Yvette
I have just made hard boiled eggs using this method. I left them to sit for 12 minutes. The eggs were perfect, hard boiled but not dry and no black at all. Thanks for a great method.
Tami Mack @ The Tasty Tip
So glad you got perfect hard boiled eggs!