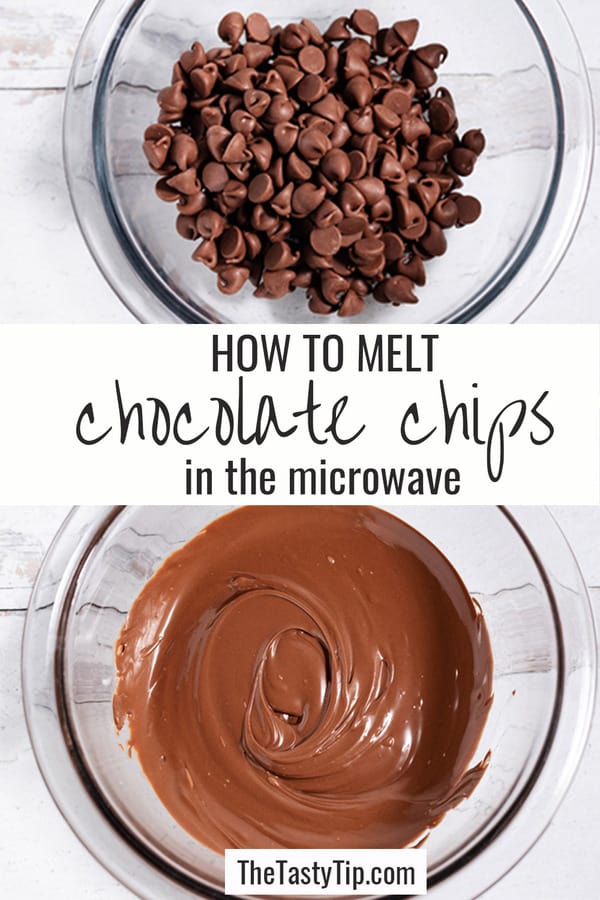
Learn how to melt chocolate chips in the microwave without burning them. Get tips for the correct microwave power setting, best bowl to use, and how chocolate chip size affects melting time.
Are you looking for a quick, easy way to melt chocolate chips? If so, the microwave can be your best tool. I wanted to know how to melt chocolate chips in the microwave without burning them so I ran some chocolate melting tests.
The best way to melt chocolate chips in the microwave is to cook them at 50% power for 1½ minutes in a microwave-safe bowl. Stir the chocolate. If the chocolate is not mostly melted, microwave at 50% power for 15-second intervals until melted.
My chocolate melting tests uncovered the best way to melt chocolate chips. They also revealed common issues that influence melting time. I discovered the top reasons why some people fail when trying to melt chocolate chips in the microwave. And I learned how to prevent those failures.
In this article you will learn what affects the melting process, what causes chocolate chips to burn or seize, and how to fix “seized” chocolate. Finally learn how to melt chocolate chips with milk and how to melt chocolate chips with butter.
If you are interested in white chocolate, check out the 6 ways to melt white chocolate chips. If you prefer more control, read up on melting chocolate chips on the stove.
What You Need to Melt Chocolate Chips in the Microwave
- Microwave with turntable. You must have access to a microwave if you plan to melt chocolate chips in the microwave. Obviously. What may not be obvious though is the importance of a microwave turntable.
A turntable rotates the bowl of chocolate chips as it melts. The rotation helps melt the chocolate chips evenly. Rotating helps reduce “hot” and “cold” spots in the microwave. And it helps prevent scorched chocolate.
- Microwave safe bowl. Glass, ceramic, and silicone bowls can all be safe to use in the microwave. Always check the bottom of the bowls for a microwave safe label.
If the edges of the bowl have a rim or handles, all the better. A bowl rim is cooler than the rest of the bowl.
The American Academy of Pediatrics recommends avoiding microwaving food in plastic bowls. They are concerned about the chemicals in plastic that can leach into food when microwaved.
Many plastic bowls contain phthalates and bisphenol A (BPA). These chemicals are hormone disrupters and unsafe. Use a glass bowl instead.
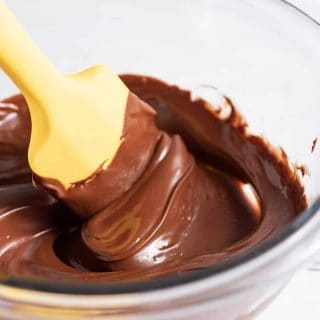
- Spatula or whisk. A silicone or rubber spatula can scrape the bottom of the bowl and mix all the melting chocolate chips together.
Never use a wooden spoon. Wood can retain moisture and moisture is bad for melting chocolate. Even a few drops of water can cause the chocolate to “seize”, which means the chocolate begins to get lumpy and grainy. It does not melt. Wooden spoons can also absorb and transfer odor.
Also, avoid plastic spoons or spatulas because chemicals can leach into the food.
- Chocolate chips. Melt any amount of chocolate chips up to two cups. If you have more than two cups to melt, melt the chocolate chips in batches.
How to Melt Chocolate Chips in the Microwave
The microwave method will work on any chopped chocolate. For best results, use chocolate chips or uniform pieces of chopped chocolate.
These instructions are for melting 1 cup of chocolate chips.
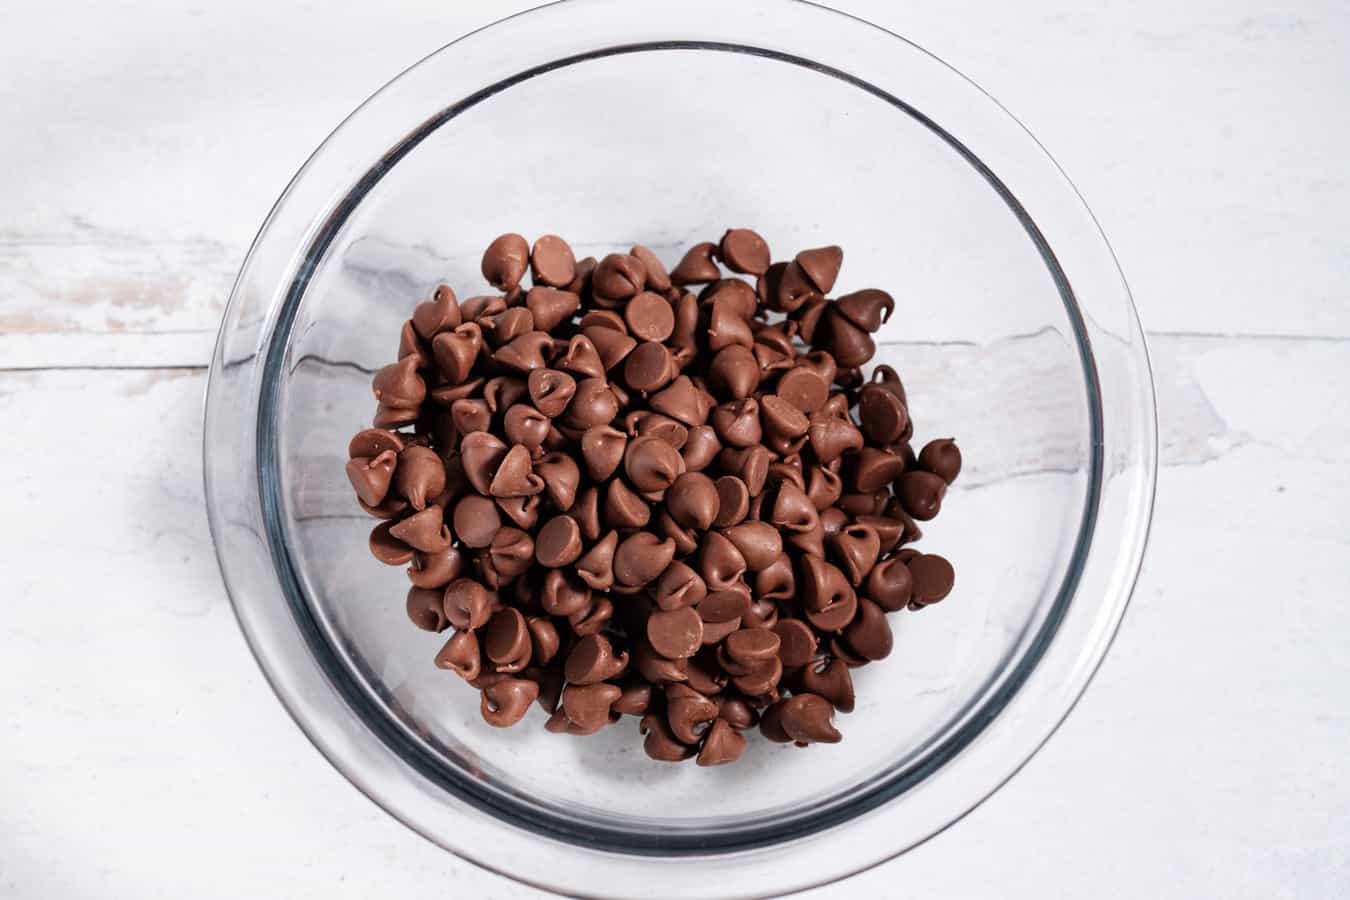
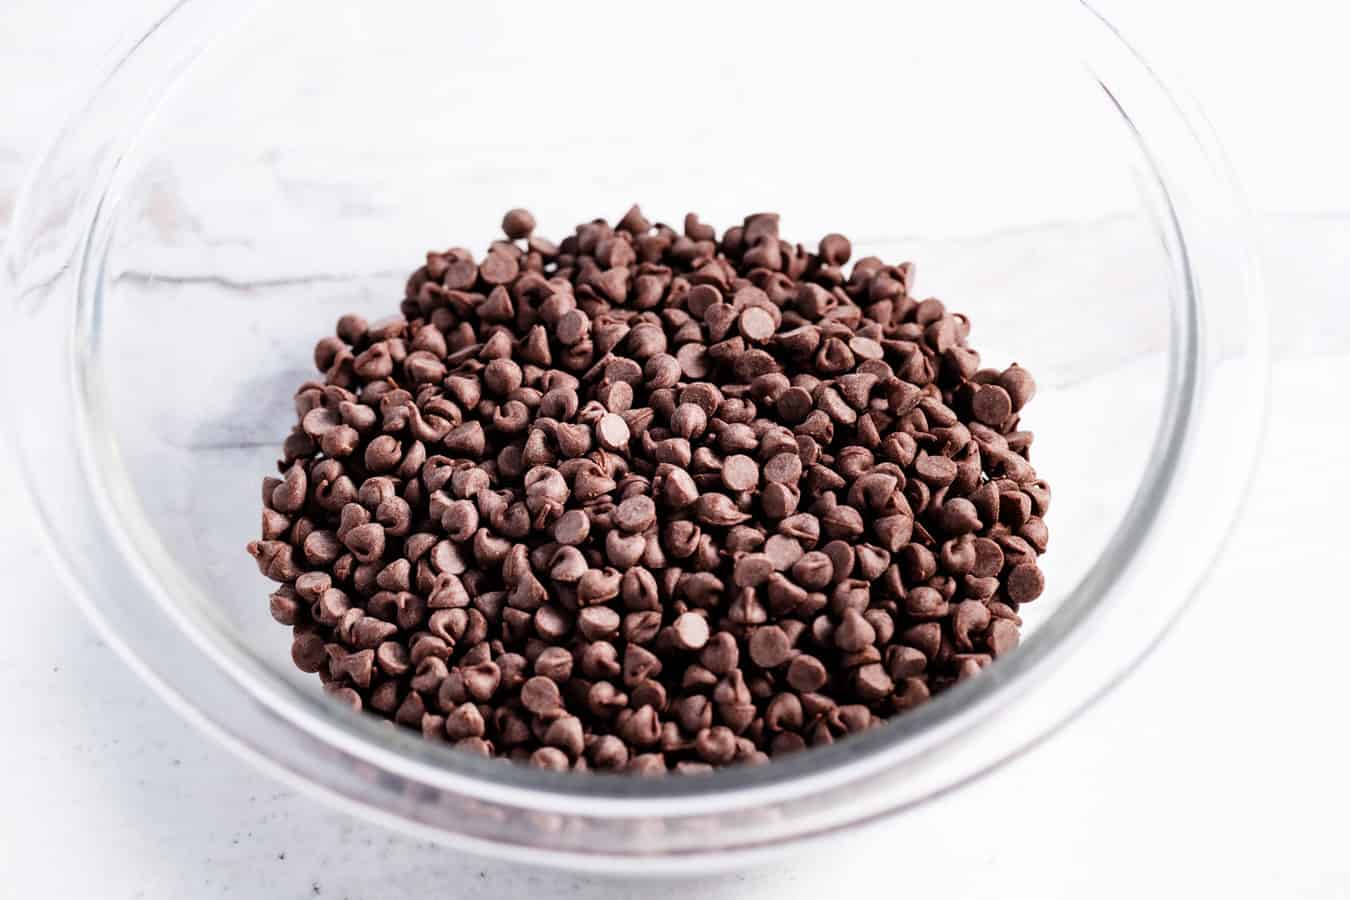
- The first step of the melting process starts 1 cup of chocolate chips in a microwave-safe glass, ceramic, or silicone bowl.
- Set the microwave to the 50% power level. Microwave the chocolate chips uncovered for1½ minutes. The chocolate chips should have a shiny finish at this point.
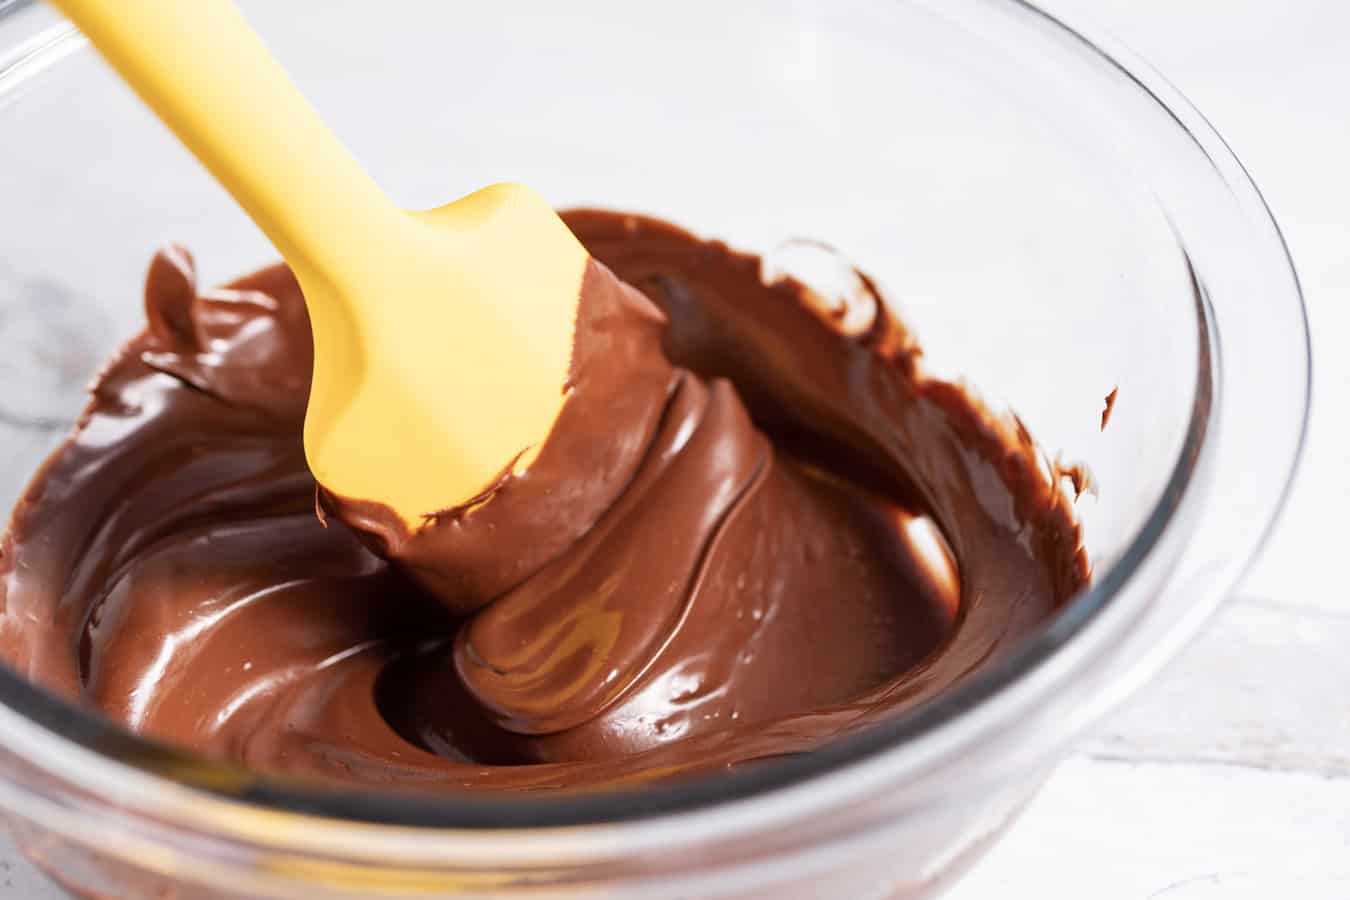
- Remove the bowl. Stir the chocolate chips with a silicone or rubber spatula. Be sure to scrape the sides and the bottom of the bowl. If most of the chocolate chips are not melted, microwave on the 50% power level for 15-second intervals. Stir in-between each interval.
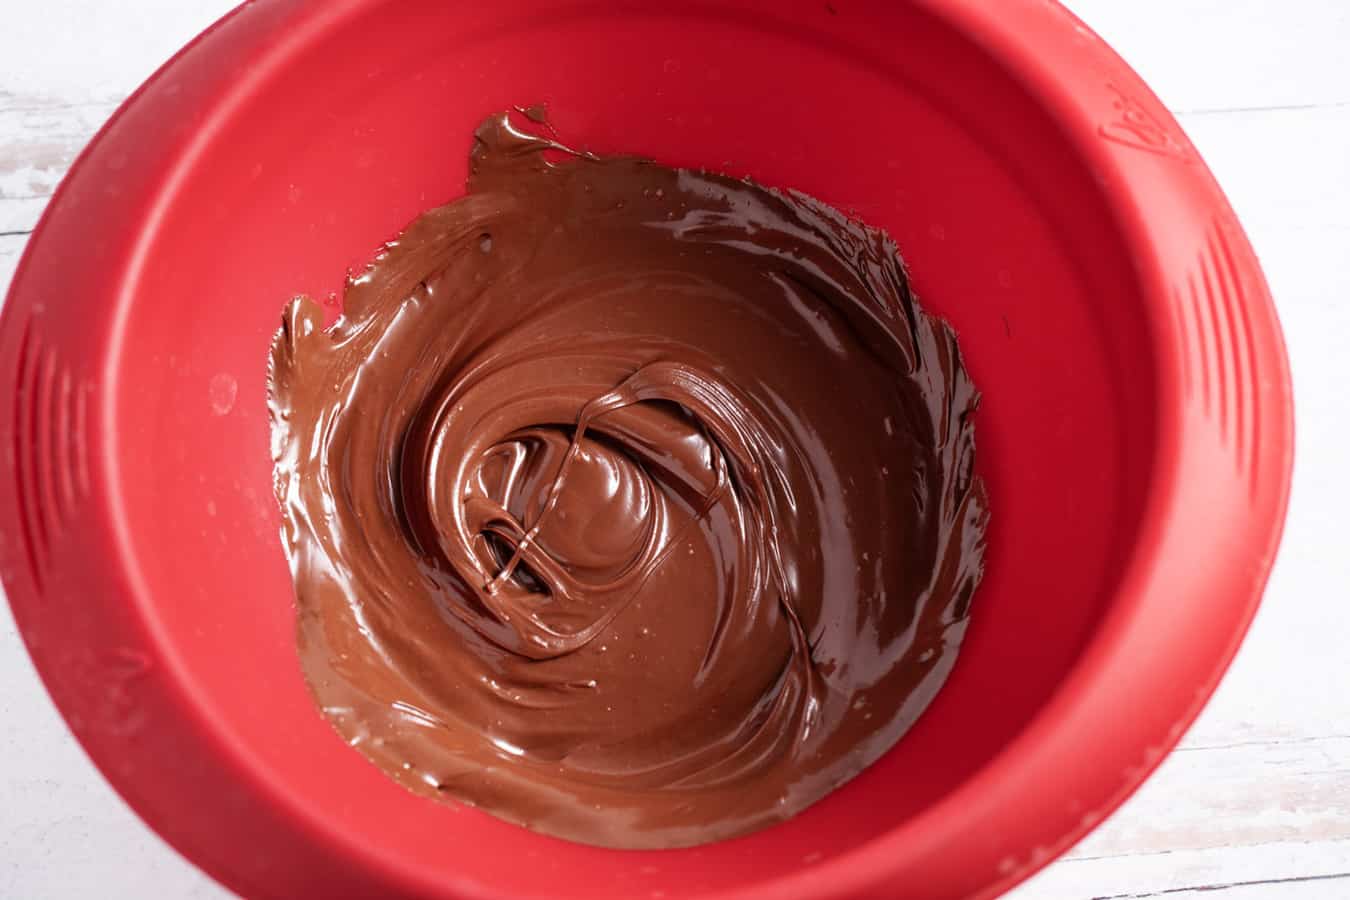
- Keep a close eye on the chocolate chips. When 80 to 85% of them are melted and only a few lumps remain, remove the bowl. Scrape the sides of the bowl with the spatula. Stir the chocolate chips until smooth. The residual heat will finish melting the remaining chocolate chips.
- Use the melted chocolate immediately.
Hershey vs. Nestle Instructions
Hershey’s melting instructions recommend setting the microwave to the 50% power level. Guittard also agrees. These are the instructions in this article.
Nestle Toll House chocolate chip packages say to melt 2 cups of chocolate chips on HIGH for 45 seconds. Then stir and microwave on HIGH for 15-second intervals until the chocolate chips are melted.
Unfortunately, because microwaves are different, you have a greater chance of burning the chocolate chips if you melt them on HIGH.
Melting them at a 50% power level gives you a greater chance for success because you are cooking low and slow. Sorry Nestle. We are skipping your instructions and playing it safe.
How the Size of Chocolate Chips Affect Melting?
The size of chocolate chips affects how many chocolate chips in an ounce. But what about melting time?
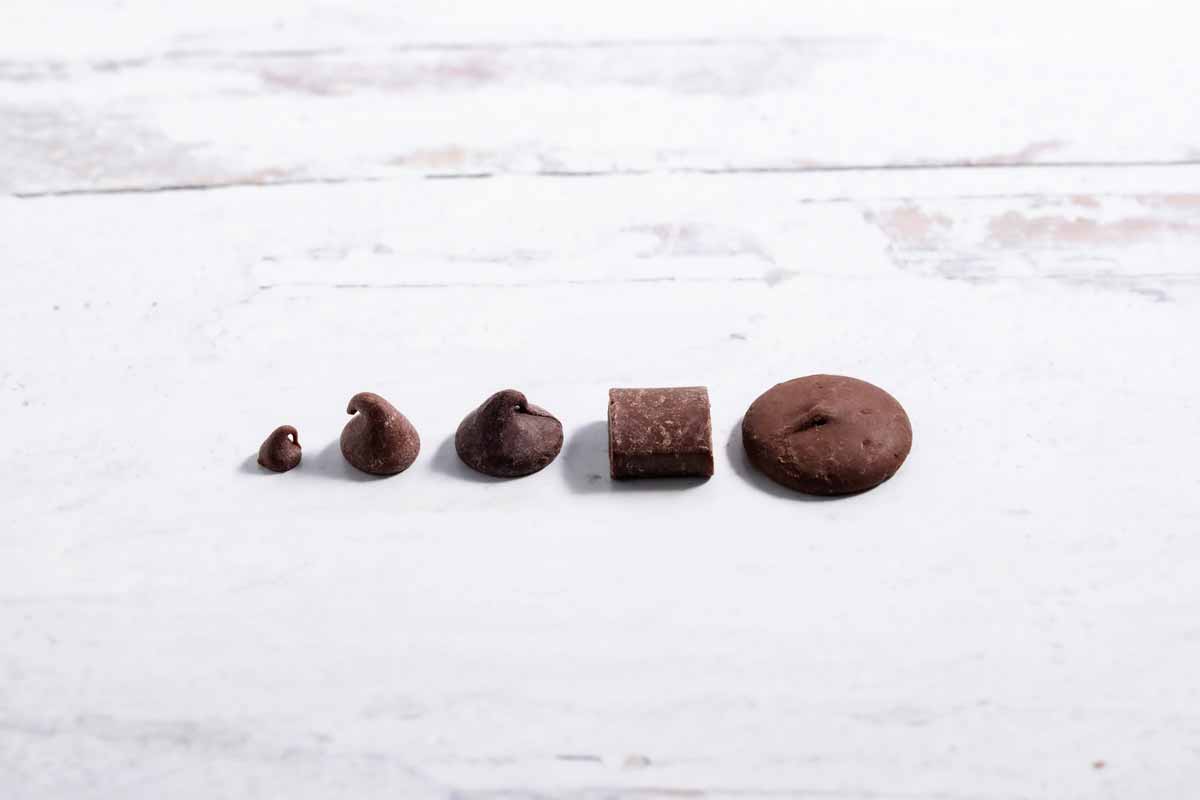
I tested to see if the size of the chocolate chips impacted the melting time. I analyzed mini chips, regular sized, jumbo, chunks, and wafers. These are the results.
- Mini chocolate chips: Melted at 50% power for 1 minute. Then followed with two 15-second intervals.
Total time: 1 minute 30 seconds. - Standard-sized chocolate chips: Melted at 50% power for 1 ½ minutes. Followed with two 15-second intervals.
Total time: 2 minutes. - Chocolate chunks: Melted at 50% power for 1 ½ minutes. Followed with one 15-second follow-up.
Total time: 1 minute, 45 seconds. - Jumbo chocolate chips: Melted at 50% power for 1 ½ minutes. Followed with two 15-second intervals.
Total time: 2 minutes. - Wafers. Melted at 50% power for 30 seconds. Followed with one 15-second interval. Wafers were smoother and slightly thinner than the other chocolate. Note that wafers are designed to be melted.
Total time: 45 seconds.
| Size of Chocolate Chips | Total Melt Time |
|---|---|
| Mini chocolate chips | 1 minute 30 seconds |
| Standard sized chocolate chips | 2 minutes |
| Chocolate chunks | 1 minute 45 seconds |
| Jumbo chocolate chips | 2 minutes |
| Wafers | 45 seconds |
Takeaway: Smaller sized chocolate melts quicker than larger pieces of chocolate. Mini chocolate chips melted 30 seconds quicker.
As a side note: Different brands of chocolate melted similarly. The amount of time it took the chocolate to melt was only affected by chocolate chip size and type of chocolate.
The result supports the idea of breaking a baking bar of chocolate into small pieces if you do not have chocolate chips.
You may also be interested in the 3 ways to measure chocolate chips.
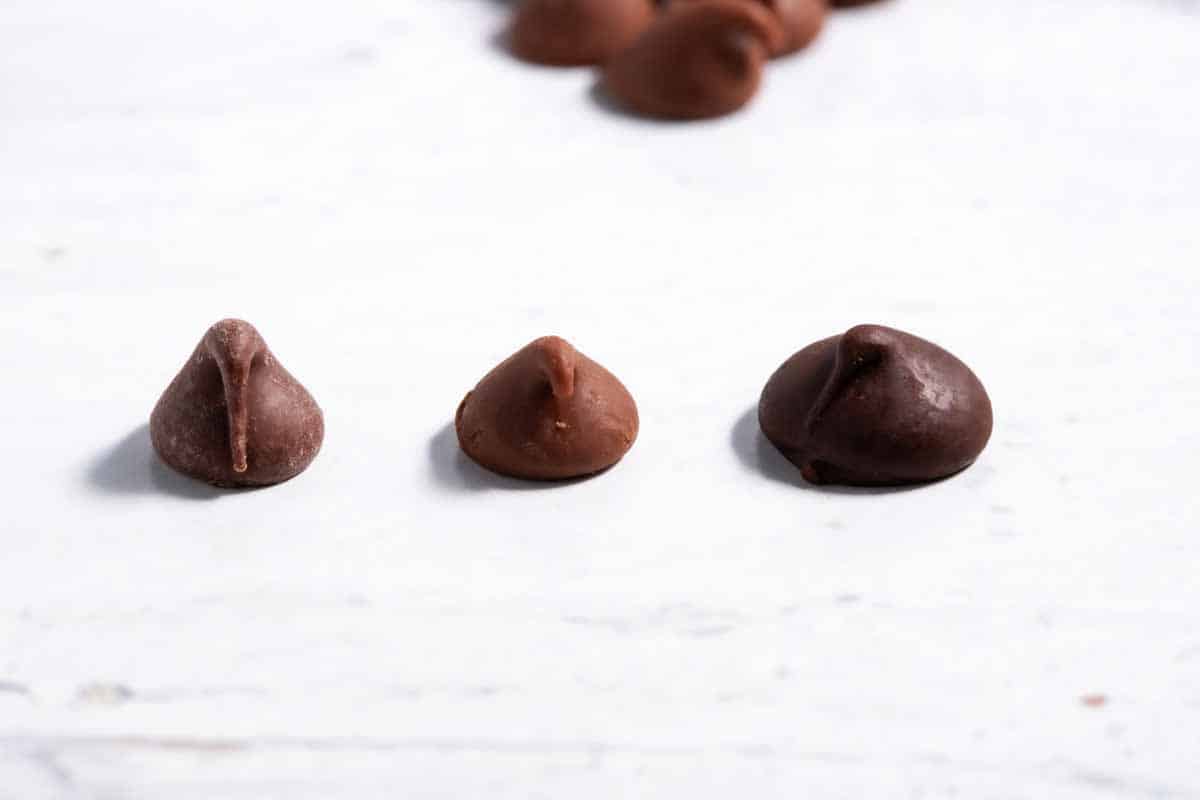
Does the Type of Chocolate Matter?
I wanted to find out if cooking times changed based on different kinds of chocolate. I evaluated milk chocolate chips, semi-sweet chocolate, dark chocolate chips, and white chocolate chips. All chocolate chips were the Nestle Toll House brand.
- Milk chocolate chips. Melted at 50% power for 1½ minutes.
Total time: 1½ minutes. - Semi-Sweet Chocolate Chips. Melted at 50% power for 1½ minutes. Followed with two 15-second intervals.
Total time: 2 minutes. - Dark Chocolate Chips. Melted at 50% power for 1½ minutes. Followed with one 15-second interval.
Total time: 1 minute 45 seconds. - White Chocolate Chips. Melted at 50% power for 1 minute. Followed with one 15-second interval.
Total time: 1 minute 15 seconds.
Different kinds of chocolate affect the melting time. White chocolate, which contains no chocolate liquor melted much quicker than the rest of the chocolate.
| Type of Chocolate | Total Melt Time |
|---|---|
| Milk Chocolate Chips | 1½ minutes |
| Semi-Sweet Chocolate Chips | 2 minutes |
| Dark Chocolate Chips | 1 minute and 45 seconds |
| White Chocolate Chips | 1 minute 15 seconds |
Does the Size of the Bowl Affect the Melting Time?
I melted chocolate chips in a 2-cup bowl and an 8-cup bowl using the same amount of chocolate chips.
- The chocolate chips took 15 seconds longer to melt in a larger bowl than they did in the smaller bowl.
Takeaway: Cooking times changed based on the bowl size. The smaller the bowl, the quicker the chocolate chips melted. Use a bowl big enough to stir the chocolate chips easily, but not any bigger than necessary.
Does the Type of Bowl Affect Melting Chocolate Chips?
I evaluated a Pyrex clear glass bowl, a ceramic bowl, and a silicone bowl to see if there were any differences when melting chocolate chips in the microwave.
- The melting time was identical for all the bowls.
- The ceramic bowl got the hottest. It also did not have a lip on the edges of the bowl so I had to touch the hot bowl. A ceramic bowl would be my last choice. It also took the longest to melt the chips, according to a batch of chocolate chip fudge I made.
- The silicone bowl remained the coolest and the lip never got hot. It was easiest to touch.
- The clear glass bowl had a lip, which did not get as hot as the rest of the bowl. I usually use a glass bowl for microwaving. But now that I tried the silicone bowl, I will have to change my ways. It stayed cool, even after microwaving.
Takeaway: Use a silicone bowl to prevent getting burned.
Why are My Chocolate Chips Not Melting in the Microwave?
The main reason why chocolate chips do not melt is because a little moisture got into the chocolate.
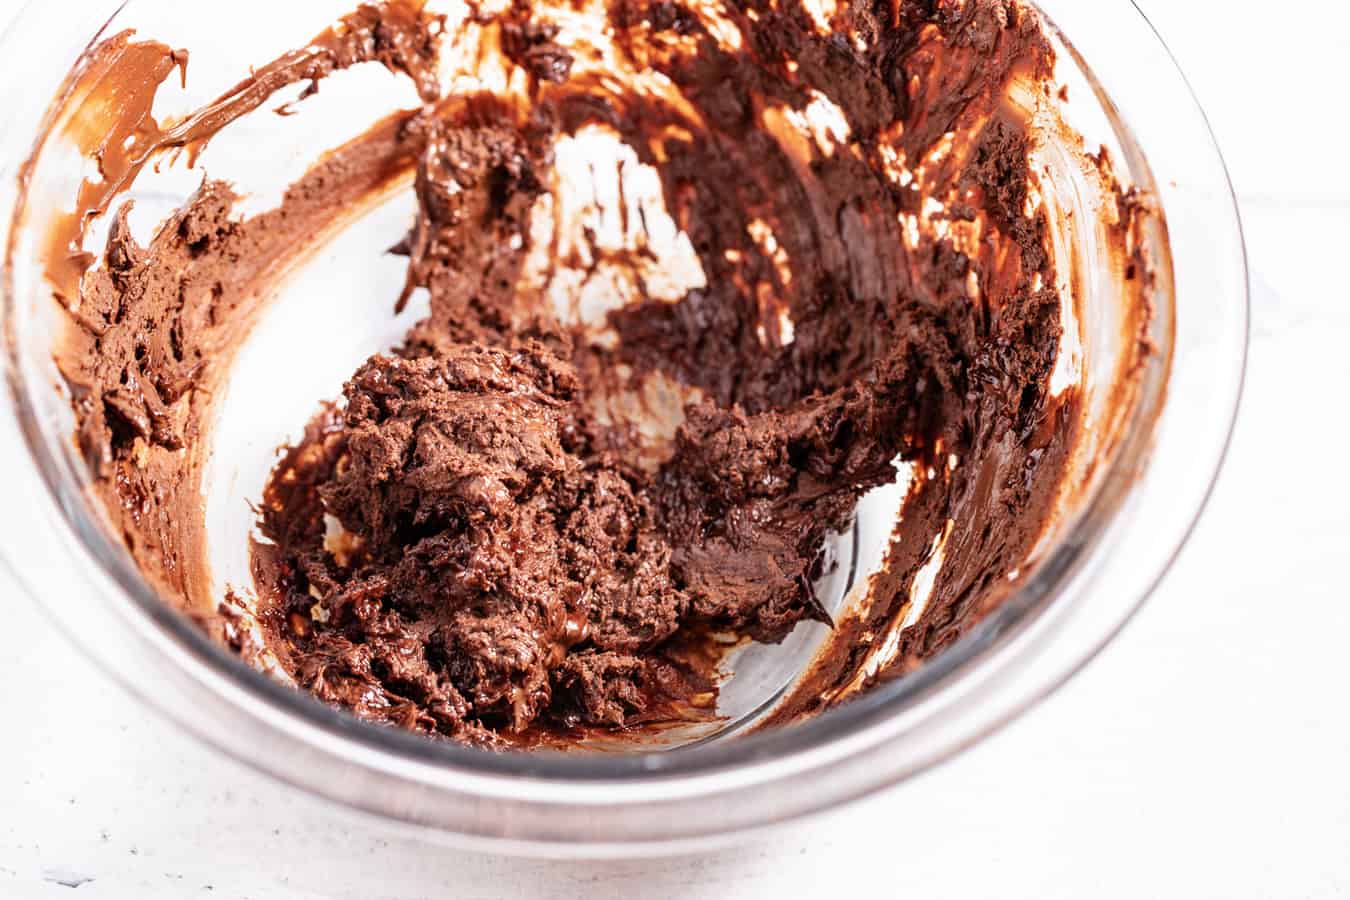
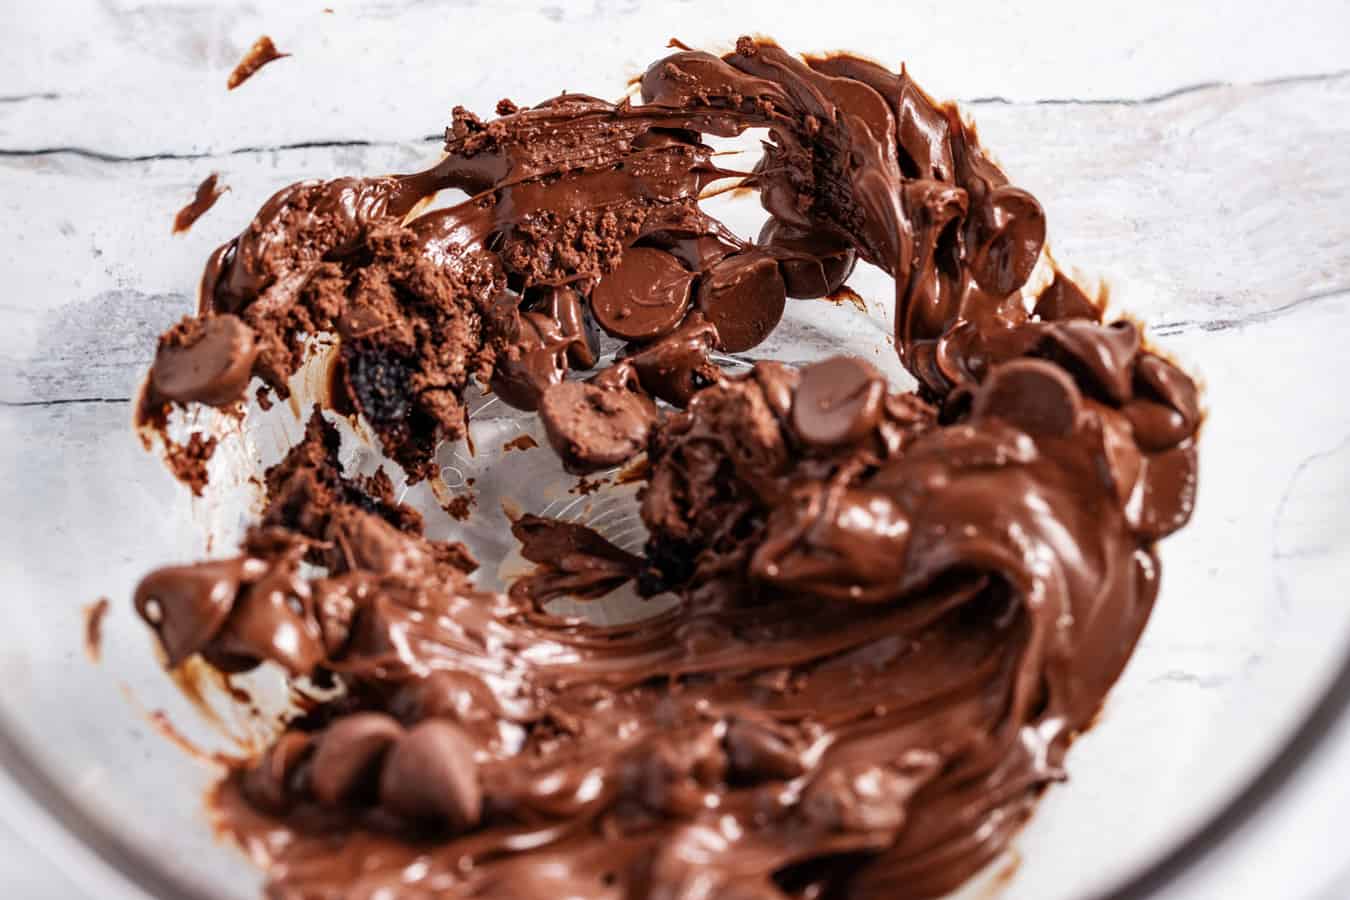
If your chocolate chips are not melting in the microwave, but are getting grainy instead, your chocolate is seizing.
Chocolate seizes when a little bit of water gets into the chocolate chips as they melt. This could happen if your bowl was slightly wet when you added the chocolate chips.
Or if you stirred the chocolate chips with a wooden spoon, the chocolate may seize. Wooden spoons retain moisture, which may transfer to the chocolate causing it to seize.
Finally, if you covered the chocolate chips when you microwaved them, moisture could have leaked into the bowl. Although this last scenario is most common when melting chocolate chips in a bain marie or a double boiler on the stove.
Can You Fix Seized Chocolate?
If your chocolate has seized, you may be able to fix it.
To fix seized chocolate, add 3 tablespoons of warm water for every 6 ounces (1 cup) of chocolate chips. This may seem counterintuitive since drops of water were what caused the problem in the first place.
But it does work. Make sure the water is warm and you add the right amount.
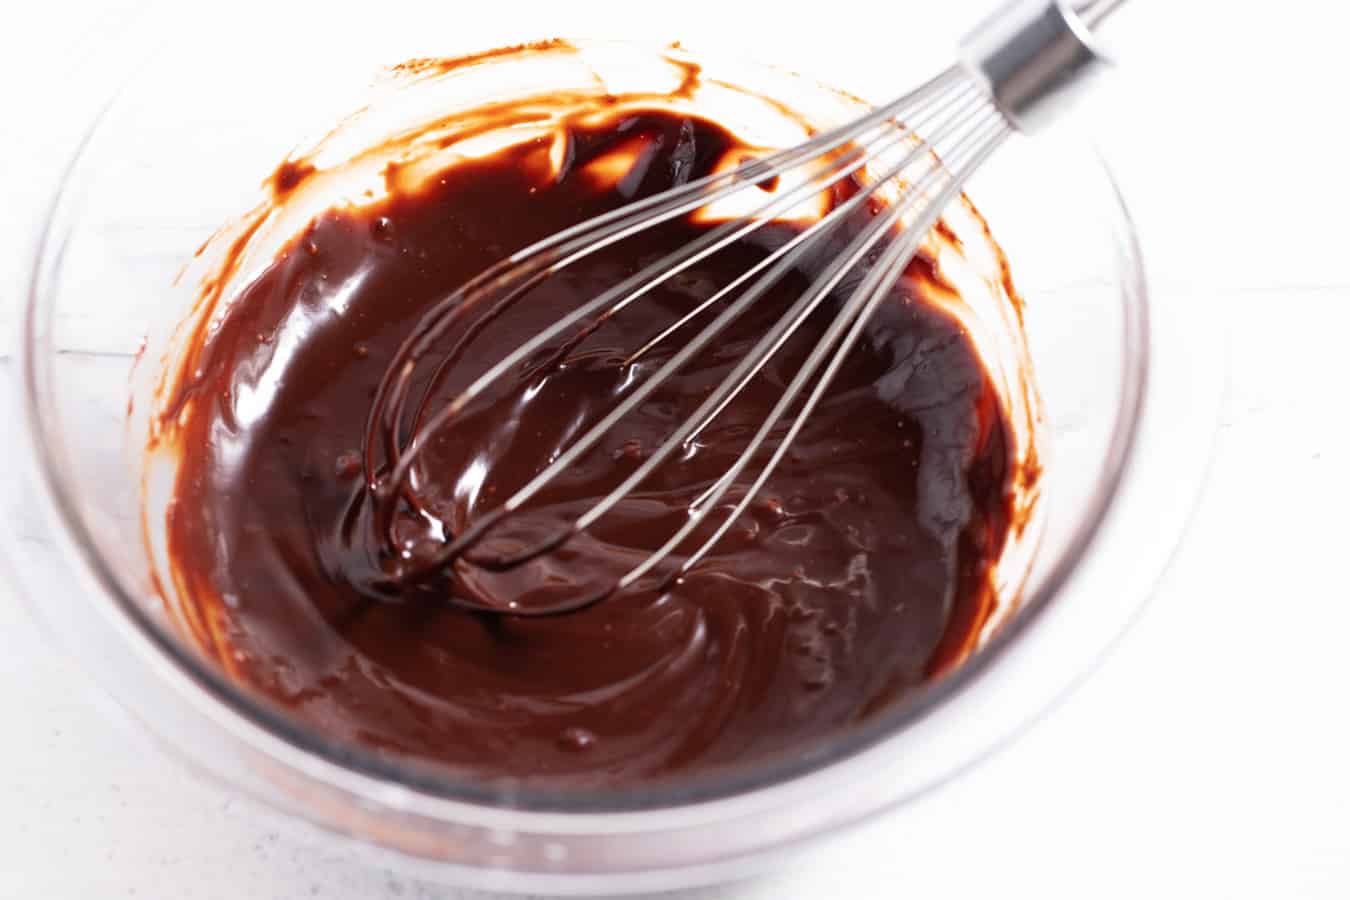
Heat in the microwave on medium heat (50% power) for 15-second intervals. Between each interval, whisk with a wire whip. Wire whips work better than spatulas in restoring seized chocolate.
How Do You Melt Chocolate Chips in the Microwave Without Burning Them?
Chocolate begins to melt between 86 and 90 degrees Fahrenheit.
Chocolate burns when it gets too hot. The quickest way to burn chocolate chips is to microwave them for too long. Microwaving on high power may cook the chocolate chips faster than you think it will.
Because each microwave is different, microwaving chocolate on high is not the best choice. Low heat is always better for melting chocolate chips.
To melt chocolate chips without burning them, microwave on 50% power for short intervals, until the chips are almost all melted.
Another reason your chocolate chips may be burning is if you are microwaving them without a turntable. To understand the importance of a turntable, you need to understand your microwave.
A microwave oven works by heating food with thermal radiation waves. The waves bounce around the inside of the microwave, penetrating the food. The waves cause the food molecules to vibrate and the molecule vibration causes the food to heat. Or in the case of chocolate chips, melt.
Bouncing waves inside a microwave oven often interfere with each other. Sometimes two waves join forces, which creates a hot spot. Sometimes two waves block each other’s intensity, which creates a cold spot.
The result is “hot” and “cold” spots in the microwave. If the bowl does not rotate as it cooks, the chocolate chips will be trapped in the hot and cold spots. Some of the chocolate chips will not melt, while others in the bowl will burn.
For even melting, always use the microwave turntable when you microwave chocolate chips.
How to Melt Chocolate Chips with Milk
The microwave method is one of the best methods to melt chocolate chips with milk.
The first step is to heat the milk for 30 seconds in the microwave. Use 3 tablespoons of milk for every 1 cup (6 ounces) of chocolate chips.
Next stir the chocolate chips into the hot milk. Swirl with a spatula until the chocolate chips melt.
Troubleshooting: If the chocolate chips are not melting, heat the chocolate chip and milk combination in the microwave on 50% power for 15 seconds. Pull out the bowl and stir.
If you are making hot chocolate with chocolate chips, heat the milk and chocolate chips together in the microwave. Then stir until the chocolate chips are melted.
Melting Chocolate Chips with Butter
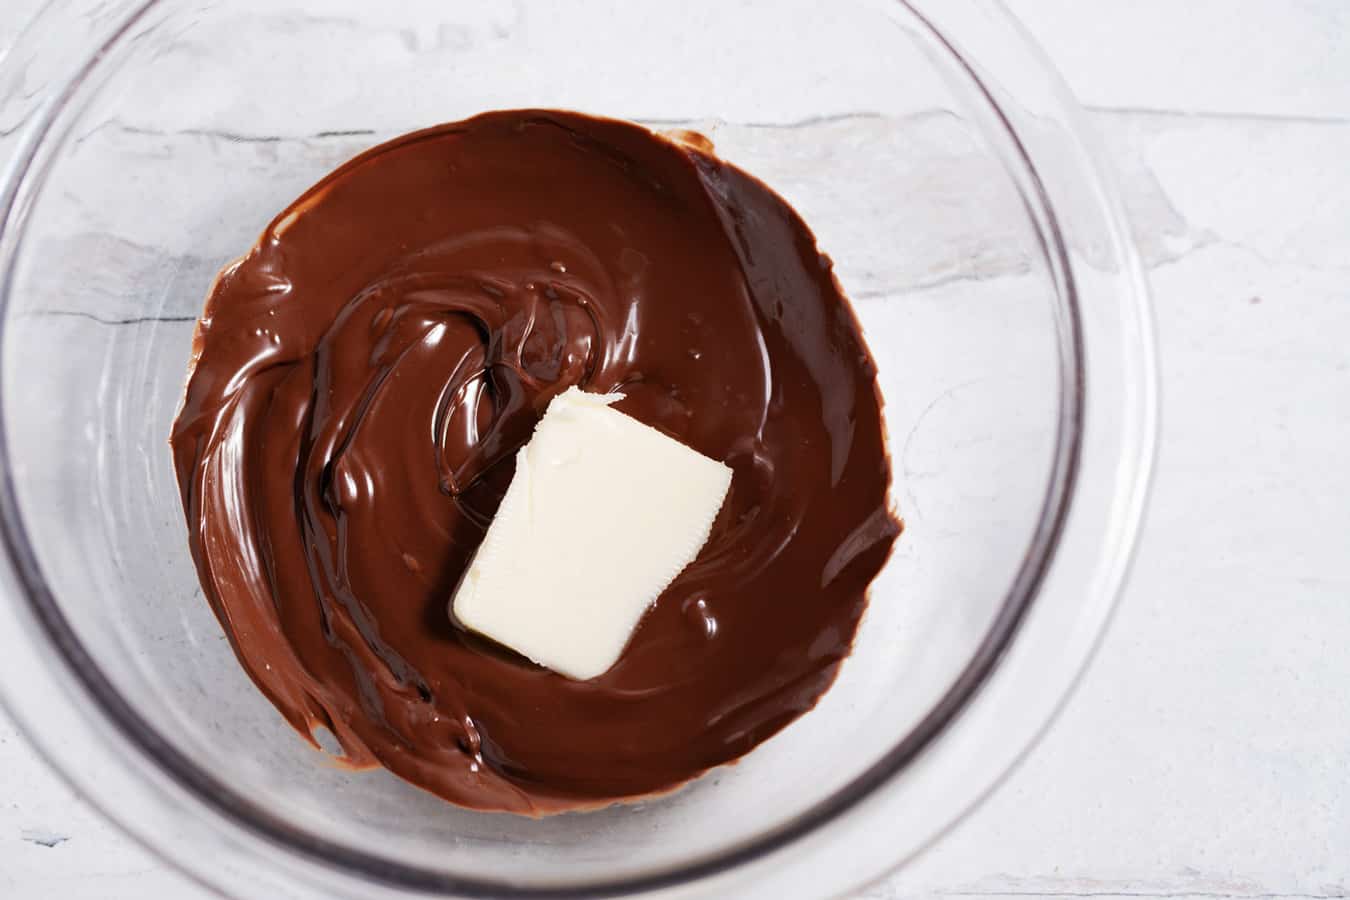
Some recipes, like brownies, call for melting chocolate chips with butter. The microwave method is the best method to use for melting chocolate chips with butter. Use room temperature butter for best results.
First, heat 1 cup of chocolate chips in a microwave-safe bowl at 50% power for 1½ minutes. Remove the bowl from the heat and stir. If necessary, return the bowl to the microwave and heat in 15-second intervals on 50% power.
When the chocolate chips are melted and smooth, add the room butter and stir until melted and incorporated. Add 2 tablespoons of butter for every ½ cup (3 ounces) of chocolate chips.
FAQ
It takes approximately 1 minute and 45 seconds to melt 1 cup of dark chocolate chips in the microwave.
This is longer than white chocolate and milk chocolate, but shorter than semi-sweet chocolate.
Compare white vs. milk chocolate or dark vs. white chocolate. Or contrast almond bark vs. white chocolate or candy melts vs. white chocolate.
What Can You Make with Melted Chocolate?
- Try white chocolate Chex mix with M&M's. It is the perfect sweet, salty, crunchy snack.
- Need to warm up? Try making hot chocolate with chocolate chips. It is easy and ready in under 2 minutes.
Check out all the other fabulous things you can make with melted chocolate chips.
Did you like this post? Then let's be social. FOLLOW ME on INSTAGRAM and PINTEREST to keep up with the latest happenings.
Recipe
How to Melt Chocolate Chips in the Microwave
Ingredients
- 1 cup chocolate chips any size, brand, or chocolate type
Instructions
- MEASURE 1 cup (6 oz.) of chocolate chips into a microwave-safe bowl. Glass bowls with rim or silicone bowls are best to avoid burning yourself on the bowl.
- SET the microwave to 50% power.
- MICROWAVE the chocolate chips uncovered at 50% power for 1½ minutes unless the chocolate is mini chips, white chocolate, or wafers. If mini, white, or wafers microwave at 50% power for 1 minute. The chocolate chips should have a shiny finish.
- REMOVE BOWL from microwave. Stir the chocolate chips with a silicone or rubber spatula. Be sure to scrape the sides and the bottom of the bowl. If most of the chocolate chips are not melted, microwave on the 50% power level for 15-second intervals. Stir in-between each interval.
- WATCH the chocolate chips closely. When 80 to 85% of them are melted and only a few lumps remain, remove the bowl. Scrape the sides of the bowl with the spatula and stir the chocolate chips until smooth. The residual heat will finish melting the remaining chocolate chips.
- USE immediately.
Notes
Nutrition
Did you make this recipe? Tag @thetastytip on Instagram and hashtag it #thetastytip.


Comments
No Comments