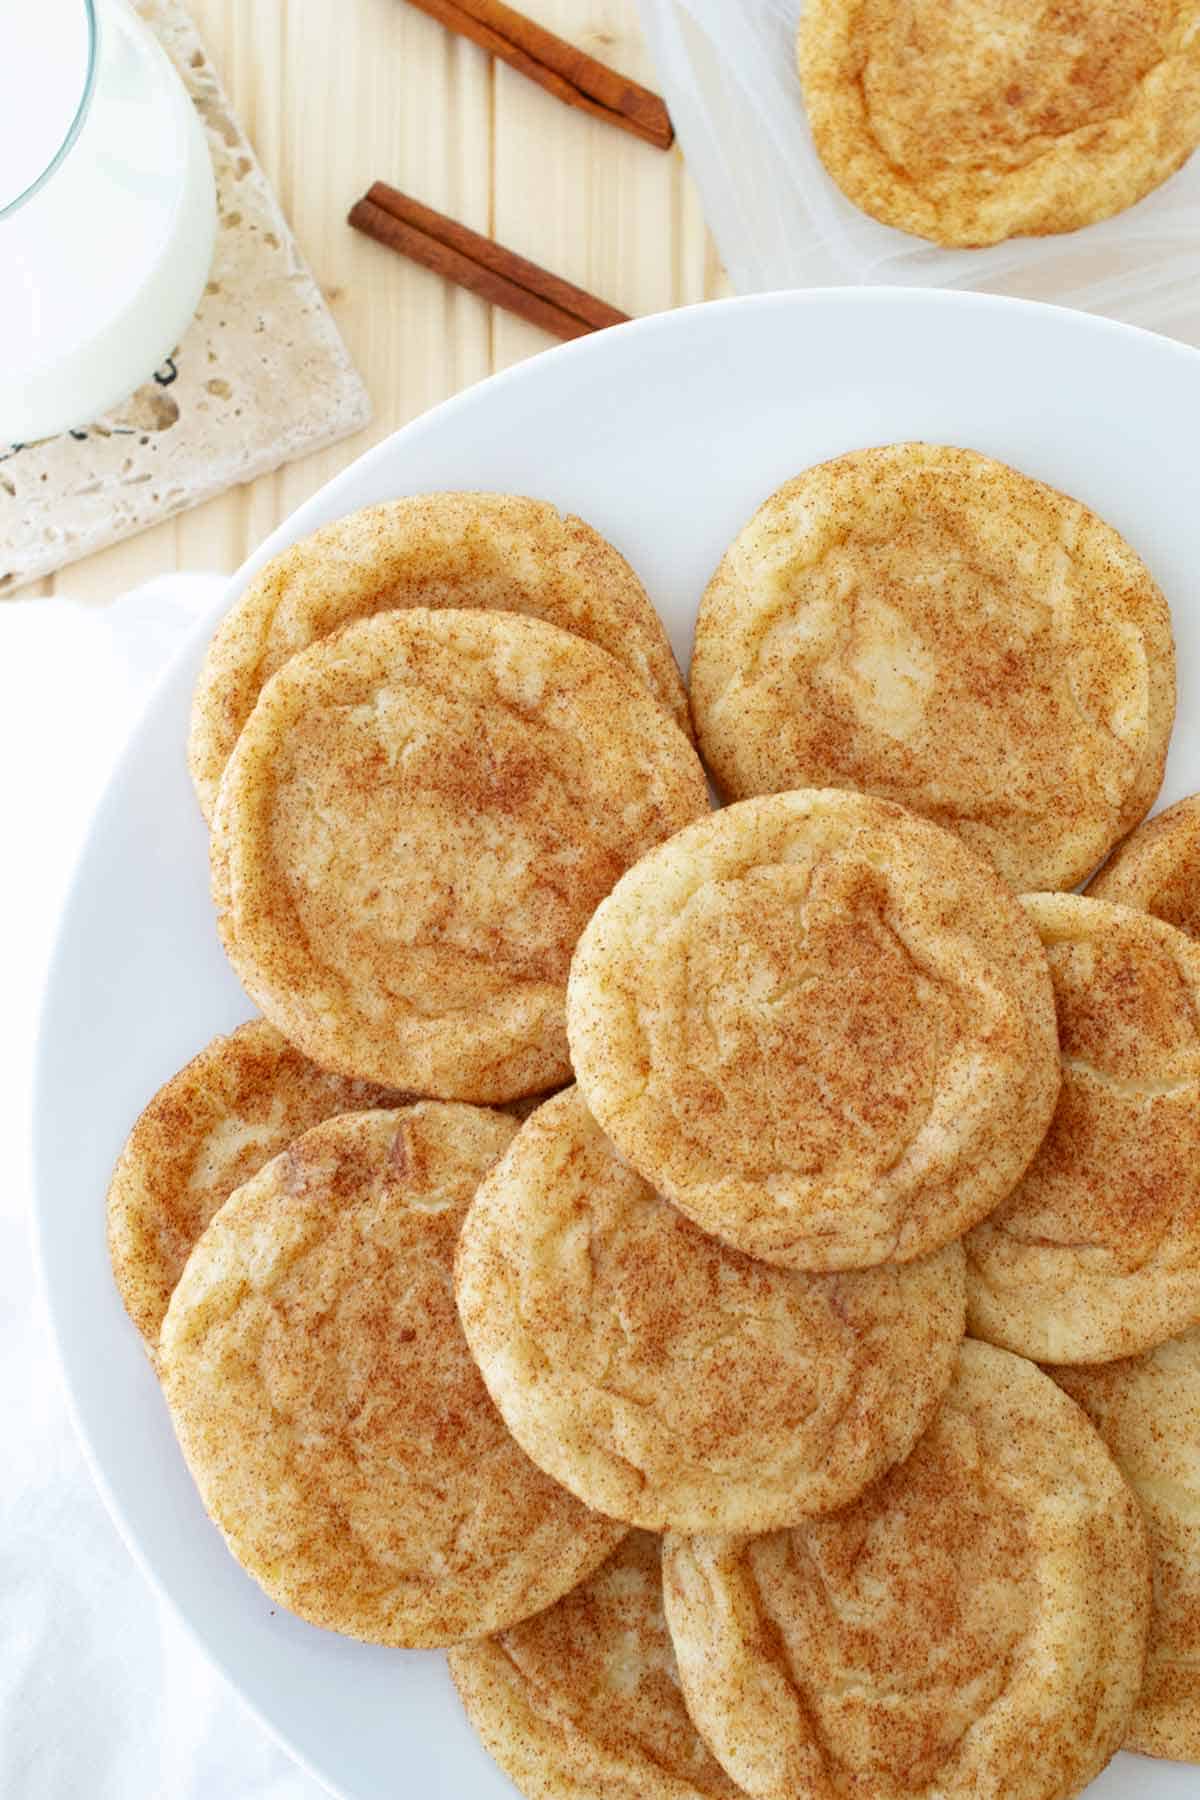
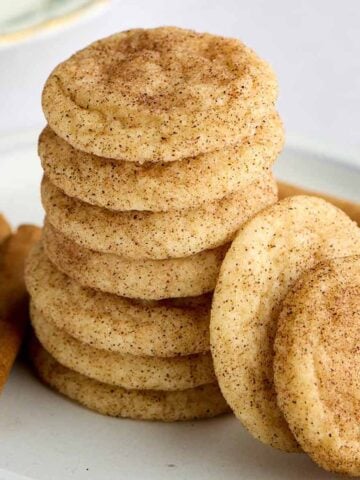
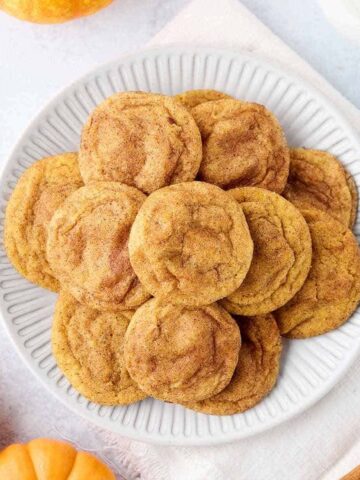
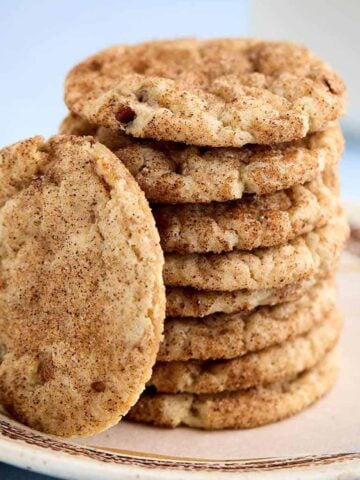
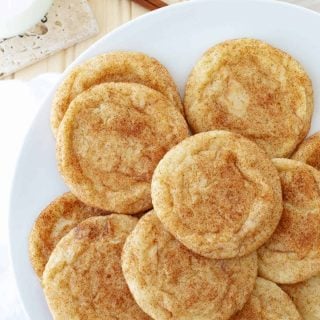
Indulge in thick, chewy snickerdoodle cookies without cream of tartar. You will love the sweet cinnamon buttery flavor, minus the distinct tangy aftertaste of traditional cookies.
Use baking powder (instead of cream of tartar and baking soda) and discover the cookie you can’t stop eating.
Are you ready to experience snickerdoodles like never before? Say goodbye to cream of tartar’s tangy aftertaste and hello to a new and improved recipe.
By swapping out the cream of tartar for baking powder, you'll be left with a batch of ridiculously delicious cookies.
Can you make snickerdoodles without cream of tartar? You can bake snickerdoodles without cream of tartar, but the tangy flavor that characterizes the classic cookie will be absent.
This heavenly treat tastes like a chewy sugar cookie dusted with cinnamon and sugar. And you may prefer this alternative version to the classic cookie.
Whether you are out of tartar or don’t like the aftertaste, no problem. I'm going to show you how to make the best snickerdoodle recipe without bothering with cream of tartar.
And it's going to be epic! Trust me, you won't miss that pesky little ingredient. Cream of what now?
Look for the baking powder snickerdoodle recipe at the end of the post. And check out all my delicious dessert recipes.
Jump to:
This is Gonna Be Your New Go-to Snickerdoodle Recipe! Here’s Why.
Get ready to revolutionize your snickerdoodle game!
- Secrets revealed. Forget the ingredients. It's the techniques in this recipe that make it stand out. Little things like egg and butter temperature, flour sifting, and cookie resting will transform your cookie game.
Trust me, these are the cookies everyone will be talking about. (Find all the juicy secrets in the Tasty Tip section below.)
- No cream of tartar needed. Don't have this obscure ingredient in your pantry? No problem! You can make these cookies just as good or even better without it.
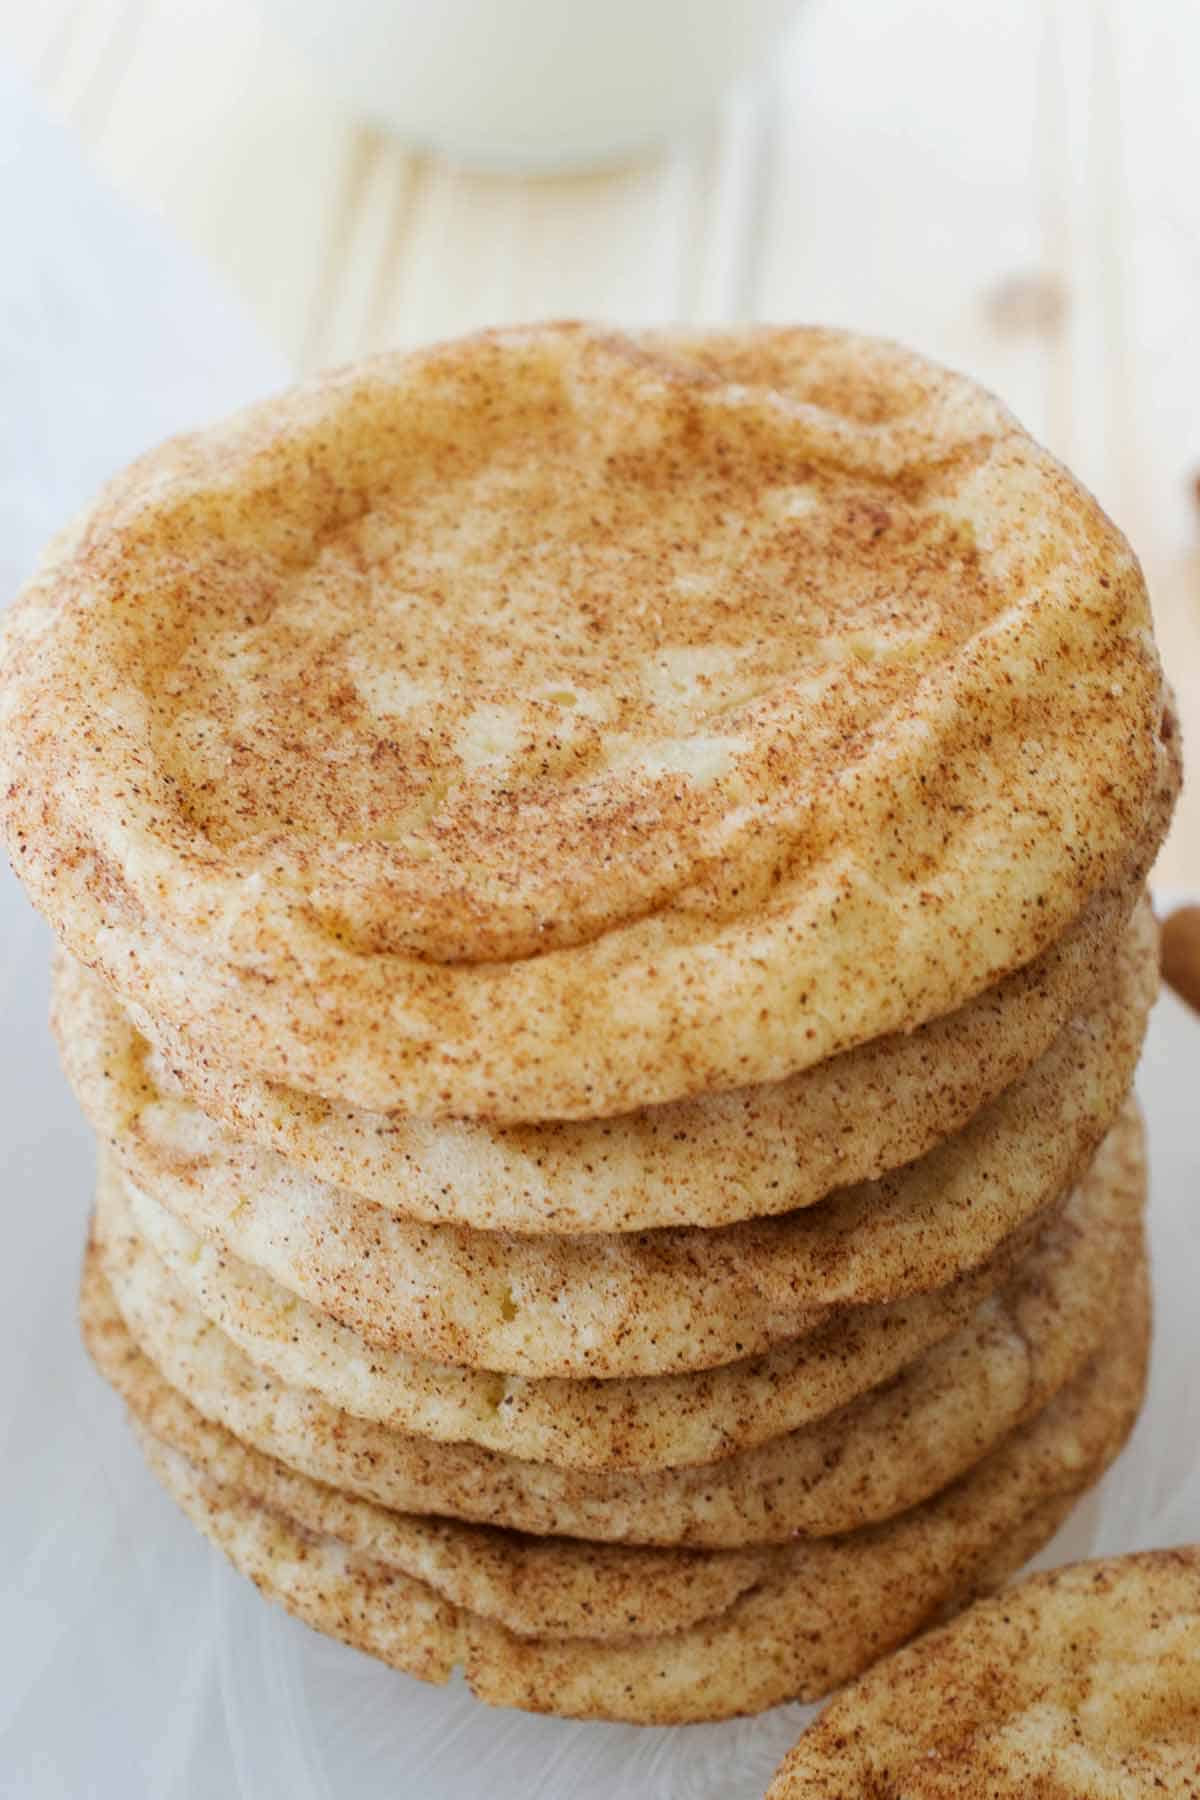
- Perfect for planning ahead. These cookies taste even better after being frozen and thawed. This makes them a superb make-ahead treat for parties or gifts.
They freeze and thaw like a dream, so you can indulge in snickerdoodle heaven all year.
Ingredients

It’s not the components but the technique that makes this snickerdoodle cookie recipe unique. Here are the simple ingredients in the recipe. For the complete list with quantities, see the recipe card.
- Flour. Grab some all-purpose flour. Then sift and weigh it on a kitchen scale. You own one, right? If not, you should. It will revolutionize your baking game.
Trust me. The difference it makes in recipes is incredible. I would choose a kitchen scale over a measuring cup any day.
Check out all the baking perks you get when you use a scale in baking.
- Baking powder. Why bother with the cream of tartar and baking soda tag team when you can let baking powder fly solo?
This unsung hero has the power to do the job that usually requires two ingredients. With baking powder on your side, you can make cookies with the perfect texture and flavor.
- Granulated sugar. Most of the sugar will get cozy with the butter during the creaming process. But save a couple of tablespoons for mixing with the cinnamon during the dough-rolling phase.
- Cold eggs. Don’t be afraid to let your eggs chill in the fridge until you’re ready for them. Cold eggs mixed into the cookie dough is one secret to getting that thick, fluffy cookie texture you crave.
After many cookie trials, I can confirm that cold eggs keep cookie dough at the ideal temperature to bake up perfectly.
- Cool room temperature, unsalted butter. To achieve the perfect balance of sweetness and saltiness, use unsalted butter. This allows you to have complete control over the salt content in your cookies.
However, in a pinch, salted butter will do just fine. Just remember to reduce the amount of salt in the recipe by about half to avoid an overly salty cookie.
Whatever kind of butter you use, it should be cool room temperature. A thermometer will read between 62 to 65°F (16 to 20°C).
If you don’t have a thermometer, you can tell (approximately) if butter is at room temperature by feel. Gently press the butter with your finger.
If it gives easily and makes an indent, but doesn't feel completely soft or melty, then it is likely at room temperature.
If you use warm butter, the cookies will spread all over the pan. This will affect the baking time and you could end up with crispy cookies.
When the butter is too cold, the cookies may not spread at all when baking. The finished product might be doughy.
- Vanilla extract. Don't underestimate the power of a little vanilla in your snickerdoodle cookies. While it may seem like a small addition, it adds a subtle yet essential flavor that can take your cookies to the next level. Believe me – you’ll miss it if it's not there.
- Ground cinnamon. Get ready to spice up your snickerdoodles with the perfect cinnamon-sugar ratio. It's all about balance. The ideal ratio is 1 part cinnamon to 3 parts white sugar.
For every 1 teaspoon of ground cinnamon, use 3 teaspoons (or 1 tablespoon) of sugar. This will give you the ultimate cinnamon flavor without being overpowering.
Substitutes
- What is a good substitute for cinnamon in snickerdoodle cookies?
If you are out of cinnamon, you can still make soft snickerdoodles. Although the flavor won’t be quite the same, roll the cookies with allspice, cloves, or nutmeg in place of cinnamon.
- What are good cream of tartar substitutes?
Baking powder is an excellent substitute for baking soda and cream of tartar in baking. It is what you will use in this recipe.
Lemon juice can also replace the cream of tartar for some things, such as stabilizing egg whites. However, because it is liquid, it doesn’t always work consistently in baking.
Variations
- Classic fluffy snickerdoodles with cream of tartar. Make a batch of traditional snickerdoodle cookies any time of year.
The classic cookie is slightly tangy from the cream of tartar, and the cinnamon-sugar coating adds a perfect balance of sweetness and spice.
- Mini snickerdoodle cookies. Minature snickerdoodles with full flavor.
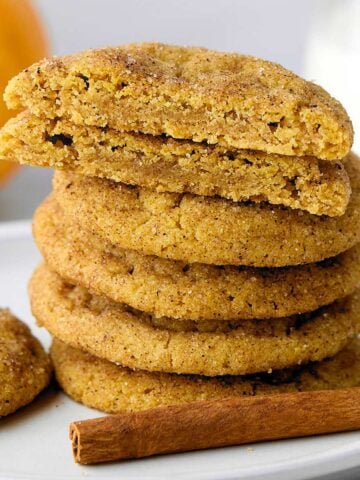
- Pumpkin snickerdoodles. Pumpkin snickerdoodle cookies without cream of tartar are the ultimate autumn indulgence for anyone craving a delicious pumpkin twist.
Pumpkin snicks have a soft and chewy texture, warm spices like cinnamon and nutmeg, and the perfect amount of pumpkin flavor.
Or, try chewy brown butter pumpkin snicks.
Directions
These directions will yield soft, thick, chewy snickerdoodle cookies. Some of the steps will be unique.
But if you want the perfect cookie, the cookie everyone raves about, then follow all the steps.
Prep Work
- Take the butter out of the fridge and bring it to room temperature. The ideal butter temperature is between 62 to 65°F (16 to 20°C). When lightly pressed, an indentation will remain in the butter.
- Preheat the oven to 400°F (225°C). Place the oven rack in the center position.
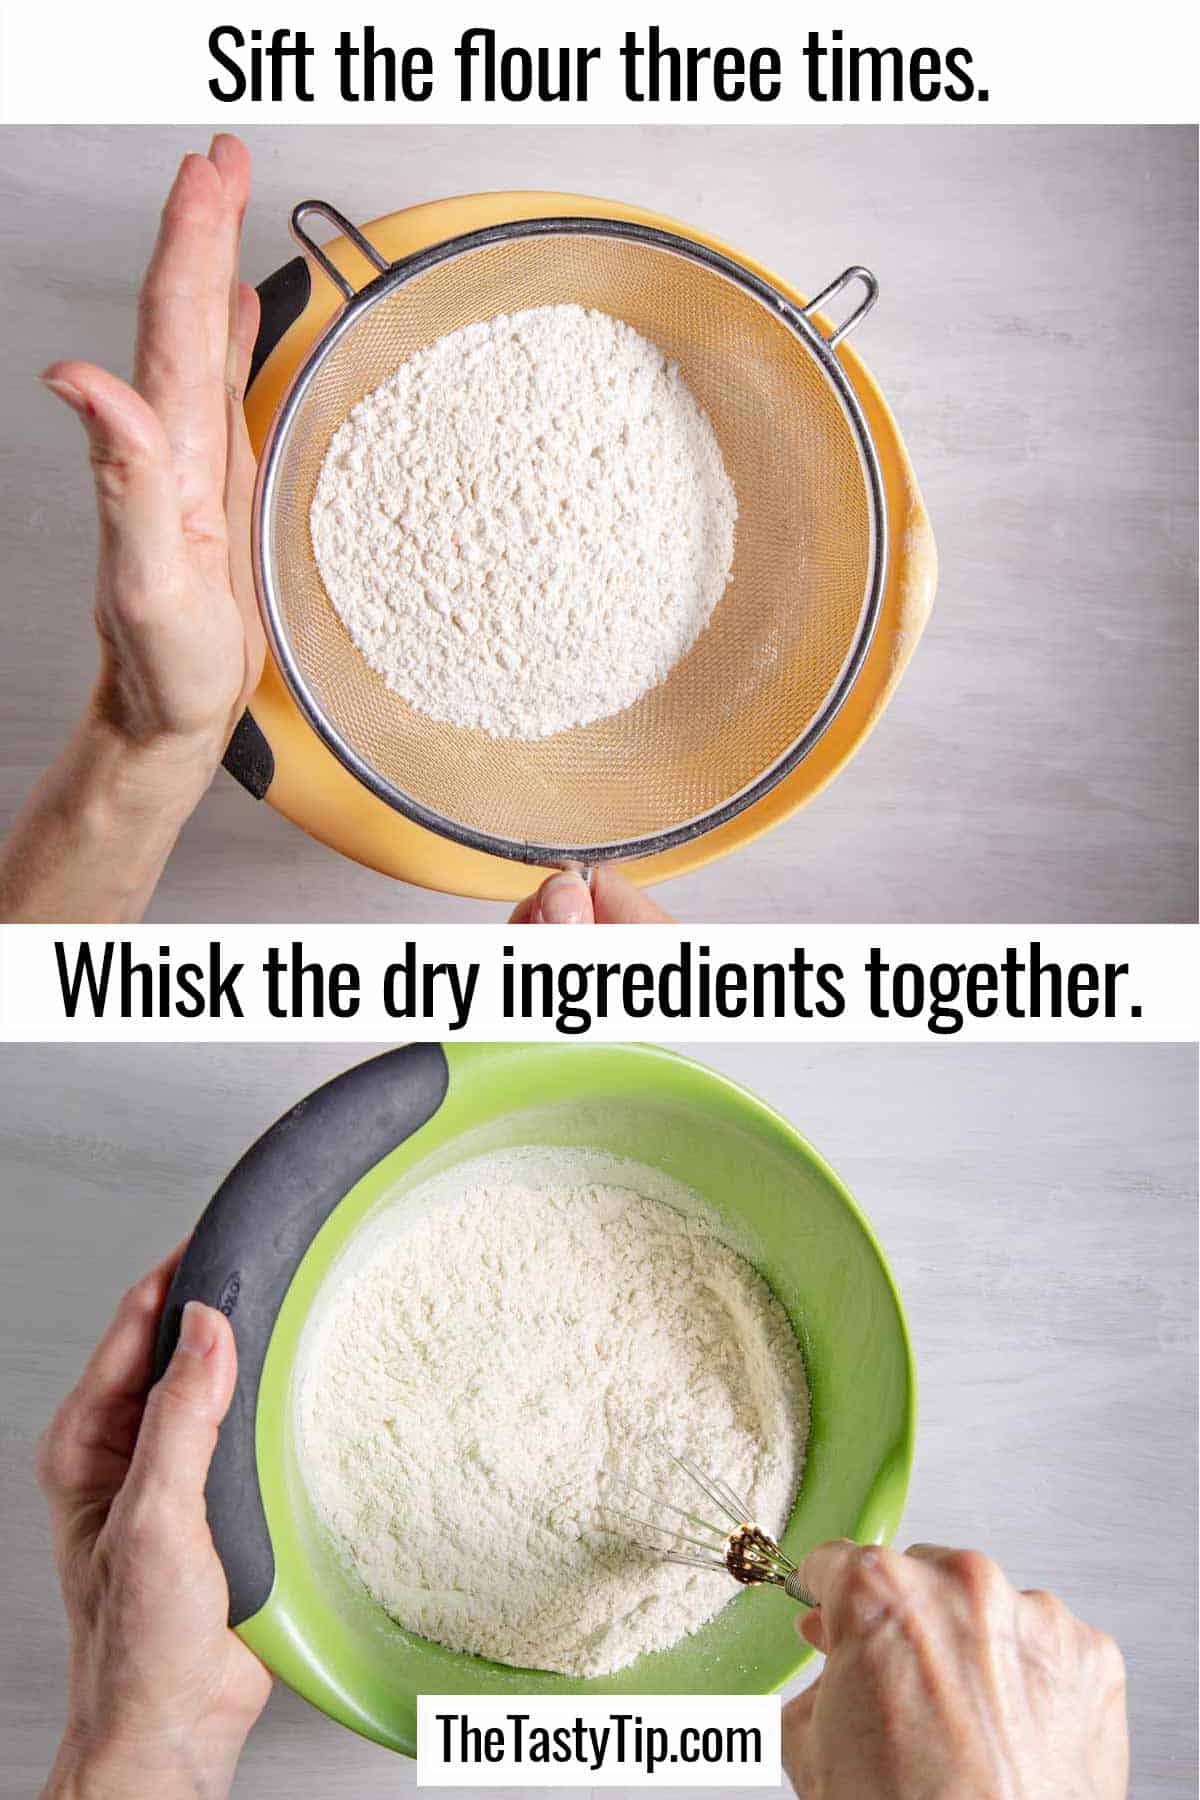
- Grab two big bowls and a mesh colander (or flour sifter). Sift the flour into a large bowl. Then sift it into the second bowl. Repeat the sifting once more. The flour will be light and airy.
- Weigh the flour with a kitchen scale. Alternately, spoon the flour into a measuring cup and use the back of a knife to level it. Pour the dry ingredients (flour, baking powder, and salt) into a bowl. Stir a couple of times with a large spoon. Set it aside.
Mix the Batter

- Cream the sugar and butter in a large mixing bowl with an electric hand mixer for 1½ to 3 minutes or until the texture progresses from sandy to creamy.
- Add the vanilla and the cold eggs to the butter mixture. (Remember, the eggs should come straight from the fridge.) Blend on low speed until the eggs are mixed into the cookie batter.
- Pour the flour mixture into the wet ingredients. Mix on low speed until the flour is thoroughly mixed in. Use a rubber spatula to scrape the sides and bottom of the bowl to get all the flour.
Scoop, Coat, and Bake
- Use a heavy-duty baking tray, like a Nordic Ware baking sheet. Line the cookie sheet with either parchment paper or a silicone baking mat.
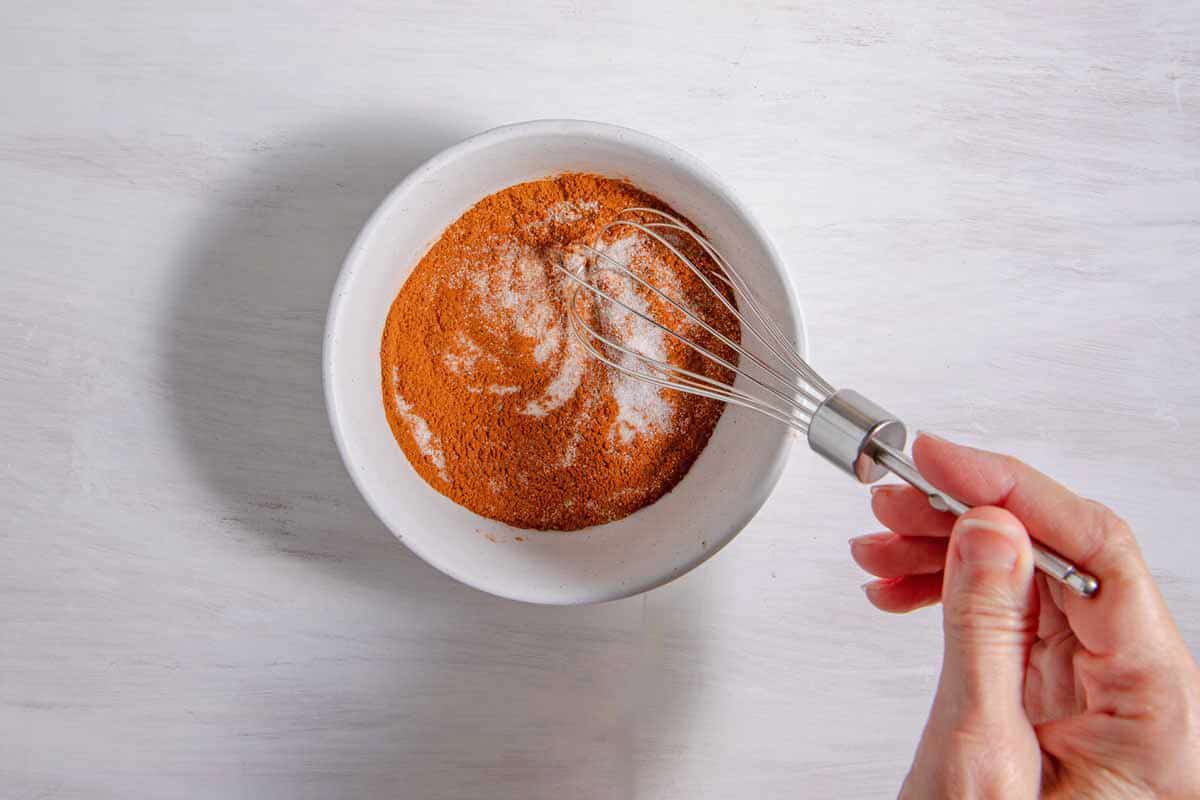
- Mix the sugar and cinnamon in a small, shallow bowl with a spoon or small whisk until blended.
- Use a 2-tablespoon muffin scoop to scoop out the snickerdoodle cookie dough. (This size scoop will give you a large, thick cookie.)
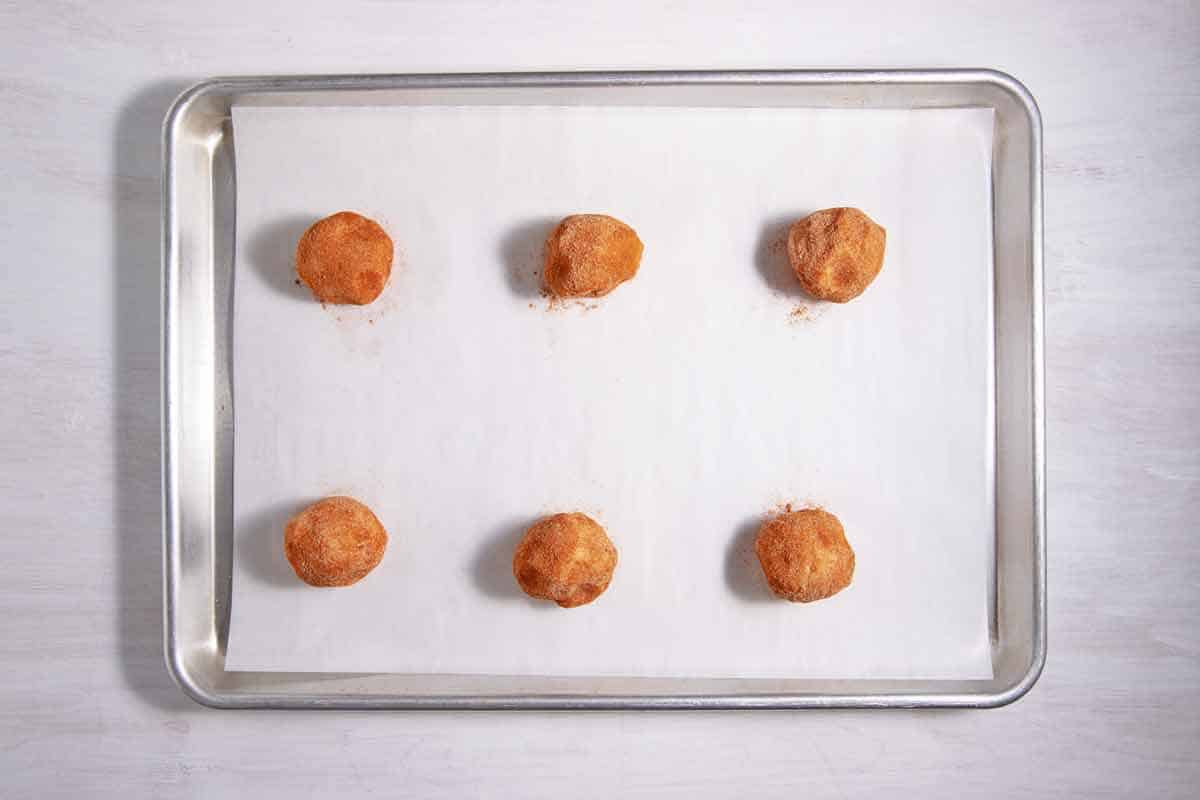
- Roll the cookie dough ball in the cinnamon-sugar mixture a couple of times until the ball is completely coated. Place it on the cookie sheet.
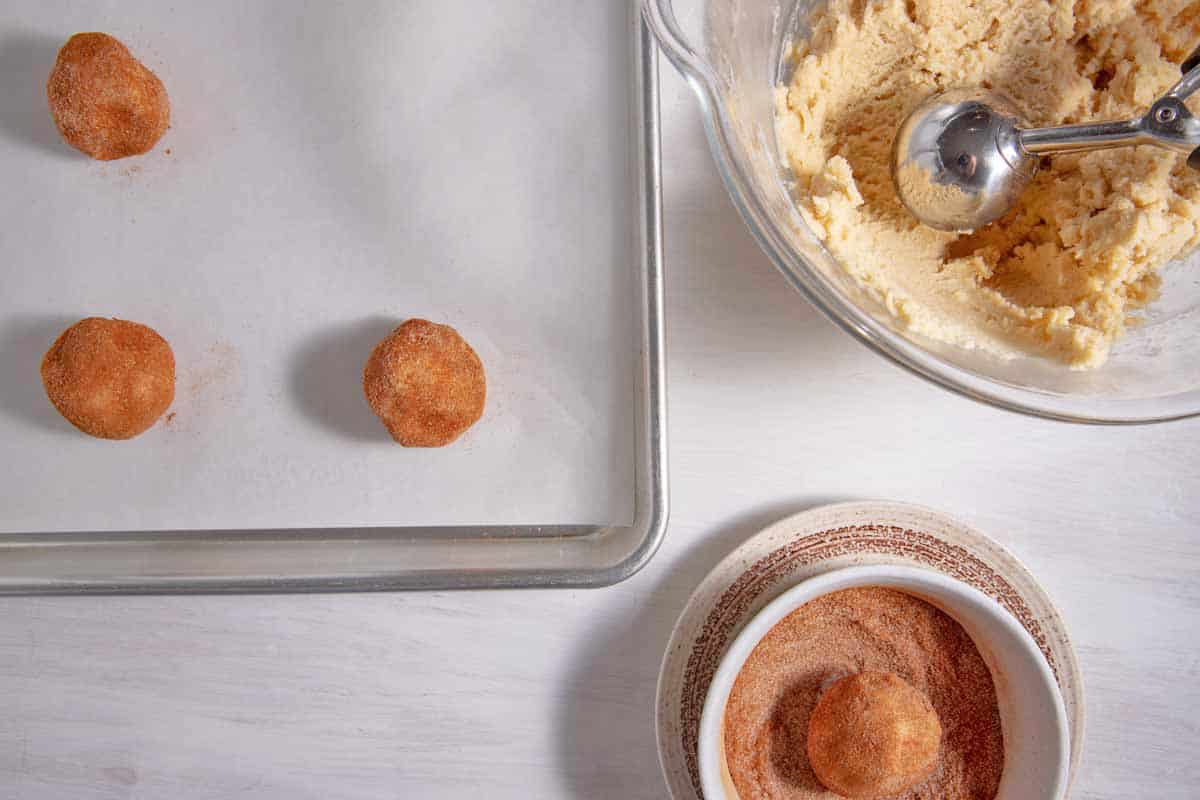
- Repeat with all the cookie balls. Space them about 2 inches apart on the prepared baking sheets. A half-sheet baking pan will hold 6 cookies.
- Bake in the hot oven for 8 to 10 minutes, or until the edges of the cookies are set, but the middles don’t look entirely done yet.
They should not be doughy but slightly underbaked. The baking time will vary based on dough thickness and your oven temperature.
- Remove the baking sheet from the oven and place it on a cooling rack for 5 minutes. This gives the tasty cookies a chance to solidify and finish baking with the residual heat from the pan.
- After 5 minutes, transfer the cookies from the cookie sheet to the cooling rack.
Cool and Rest
The cooling and resting phase is one of the most important but often skipped parts of making cookies. It takes patience, but you will love the taste of the chewy cookies if you do it.
- Cool the cookies on the wire rack until they are completely cool. This could take 30 to 60 minutes, depending on your kitchen temperature.
- When the cookies are cool, place them in an airtight container for 1 to 2 hours. (Or freeze them overnight. See instructions below.)
- After the cookies have rested in the closed container, serve them. You will love the soft and chewy texture and the unbelievable taste a little resting creates.
Freeze the Cookies
My favorite time to eat the cookies is after they have been frozen overnight and then thawed. Try it if you are patient enough.
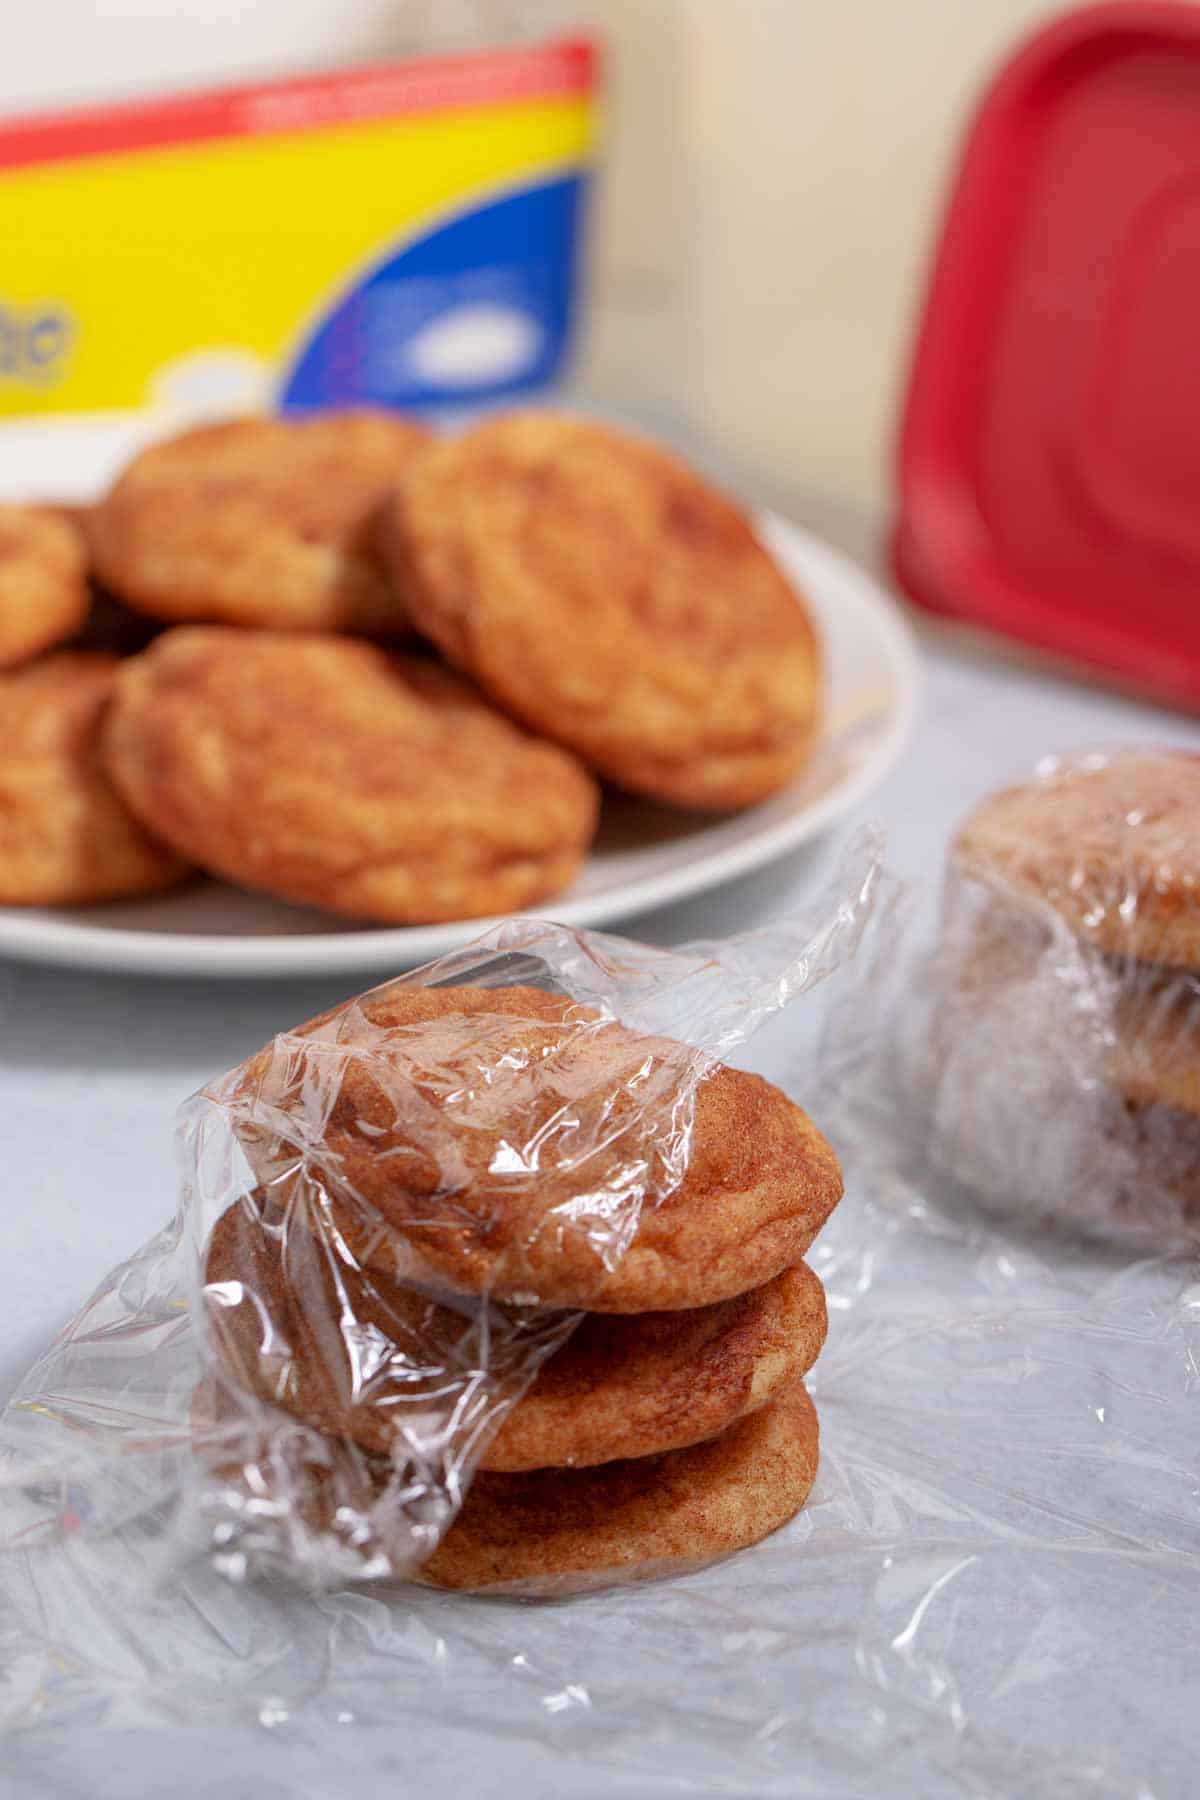
- After the cookies are completely cool, stack them in columns of 3 or 4.
- Double wrap them in plastic wrap.
- Place the cookies in an airtight freezer container.
- Freeze at least overnight, but several days is fine too.
- Remove them from the freezer several hours before serving them. Allow the cookies to come to room temperature. If you have a lot of cookies, thaw them overnight.
If you want to eat just one, thaw it for about 30 minutes.
You can also keep leftover cookies wrapped, in an airtight freezer container, and frozen for about 6 months.
Tasty Tips (For all Snickerdoodle Recipes)
I recommend these special pro tips and techniques for any snickerdoodle recipe on this site. You may think this is a unique way to make cookies. It is.
And you can taste the difference in this cookie versus all the other traditional snickerdoodles you’ve eaten.
To read more about these techniques, go to my post on the best classic snickerdoodle cookies.
- Sift the flour before you measure it. When you sift the flour back and forth between two bowls, it makes a massive difference in the softness and fluffiness of the cookie.
I usually sift the flour 4 to 6 times, but you can get away with 3 or 4 times. Use a wire mesh strainer (or flour sifter) and two big bowls.
It is easy and only takes about 3 minutes. It is well worth this small effort.
- Weigh the ingredients. Don’t measure by volume. You will get consistent results if you weigh ingredients — especially the flour. Digital kitchen scales are inexpensive yet so effective.
No one scoops and measures flour with the same results. But everyone can weigh 396 grams of flour with the same results.
- Calibrate your oven. Make sure you are baking at the right temperature.
Use an oven thermometer and find out how accurate your oven temperature is. When you calibrate your oven, you will get more consistent baking times.
- Line your baking sheet with parchment paper or a silicone baking mat. The #1 reason to use a liner is so the cookies can cool for a few minutes on the baking mat without sticking to it.
I recommend using a Nordic Ware baking pan lined with a parchment sheet for best results. It is my favorite way to bake cookies. Or line the pan with a silicone baking mat. (Affiliate links)
If you use an unlined baking sheet, you must transfer the cookies to a wire rack before 3 minutes have passed.
Otherwise, the cookies will stick to the pan because of the sugar coating. I scraped off way too many cookies before I started using parchment paper.
- Don’t overbake the cookies.
Bake the cookies just until the edges are set, but the very center of the cookie isn’t entirely done yet. The cookie won’t be doughy but will have a nice golden-brown color.
The residual heat from the pan will finish baking the cookie centers when you take them out of the oven.
If you cook the cookies too long, they may get hard and drier than you prefer. Keep your cookies soft by not over-baking.
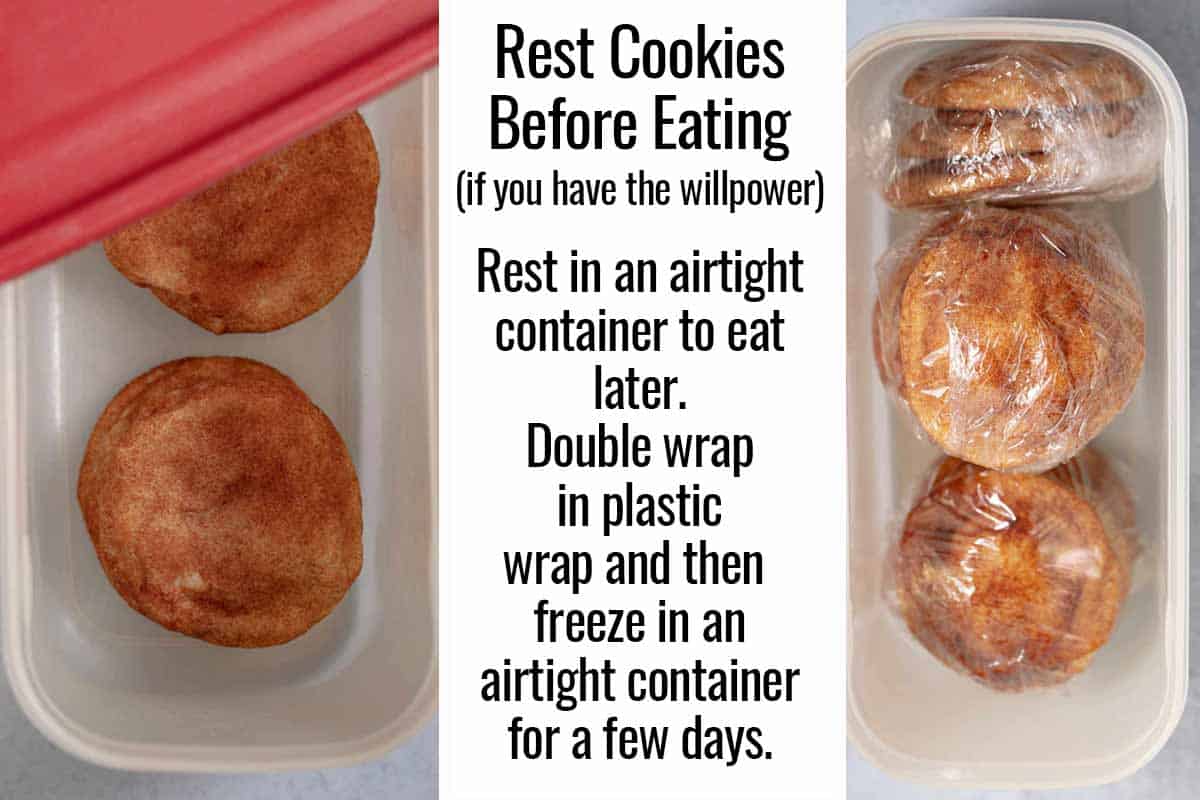
- Rest the baked cookies before eating them. (Yes, you need willpower.)
This step is optional. However, I discovered that cookies taste amazing after resting for a few hours in an airtight container. Or even better, after they have been frozen for a day or so and then brought back to room temperature.
They are soft, chewy, and fluffy — everything you want in delicious chewy snickerdoodles.
All of these tips will help make your cookie recipe stand out. However, you will notice a difference in your cookies even if you try only a few suggestions.

Frequently Asked Questions
Snickerdoodle flavor is a sweet flavor that typically features a combination of cinnamon and sugar. It is often used to describe baked goods, such as cookies, cakes, and muffins, that are coated or flavored with cinnamon and sugar.
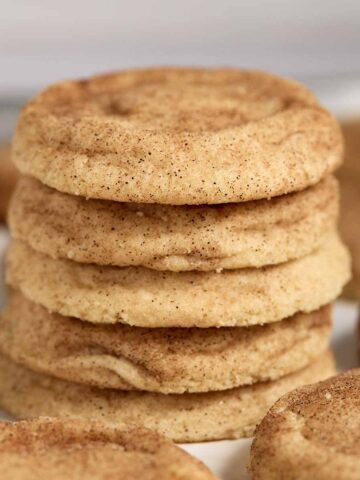
Snickerdoodle cookies have a sweet, buttery, cinnamon flavor with a slightly tangy aftertaste. The texture is soft and chewy in the center with slightly crispy edges.
The unique addition of cream of tartar gives the cookies a tangy, slightly sour taste, distinguishing them from regular sugar cookies.
Brave Tart author, Stella Parks, traces the snickerdoodle's evolution from "Snip Doodle" cake (a buttery cinnamon coffee cake) to cookie status.
But here's the twist – the original cookie recipe called for baking powder instead of cream of tartar. Back then, baking powder was rare in households. Instead, folks used a baking soda and acid combo to get their leavening on.
So the early cream of tartar recipe used a combo of cream of tartar and baking soda. Fast forward to 1891, and Cleveland Baking Powder busts out a homemade snickerdoodles recipe with baking powder in their national ad campaigns.
Baking soda is alkaline, and cream of tartar is acidic. The acid released when the cream of tartar dissolves in a batter reacts with baking soda to produce carbon dioxide. This combination becomes the leavening agent in the cookie.
When cream of tartar and baking soda are used, three things happen.
1. The cookie rises as it cooks and then falls as it cools.
2. Cracks appear in the cookie.
3. A tangy aftertaste mingles with the cinnamon sugar taste.
Cream of tartar also weakens gluten. As the gluten weakens, the cookie can become more tender. It can also make the crumb fine, tight, and whiter.
Fortunately, baking powder can singlehandedly fulfill the function of the combination of cream of tartar and baking soda.
Cream of tartar (for traditional snickerdoodles) and the cinnamon-sugar coating are the two main differences between the two cookies.
To learn even more, read this sugar cookie/snickerdoodle comparison. Find out the differences in taste, texture, appearance, and more.
Snickerdoodles are sweet, soft, thick, and chewy. Gingersnaps are spicy, crunchy, and thin. Learn more in the snickerdoodle/gingersnap comparison guide.
What to Serve with Snickerdoodles (or any chewy cookie)
- Hot chocolate. Hot chocolate is the way to go if you are eating these holiday cookies in the winter. Try hot chocolate made with chocolate chips for a quick, tasty drink.
- A cold glass of milk. Classics are always the best. In our house, some people think dunking a cookie is the best part.
Can you Make Snickerdoodles Without Cream of Tartar?
You bet! Really, who needs cream of tartar when you've got a whole lot of sass and a knockout recipe up your sleeve?
Recipe
Baking Powder Snickerdoodle Cookies (without cream of tartar)
Equipment
- 1 Oxo kitchen scale (optional but recommended)
- 1 Thermopro digital thermometer (optional but recommended)
Ingredients
- 3 cups 1 tablespoon (396 grams) of all-purpose flour Gold Medal recommended
- 1 teaspoon (4 grams) of baking powder
- ½ teaspoon (3 grams) of regular table salt
- 1 cup (227 grams) of unsalted butter, cool room temperature, about 65°F (20°C)
- 1⅔ cups (330 grams) of white, granulated sugar
- 2 eggs cold, straight from the refrigerator
- 1 teaspoon (5 milliliters) of vanilla extract
Cinnamon Sugar Coating
- 3 tablespoons (38 grams) of white, granulated sugar
- 3 teaspoons (8 grams) of ground cinnamon
Instructions
- PREHEAT the oven to 400°F (225°C). Place the oven rack in the center position. (See Note #1.)
- LINE a baking sheet with parchment paper or a silicone mat.
- SIFT several (4-5) cups of flour back and forth between 2 large bowls 3 to 4 times. Use a flour sifter or a wire mesh strainer.
- WEIGH 396 grams of the sifted flour on a digital kitchen scale and place it in a medium bowl. (See Note #2.)If you don't have a scale, use 3 cups + 1 tablespoon of flour. (To measure, spoon the flour into a measuring cup and use the back of a knife to level it.)
- WHISK the baking powder and salt into the flour.
- In a separate bowl, CREAM 1⅔ cup (330 grams) of sugar and the butter together with an electric mixer on high speed for 1½ to 3 minutes, or until the texture progresses from sandy to creamy. Please note: The butter should be between 62 to 65°F (16 to 20°C). Colder butter could prevent the cookie from spreading enough as it cooks. Warmer butter will cause the cookie to spread too much when baking and may create a more crispy cookie. If the butter gets too warm, refrigerate it for a few minutes before creaming it.
- BLEND the vanilla and eggs into the creamed sugar and mix on medium speed for 15 to 20 seconds. Please note: Take the eggs straight from the refrigerator before blending. They should be cold. (See Note #3.)
- MIX the dry ingredients into the wet ingredients. Use an electric mixer on low speed and mix until the flour is thoroughly mixed in. Scrape the sides and bottom of the bowl to get all the flour.
- In a small, shallow bowl STIR the cinnamon with 3 tablespoons (38 grams) of sugar until blended.
- SCOOP the cookie dough with a 2-tablespoon cookie scoop. (See Note #4 for instructions on using a smaller scoop.)
- ROLL the cookie dough ball in the cinnamon-sugar mixture until it is thoroughly coated.
- PLACE the cookie dough ball on the lined cookie sheet.
- REPEAT rolling the cookie dough balls and place them all on the baking sheet 2 to 3 inches apart.
- BAKE for 8 to 10 minutes. If your oven heats unevenly, rotate the cookie sheet in the oven at the 6-minute mark so the cookies bake evenly. Then bake an additional 1 to 3 minutes, or until the edges are set, but middle does not look completely done. Use your judgement here. The cookie should not be doughy. Bake until the cookies look almost done.
- REMOVE the baking sheet from the oven and cool the pan on a cooling rack for 5 minutes. Turn the oven off.
- TRANSFER the cookies from the baking sheet to the cooling rack and allow them to cool completely, about 45 minutes to 1 hour.
- REST the cookies. Place the cooled cookies in an airtight container for a minimum of 1 hour, but 2 to 3 hours is better. (See Note #5.)(A better option is to freeze them overnight. See instructions below.)
- SERVE with hot chocolate or a glass of cold milk.
TO FREEZE & THEN THAW (for amazing taste):
- COOL the cookies completely.
- STACK the snickerdoodles 3 or 4 cookies high.
- DOUBLE WRAP the stacked cookies with plastic wrap, ensuring that the cookies are completely covered.
- PLACE the wrapped cookies in an airtight freezer container.
- FREEZE the cookies for at least 24 hours. But a few days is fine.
- REMOVE the cookies from the freezer several hours before eating them.
- BRING the cookies to room temperature.
- UNWRAP the cookies and place them on a serving plate.
- EAT AND ENJOY!
Notes
- Make sure your oven temperature is accurate by testing it with an oven thermometer.
- Weighing ingredients instead of measuring by volume will give you the best results in this recipe and all baking recipes. I like the Oxo kitchen scale, but any accurate scale will work.
- Using cold eggs, straight from the fridge keeps the batter cool and prevents the dough from spreading too much while baking. The end result is thick cookies.
- If you use a smaller cookie scoop, reduce the bake time by about 2 minutes. Keep a close eye on them while they bake.
- Resting the cookies after baking them is optional. However, they taste amazing and have an incredible soft, chewy texture when you rest them before eating them.
- Freeze the cookies in an airtight freezer container for up to 6 months for the freshest taste.
Nutrition
Did you make this recipe? Tag @thetastytip on Instagram and hashtag it #thetastytip.
Craving More Cookies?
Did you like this post? Then let's be social. FOLLOW ME on INSTAGRAM and PINTEREST to keep up with the latest happenings.


Louisa
Baking soda is mentioned in your description of the recipe but is not listed as an ingredient in the recipe itself. Is baking soda optional?
Tami Mack @ The Tasty Tip
There is no baking soda in the recipe. Only baking powder. The baking powder takes the place of baking soda + cream of tartar usually found in snickerdoodle recipes.
Krysta
Hi!
I made these and the dough did not spread but the bottoms became slightly brown so I had to remove to prevent burning. Any idea what I may have done wrong?
Tami Mack @ The Tasty Tip
It sounds like one of two things. Either too much flour was added or the butter was too cold. I recommend weighing the flour instead of measuring it in measuring cups for more accuracy. Cookies with too much flour won't spread much.
Butter that is too cold can keep the dough from spreading also. And during the winter, our kitchens are colder. Cool, room-temperature butter is about 65°F. If you don't have a thermometer, you can do a touch test. You should be able to press your finger into the butter and make an impression. This isn't as accurate as taking the temperature though.
Creaming the butter and sugar for 1½ to 3 minutes is also an important step. And if your butter was too cold to begin with, creaming for the full 3 minutes should lower the temperature and let the cookies spread more.
Good luck. I hope you try it again because these cookies are worth it.
Krysta
@Tami Mack @ The Tasty Tip,
The taste is fantastic! I just need them to spread out. I’m going to try the tips you suggested but can tell you I could not press my finger in the butter to make an imprint so that was most likely the issue. Thank you so much!
Rae
I made these in my culinary class today and they were amazing! My grandma asked for the recipe! Slay queen SLAY! 💅🏽
-Gen Z
Tami Mack @ The Tasty Tip
Great! I hope you share the recipe with Grandma.
Rebekah
Nice recipe! I have a cream of tartar snickerdoodle recipe I've used for years. I started to make a batch for my kiddos and then realized I'd run out of cream of tartar. I found this recipe and decided to give it a shot. I was not disapointed! My kids said they preferred these over the ones with the tangy aftertaste. This one's replacing my old recipe. 🙂
Tami Mack @ The Tasty Tip
I'm so glad you found this recipe. My family loves these cookies!
Valencia K.
Alas, a cookie that actually turns out great without me altering the recipe. I was able to completely follow this recipe without drawbacks 😀
Tami Mack @ The Tasty Tip
Yay! So glad it worked out for you.
Grateful
Thank you! This recipe is amazing. I am not a good cook by any means and these turned out fantastic. This is definitely my go to cookies recipe now!
Tami Mack @ The Tasty Tip
Another snickerdoodle fan! I'm so glad you liked the recipe.
Sarah
I'm interested in baking these for the holidays. Do you know how long they will last in an airtight container at room temperature after baking? Also, If I don't have a two tablespoon muffin scoop, would using 1 tablespoon and making more, smaller cookies affect the baking time?
Thank you!
Tami Mack @ The Tasty Tip
The cookies will last about 2 days in an airtight container. If you aren't able to freeze them (which I recommend), wrap them in plastic wrap before putting them in the airtight container as an added layer of freshness protection.
I find that smaller cookies take about 2 minutes less time. Keep a close eye on that first batch to be sure of the timing. Enjoy!
Charm
I was wondering, if using a gas stove, would one adjust the heat? I'm thinking at least 25-50 degrees lower then recipe? I've been under the assumption gas stoves heat hotter then electric.
Tami Mack @ The Tasty Tip
The only way to know the true temperature of your oven is to get an oven thermometer (affiliate link). I also recommend reading my post on how to calibrate your oven. It gives helpful tips on learning the hot and cold spots of your oven for better baking.
As far as baking the snickerdoodles, you can lower the temperature 50 degrees and then keep a close watch on the cookies as they bake.
Kyndall Dowdy
Can you use gluten free flour
Tami Mack @ The Tasty Tip
I have never tried it with gluten free flour. Usually gluten free flour can replace all purpose flour at an equal ratio, plus 1/4 teaspoon of xanthan gum for every 200 grams of flour. If you try it, let me know how it turns out.
Alisha
I just made these cookies and they are amazzzzzzingggg!!!!!! I’m not much of a baker but these turned out phenomenal, super chewy delicious! Thank you so much for the recipe
laura
Hello! These cookies look fabulous, do you know how long they'd keep in the freezer?
Tami Mack @ The Tasty Tip
Properly wrapped, they would keep 3 to 4 months with no problems.
Dee
Excited to try this recipe, but all I have is whole wheat flour. Do you think that will work?
Tami Mack @ The Tasty Tip
It should work, although they will be a bit heavier of a cookie. I recommend using less flour than the recipe calls for, but I can't help with the amount since I haven't used whole wheat flour with this recipe. Let me know how they turn out.
Ria
Great to be able to make them without cream of tartar. Thank you!
These cookies for me came out on the sweeter side. They also taste slightly doughy but I didnt want to bake them longer than recommended as they would then be crunchy, so maybe a minute or so longer on 375?
Tami Mack @ The Tasty Tip
I recommend cooking them at 400 degrees, not 375 degrees. Because every oven is different it is important to rely on your observations, as well as the recipe time. If the cookies look too doughy, keep baking them even if it takes longer than the recipe says. That is what I had to do when I baked these snickerdoodles in my friend's oven. Give them another try with this in mind.
Kate
Do you use large or medium sized eggs?
Tami Mack @ The Tasty Tip
Use large eggs.
Alex
What should I do if my cookie looks tall and it comes out bready?
Tami Mack @ The Tasty Tip
It sounds like you used too much flour. I recommend weighing the ingredients to get the right ratio. I hope you try the recipe again, weighing and sifting the flour. It will be worth it!
Scotland Orme
Awesome Recipe!! I was just craving snickerdoodles but don’t have Cream of Tartar and neither did my Wal-Mart (which was odd) this recipe is perfect and fluffy and chewy and yummy! I definitely recommend it this! Super easy to make. It is important to watch the temperature of butter and refrigerating it works perfectly! They are great fresh and great after being frozen! Thank you!
Tami Mack @ The Tasty Tip
So glad you enjoyed them. Nothing like snickerdoodles in the summer!
Olivia
My mixture is runny. So you think refrigerating the mixture will harden it? I think a warmed up my butter too much.
Tami Mack @ The Tasty Tip
Yes, try chilling the dough. Runny mixture is a sure sign of warm butter. Good luck.
Leslie
My cookie dough is not thick enough, what do I do? I measured out the ingredients.
Tami Mack @ The Tasty Tip
It sounds like your butter may have gotten too warm. This can happen if your kitchen is warm or its a warm day outside. Try chilling the dough for this batch and then next time, be mindful of the butter temperature. Room temperature butter is about 65 degrees F.
Roxanne
So good. My new "go to" snickerdoodle recipe. I never have cream of tartar around. My whole family loved them.
Tami Mack @ The Tasty Tip
So glad you liked them. Enjoy!
Alexis
So upset my cookie dough wasn’t combining I followed the directions completely ☹️ I added more butter and that seemed to help a little but then my cookies wouldn’t flatten in the oven 😭
Tami Mack @ The Tasty Tip
It sounds like the butter may have been too cold. The temperature of the butter is really important for this recipe to work. I recommend using a thermometer. I know it seems like another step, but it really works.
Vanessa
Hello,
Can I make the cookie dough, freeze and bake cookies later?
Tami Mack @ The Tasty Tip
Vanessa, yes you can freeze the cookie dough and bake later. However, the baking instructions are just a little bit different than the regular instructions. Be sure to freeze the cookie dough balls, rather than the whole batch of dough. When you are ready to bake, preheat the oven to 350 degrees F. Use a high quality metal cookie sheet, lined with parchment paper for even baking and best results. (Silicone baking mat isn't the best option when baking a frozen cookie ball.) Place frozen cookie dough ball on cookie sheet and bake for 13 to 16 minutes, or until the center is flat, the edges and set, and the center looks almost done.
Stephanie
These are absolutely incredible. I love Snickerdoodles, but I never use cream of tartar for anything else, and it ends up sitting unused in the cupboard. I was excited to try this recipe and it didn't disappoint. This is my new go-to recipe for Snickerdoodles.
Tami Mack @ The Tasty Tip
So glad you like the cookies. Enjoy!
Hannah
These were delicious, and in my opinion just as good as my other snickerdoodle recipe that calls for cream of tartar....for an added bonus fill each cookie with a half of a kraft caramel! Delicious!
Ryan Williams
These were absolutely delicious. For years I’ve been searching the internet for the best snickerdoodle recipe that didn’t use cream of tartar because I can never remember to grab it at the store. These were honestly the best snickerdoodles I’ve ever had, homemade or store-bought. Thank you so much for sharing! Can’t wait to make some more and share this site with friends.
Tami Mack @ The Tasty Tip
Your comment made my day! I'm so glad you love these snickerdoodles as much as my family does. I hope you enjoy the recipe for years to come.
Cynthia Falkenstein
Can I use regular butter if I don't have unsalted butter
Tami Mack @ The Tasty Tip
It is possible to use salted butter if you don't have unsalted butter. However, you may need to decrease the amount of salt you add to the recipe. I always use unsalted butter so I can control the level of salt in the recipe. Brands of salted butter vary in the amount of salt added, making it difficult to determine exactly how much salt to add to the cookie recipe. I would recommend using only 1/4 teaspoon of salt in this recipe if you are using salted butter and see how it goes. Good luck. I hope you enjoy the cookies.
Ari
These cookies ended up gooey and not even solid following your recipe exactly. Like, I cooked them for the recommended time, and let them cool completely and they were still basically cookie paste. I don't know how they got so messed up when I measured and cooked everything exactly the way you laid it out.
Tami Mack @ The Tasty Tip
It sounds like your oven may run cool. Have you calibrated your oven? Check out my post on how to calibrate your oven. When you bake, precision is important. But you should always observe as well. If the cookies look doughy, they aren't finished cooking yet. For these cookies, the edges should be set, but the center won't look done yet. The center will finish baking when they come out and sit on the hot pan. I hope you will give the recipe a try again. They are well worth the effort!
Nia
The texture is super great but they didn’t flatten so I suggest flattening them before you cook them. And in the cinnamon sugar mixture I’m going to be using more cinnamon then suggested, but overall really really really great cookie. My family and friends liked it.
Tami Mack @ The Tasty Tip
Nia,
So glad your family and friends liked the cookie! Sometimes when I use too much flour, my cookies don't flatten. Maybe add a bit less flour, or just flatten them before you cook them like you did.