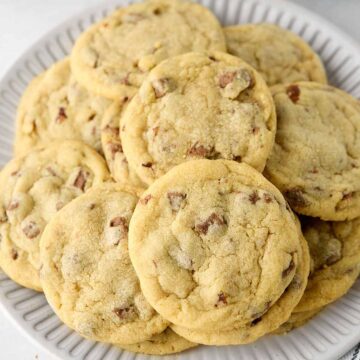
Make the best thin, chewy, buttery, chocolatey Hershey bar chocolate chip cookies recipe. Everyone will beg you to bake just one more batch.
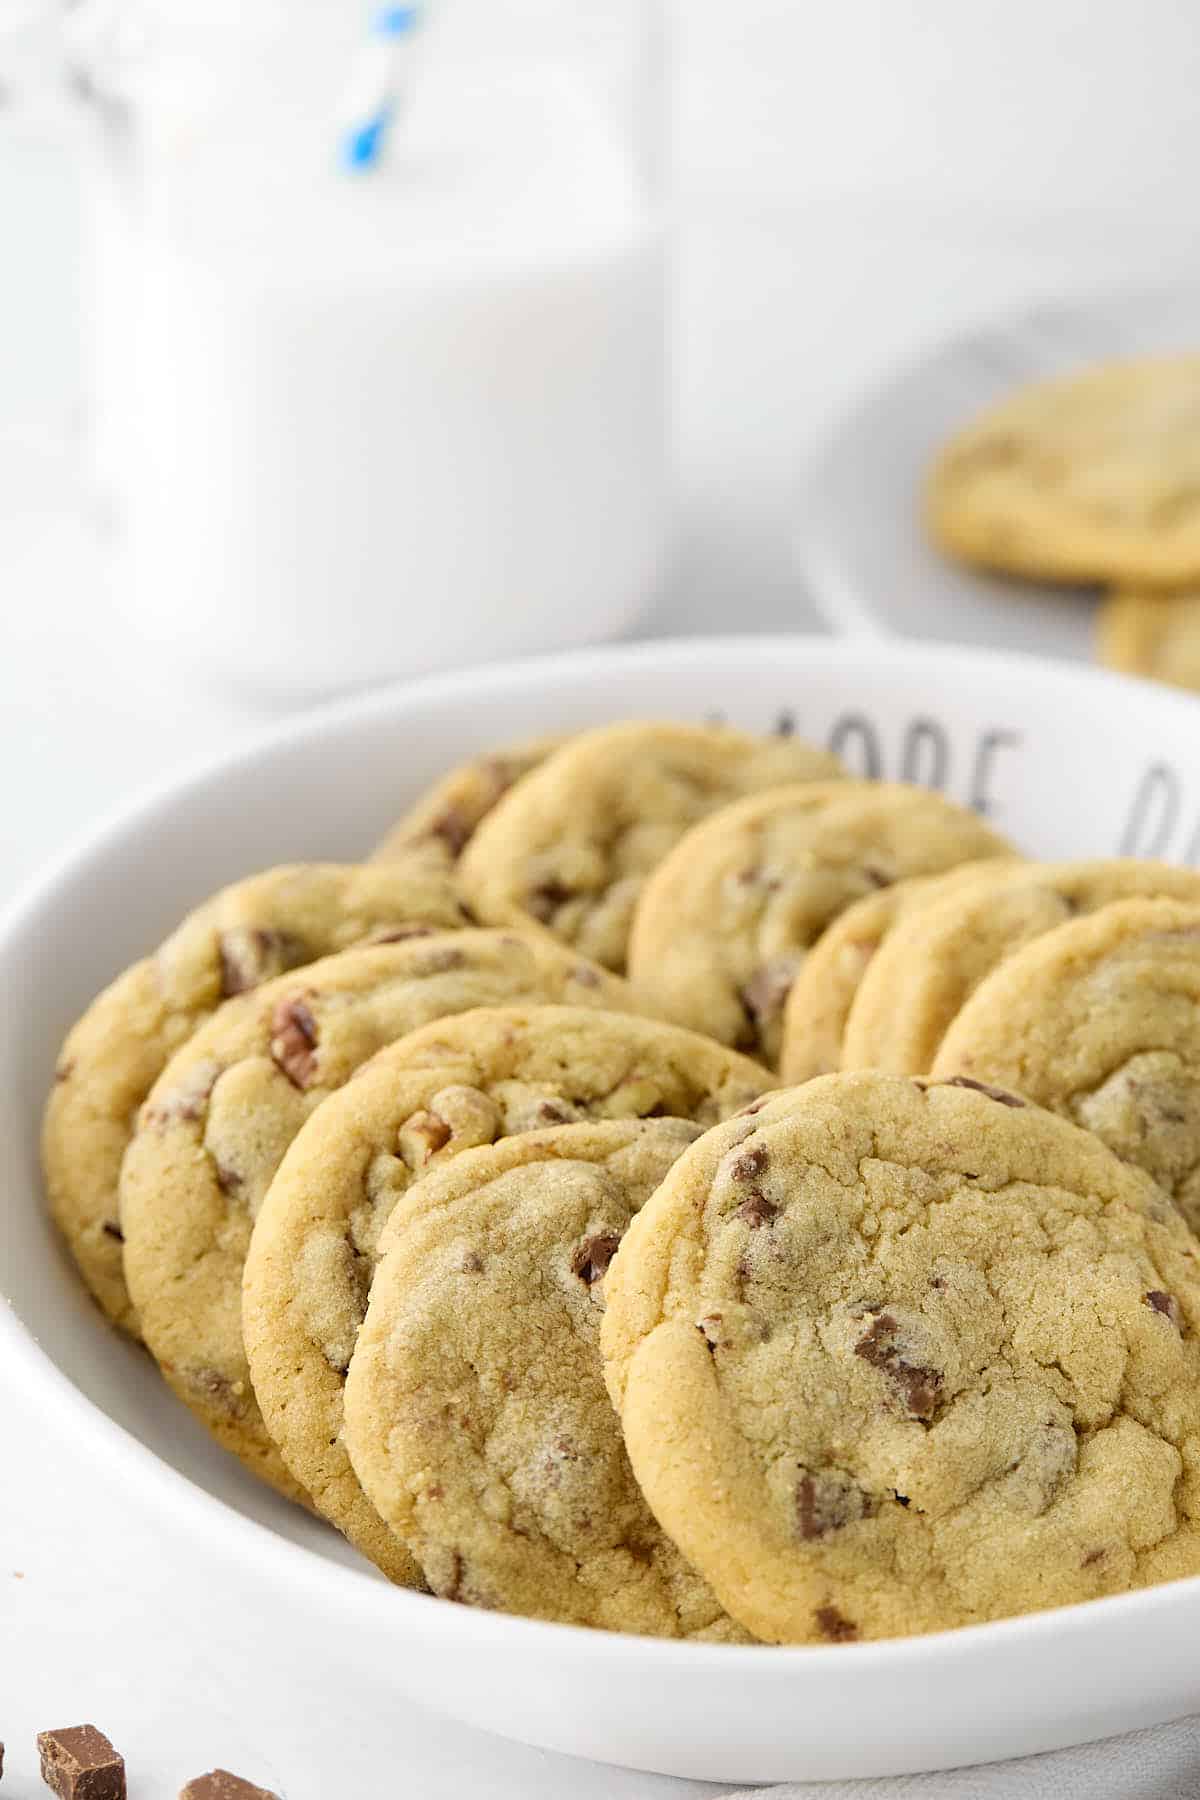
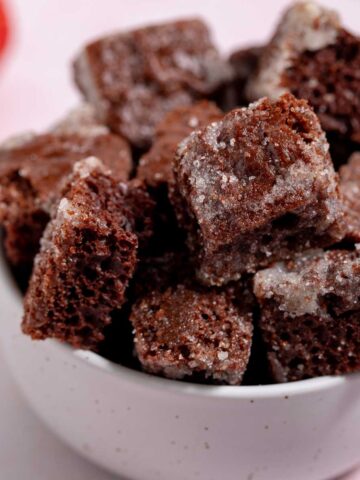
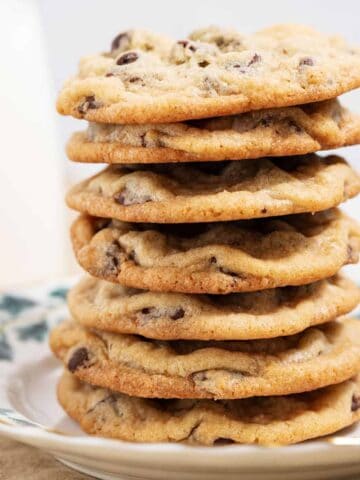
Slightly crispy on the outside, Hershey chocolate chip cookies bake up thin and chewy. Buttery and chocolatey, they stay fresh for two or three days in an airtight container.
Make a batch of cookies with any chopped Hershey bar (leftover candy bars from Halloween or Christmas are perfect).
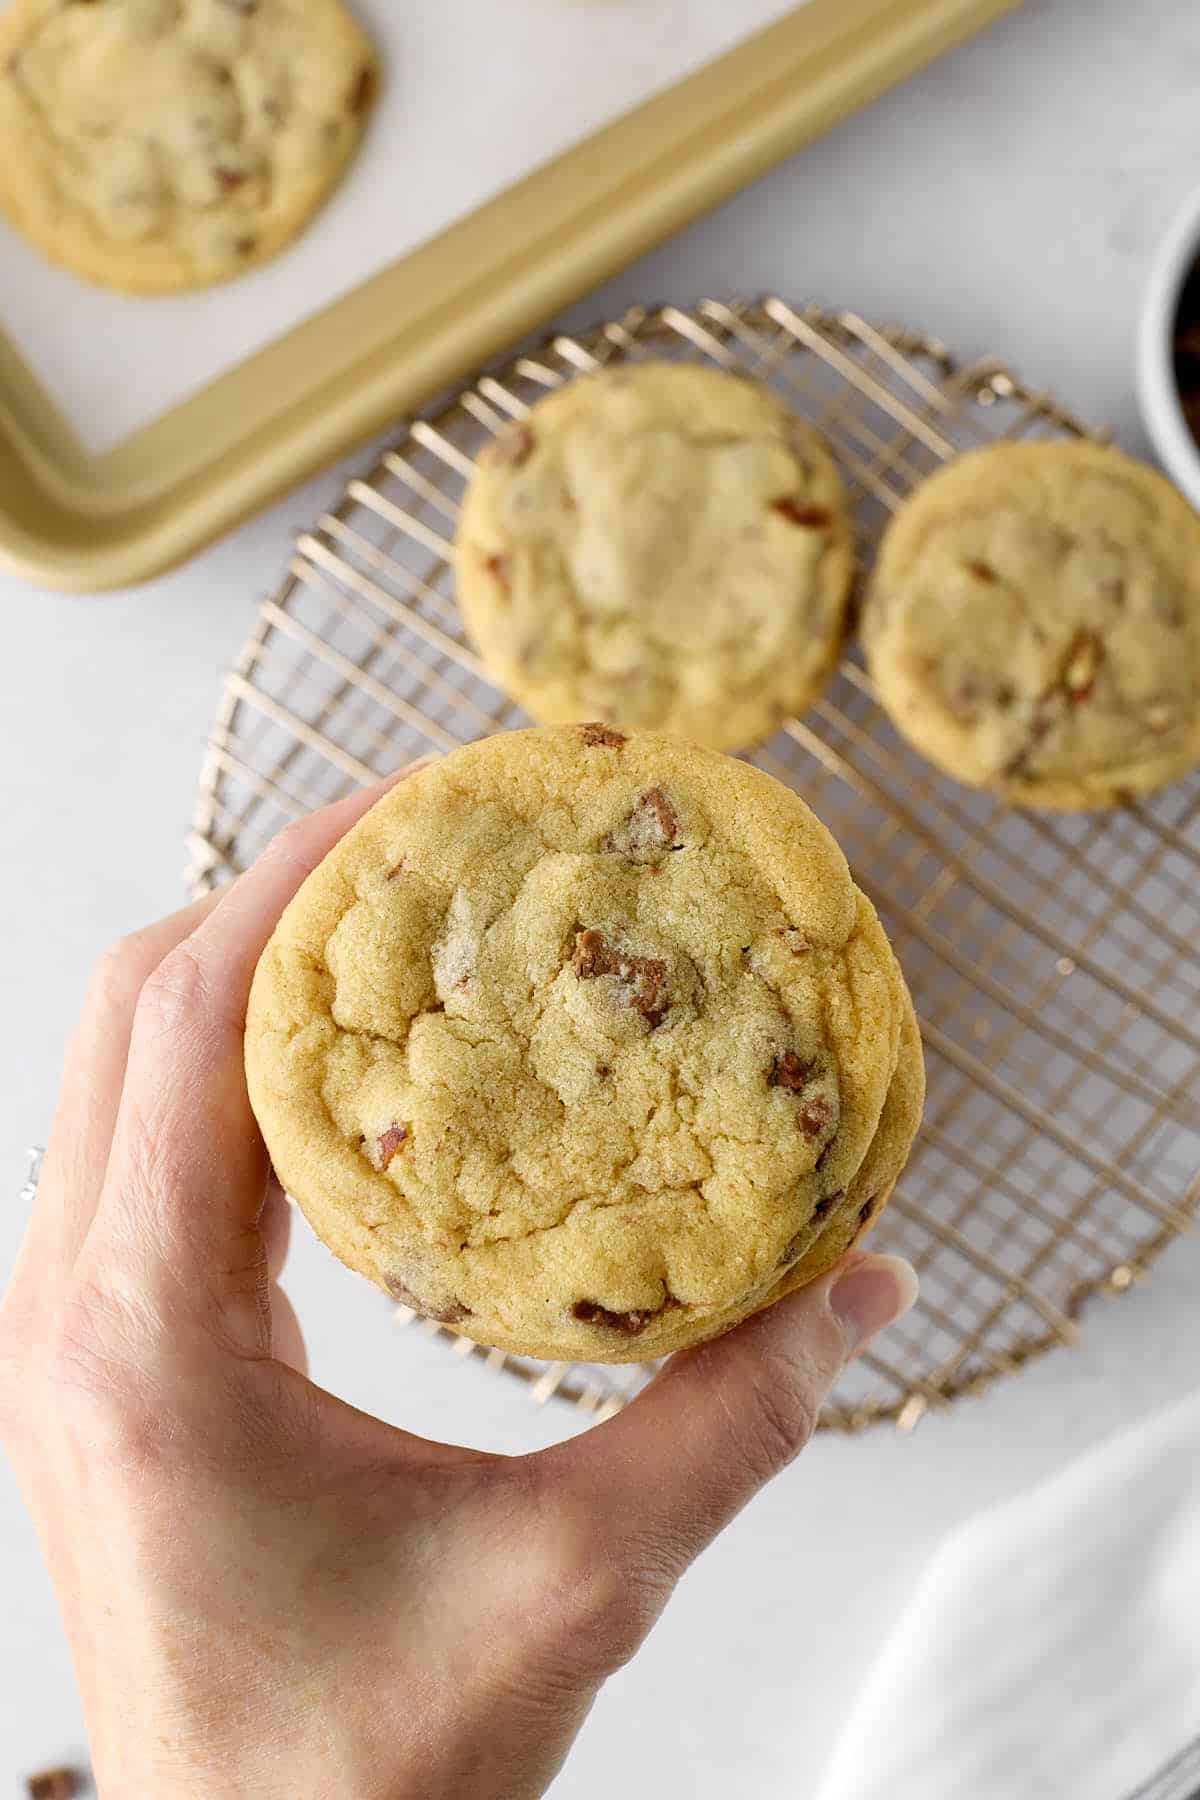
Hershey bar chocolate chip cookies are an easy, no-fuss recipe that doesn't require chilling. This recipe yields 3 dozen 3-inch cookies that freeze beautifully.
Ready to make tasty treats the whole family will gobble down? Then grab your Hershey bars, and let's get baking!
Jump to:
- Hershey Bar Cookies Ingredients
- Substitutions
- Variations
- Equipment
- How to Make Hershey's Cookies
- Tasty Tips
- Frequently Asked Questions
- How To Store Leftover Cookies
- How to Freeze and Thaw Cookies
- What To Serve With Hershey Bar Chocolate Chip Cookies
- Hungry For More Family Favorite Cookie Recipes?
- Recipe
- More Chocolate Posts
- Comments
Hershey Bar Cookies Ingredients
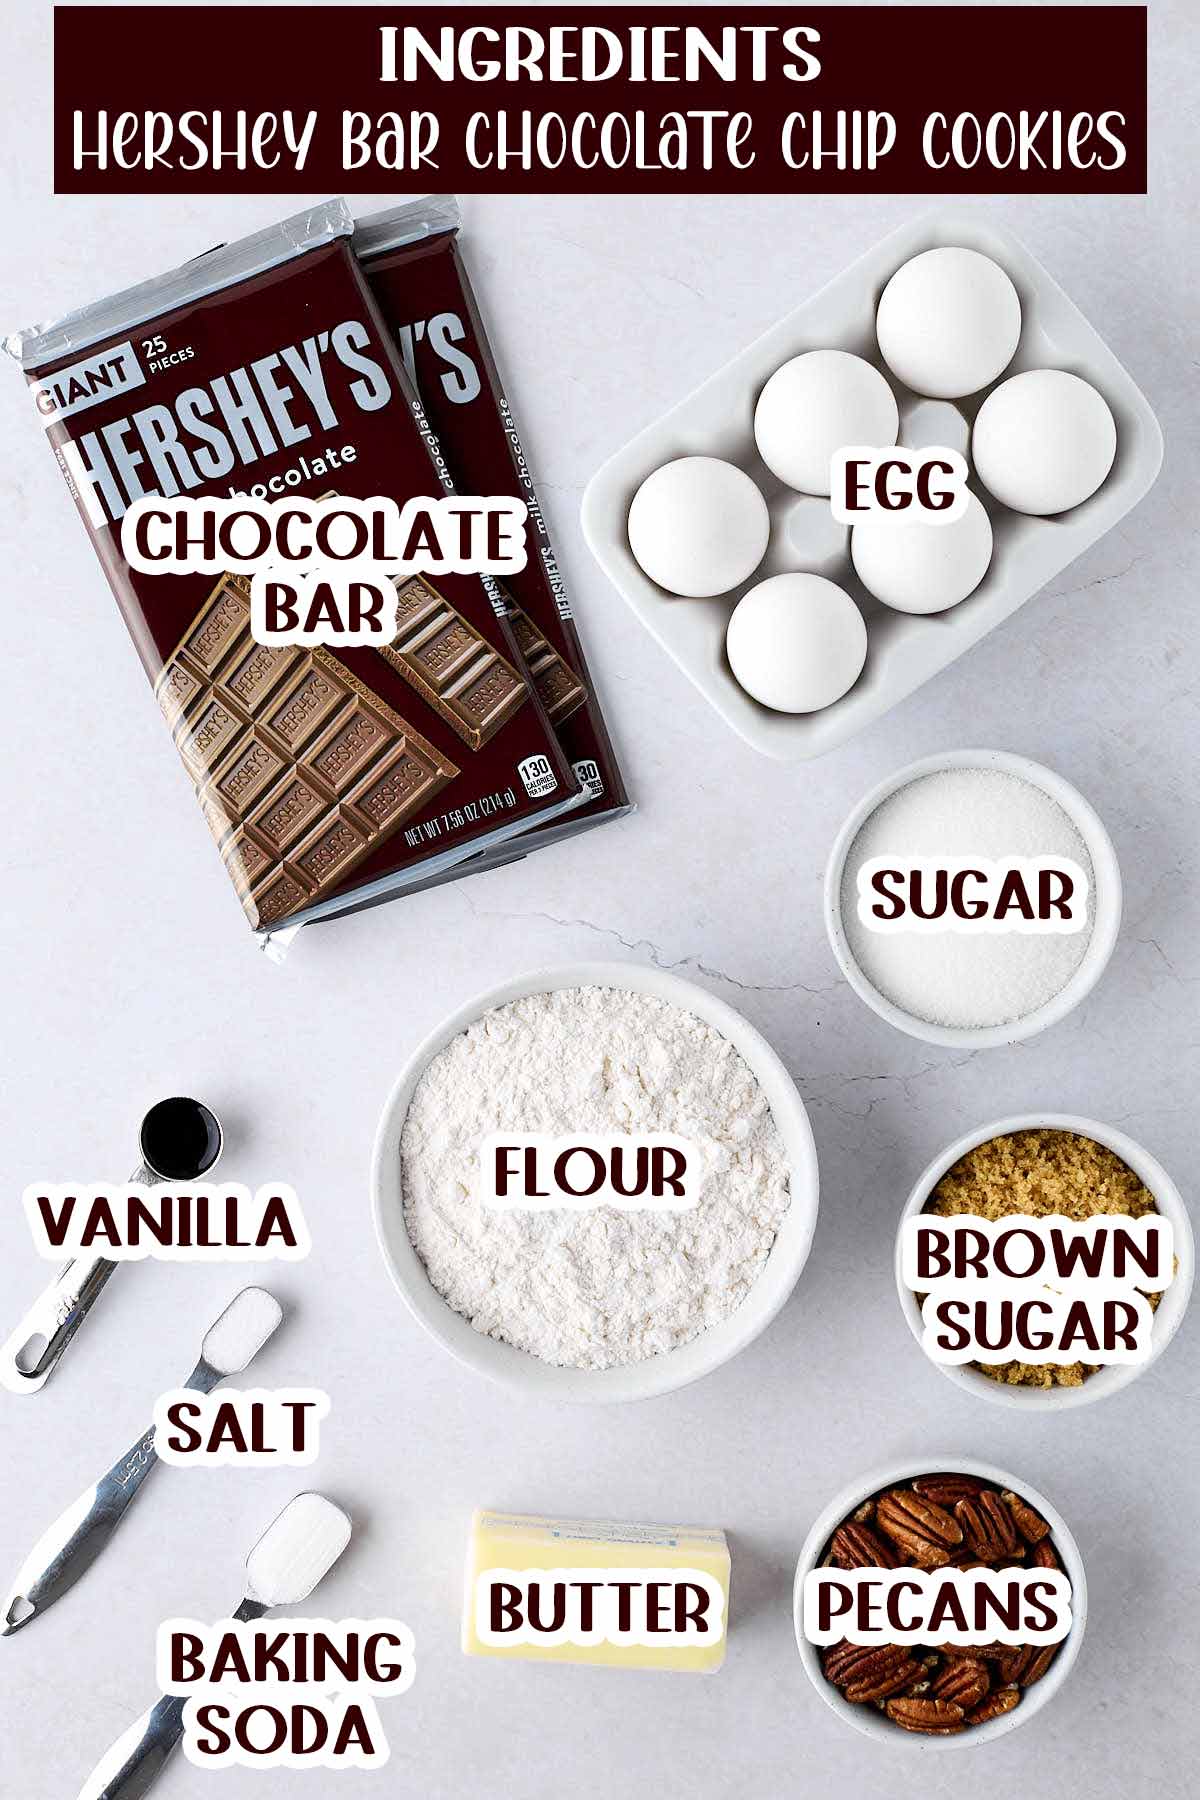
- Hershey's chocolate bar (8 to 9 ounces). You'll need a few bars to have enough chocolate for the recipe. Hershey bars come in a variety of sizes. Use any sized bar in the cookies.
- Use 20 fun-size Hershey chocolate bars (at 0.45 ounces/bar). Choose either milk chocolate or dark chocolate bars.
- Grab 6 full-size Hershey bars (at 1.55 ounces per bar). You will have a bit of extra chocolate in the cookies.
- You need just short of 2 giant bars (at 7.56 ounces).
- All-purpose flour, salt, and baking soda. Stir the flour before measuring it.
- Butter. I usually recommend unsalted butter since every brand of salted butter differs in the amount of salt added.
Use cool room-temperature butter. The butter will be soft enough to make an indentation when touched.
- Light brown sugar. This recipe uses a higher ratio of brown sugar to white sugar. This makes the cookie chewy and flavorful.
- White granulated sugar
- Vanilla extract
- Large egg. Use a cold egg from the fridge to help keep the batter at a consistent temperature.
- Pecans. A handful of finely chopped pecans take these cookies up a notch. The cookies aren't t loaded with nuts, so even people who DON'T like nuts DO like this cookie recipe.
Substitutions
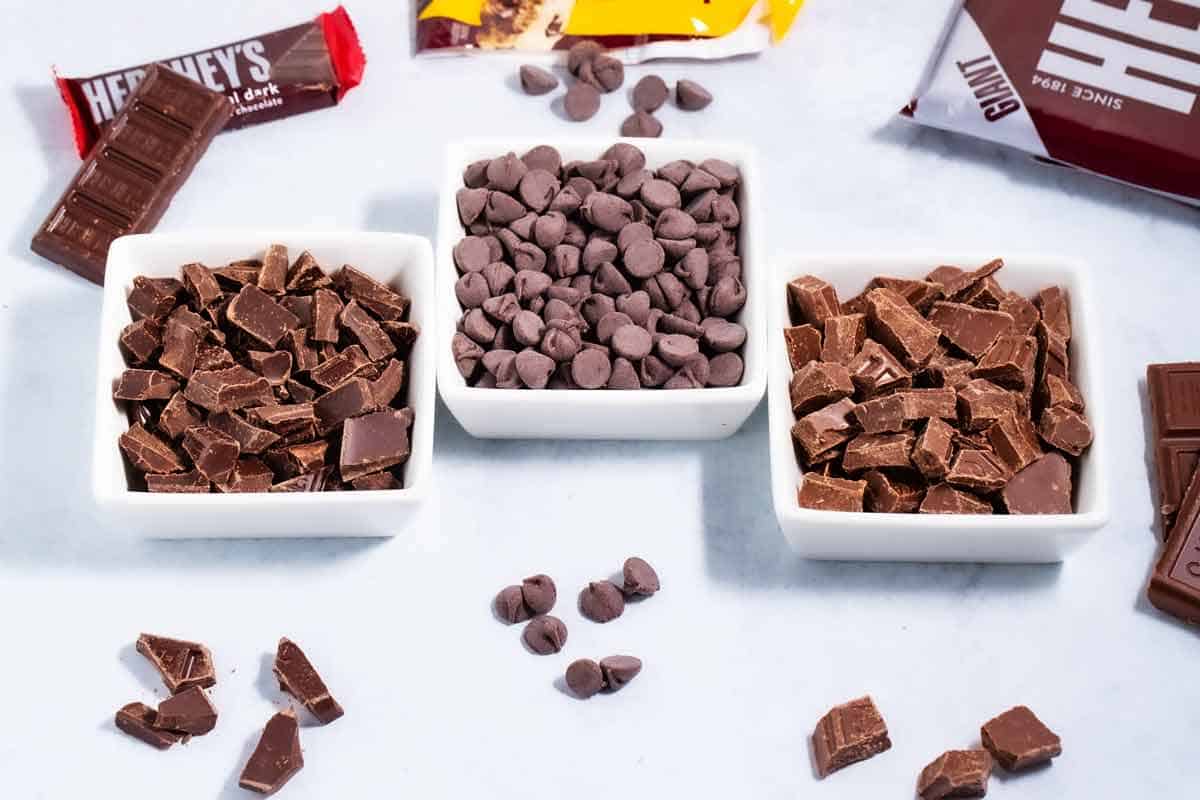
- Use chocolate chips. If you're not a fan of chopping chocolate, use chocolate chips. Milk, dark, semi-sweet, or white chocolate chips are all delicious.
- Swap some of the all-purpose flour for wheat or bread flour. Both bread and wheat flour will make the cookie chewier.
- Substitute chopped walnuts instead of pecans.
- Try toffee bits, peanut butter chips, or butterscotch chips instead of all or part of the chopped chocolate bar.
RELATED: See how to measure chocolate chips correctly.
Variations
Try any of these popular recipes when you need some variety.
- Peanut butter soft chocolate chip cookies. Replace the milk chocolate candy bars with ½ cup of milk chocolate chips and ½ cup of peanut butter chips.
- Toffee chocolate chip cookies. Add ¾ cup of Heath Bits o' Brickle.
- Hershey chocolate chip cookie bars. Use the original Hershey chocolate chip cookie recipe. Then spread the batter in a greased 2x1-inch jelly-roll pan.
Cook at 375°F for 20 to 25 minutes or until golden brown. This recipe is great for serving warm with a scoop of vanilla ice cream.
- Candy bar cookies. Swap out Hershey's chocolate with your favorite candy bar. Mix and match leftover Halloween candy like Kit Kats, Snickers, Milky Way, and Reese's cups.
Chop the chocolate bars and add the candy pieces to the batter.
RELATED: You may be interested in the best substitutes for chocolate chips in cookies.

How to Make Hershey's Cookies
STEP 1: Do the prep work.
- PREHEAT the oven to 350°F (175°C). Place the oven rack in the middle of the oven.
RELATED: Do you know if your oven temperature is accurate? You will only find out with an oven thermometer. Read how you can easily calibrate your oven with an oven thermometer.
- LINE a baking sheet with parchment paper (best choice) or a silicone mat. Parchment paper or a silicone liner mat will result in golden and evenly baked cookies with almost no clean-up time.
- The benefit of parchment paper is that it is disposable. Use it for a few batches of cookies, and then throw it away.
- The advantage of a silicone liner mat is that it is reusable and effortless to clean.
- The benefit of parchment paper is that it is disposable. Use it for a few batches of cookies, and then throw it away.
- MEASURE the flour, baking soda, and salt. Stir the flour before measuring it.
- If you have a kitchen scale, use it. A kitchen scale will give you precision and accuracy in your baking.
- If you don't have a kitchen scale, stir the flour with a spoon to loosen it. Then spoon the flour into the measuring cup and scrape the top of the measuring cup with back of a knife.
- If you have a kitchen scale, use it. A kitchen scale will give you precision and accuracy in your baking.
- WHISK the dry ingredients together.
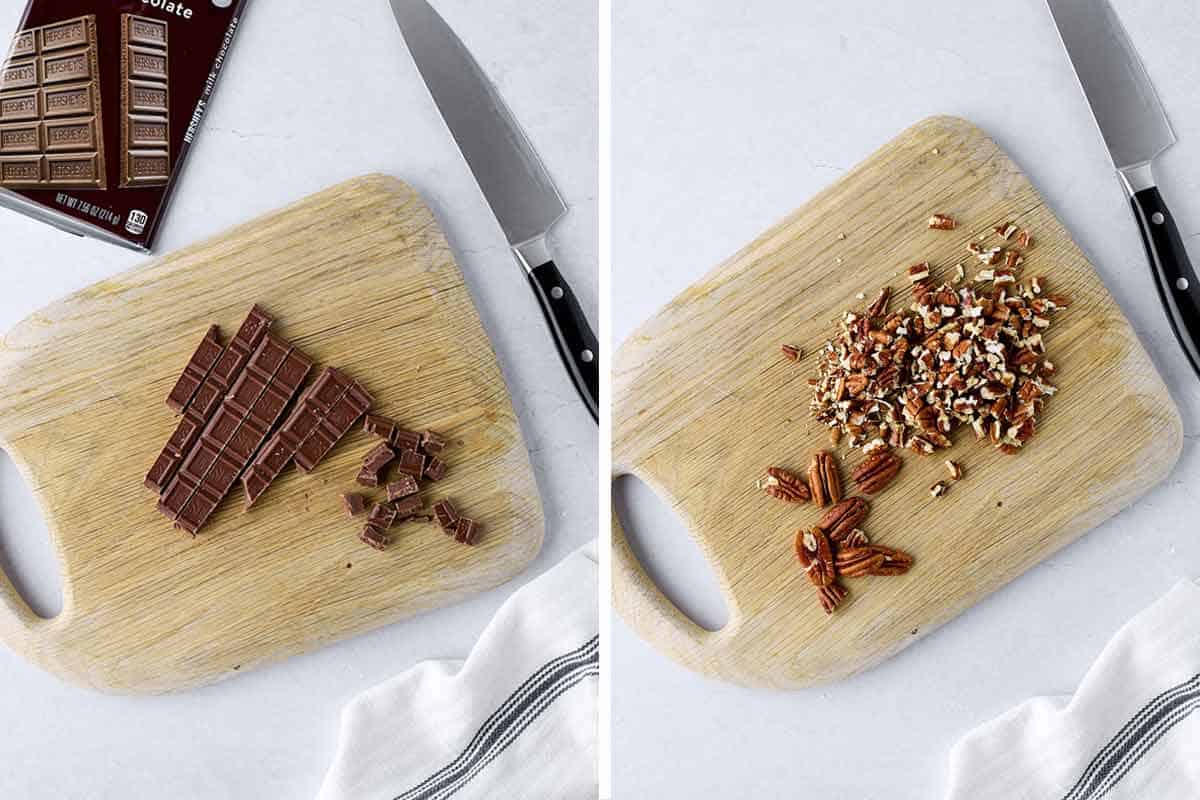
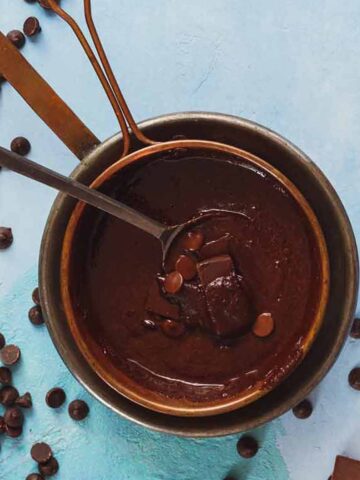
- CHOP the chocolate bar and the pecans.
STEP 2: Make the cookie dough.
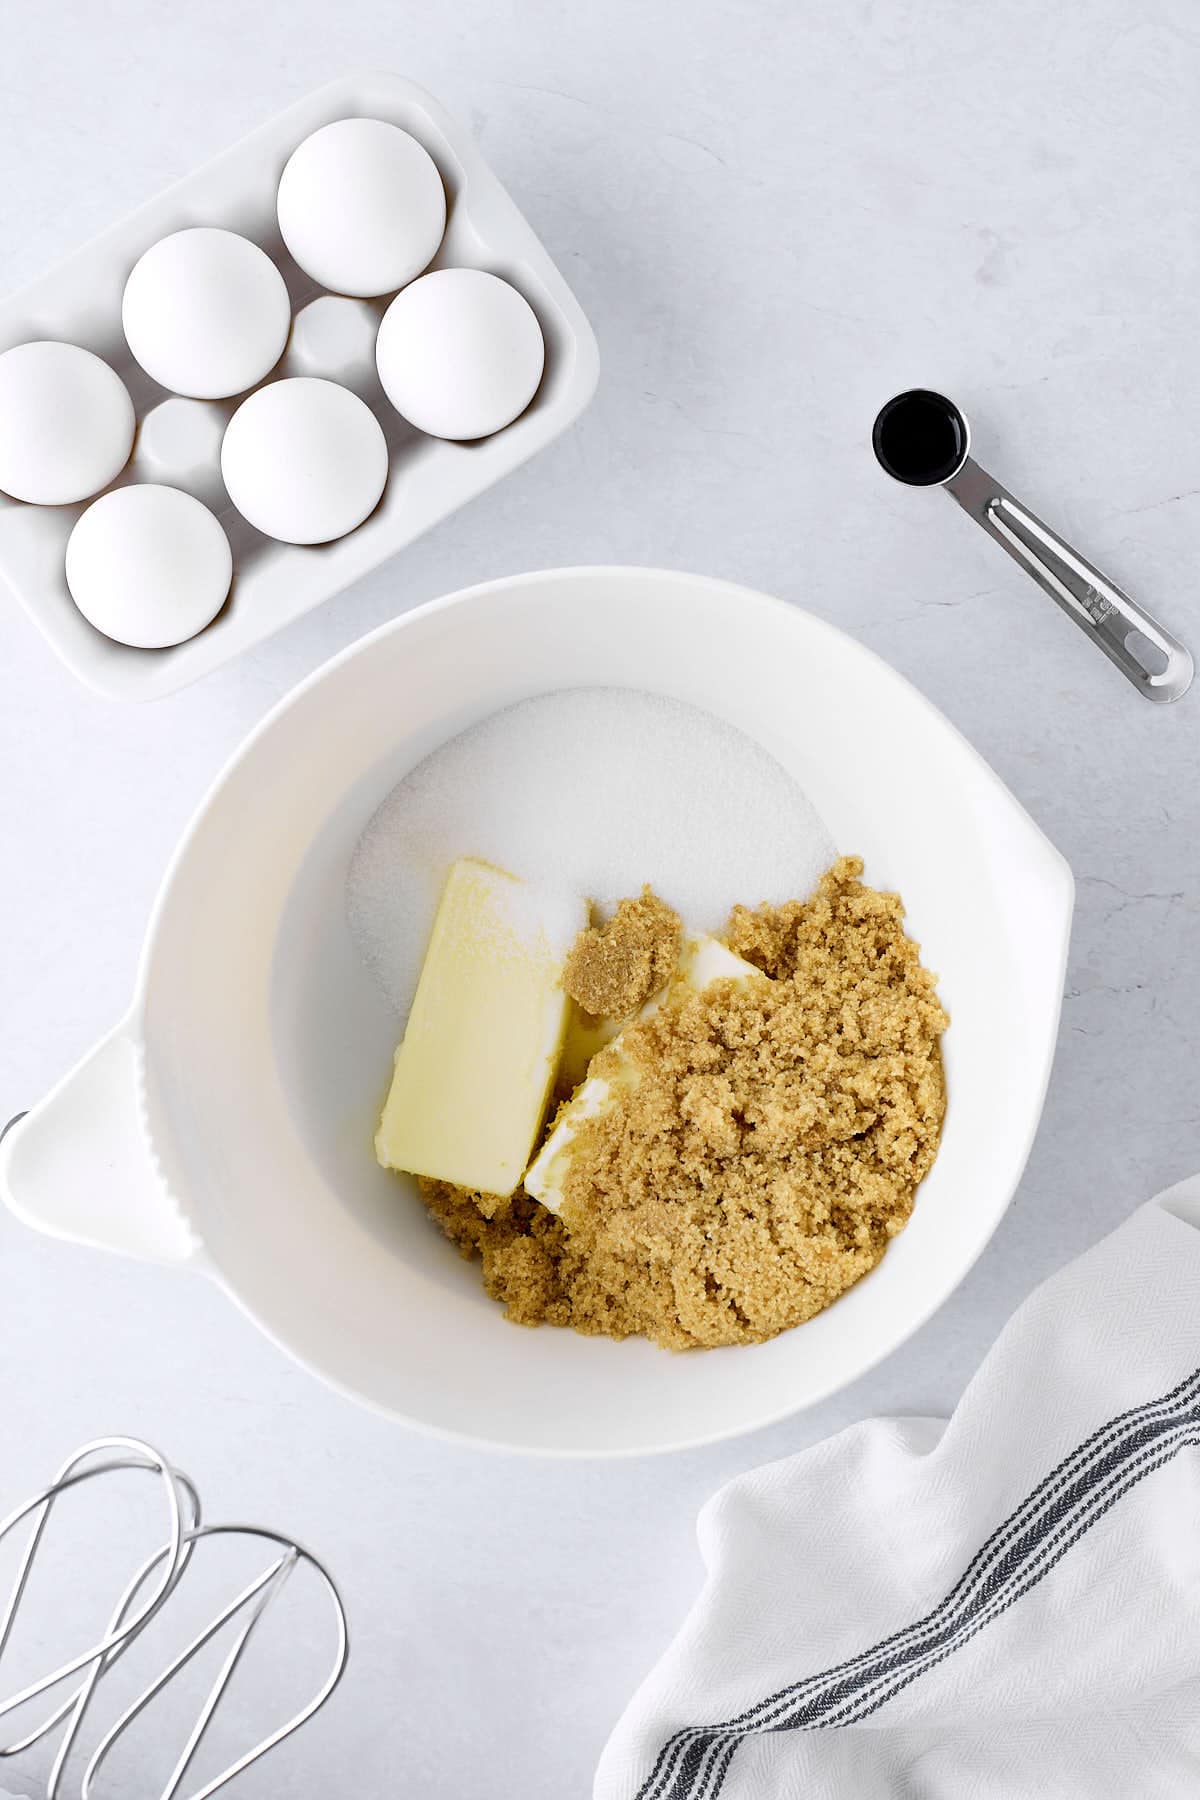
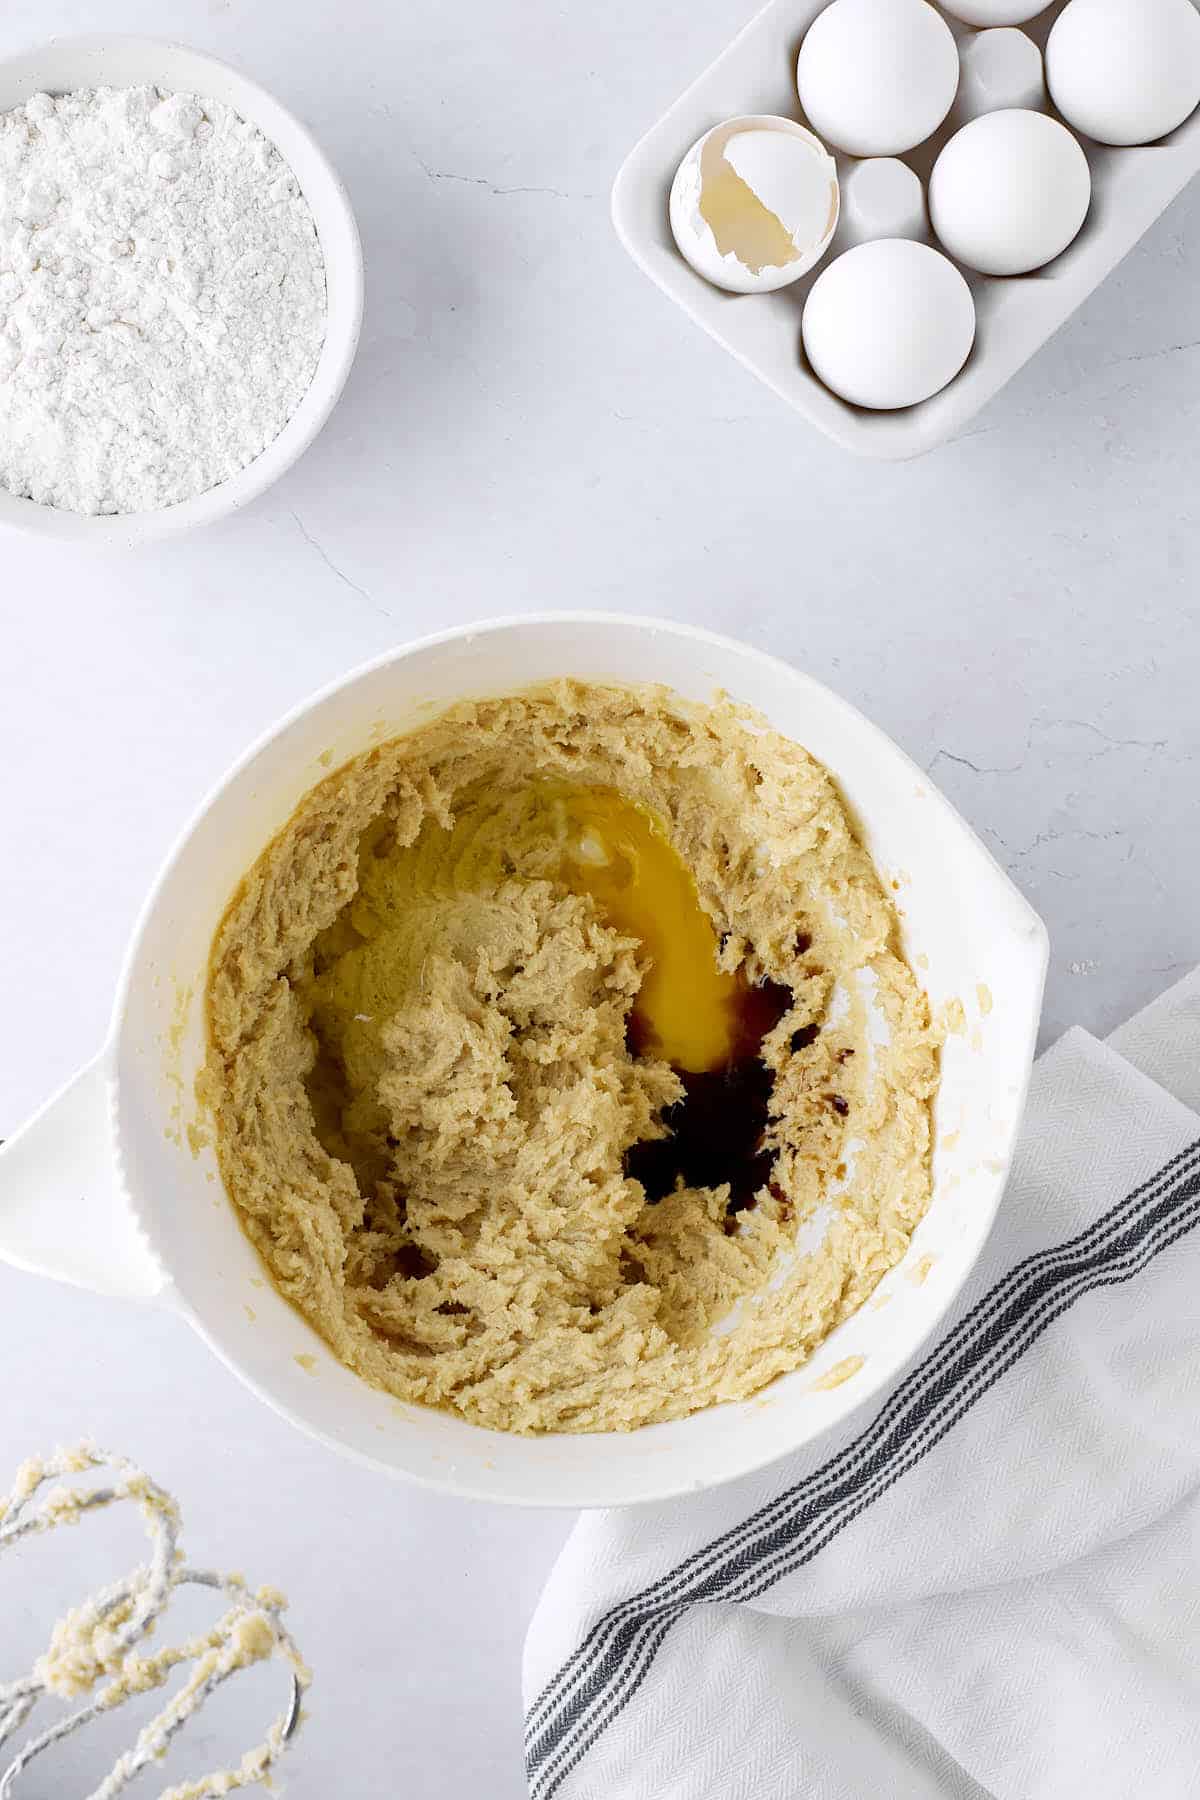
- CREAM the butter and the sugars together for 1½ minutes with an electric hand mixer or stand mixer.
Stop halfway through and scrape the sides of the bowl to ensure all the ingredients are blended. The correctly creamed mixture will be light and fluffy.
- ADD the vanilla and the cold egg. Mix for 30 seconds.
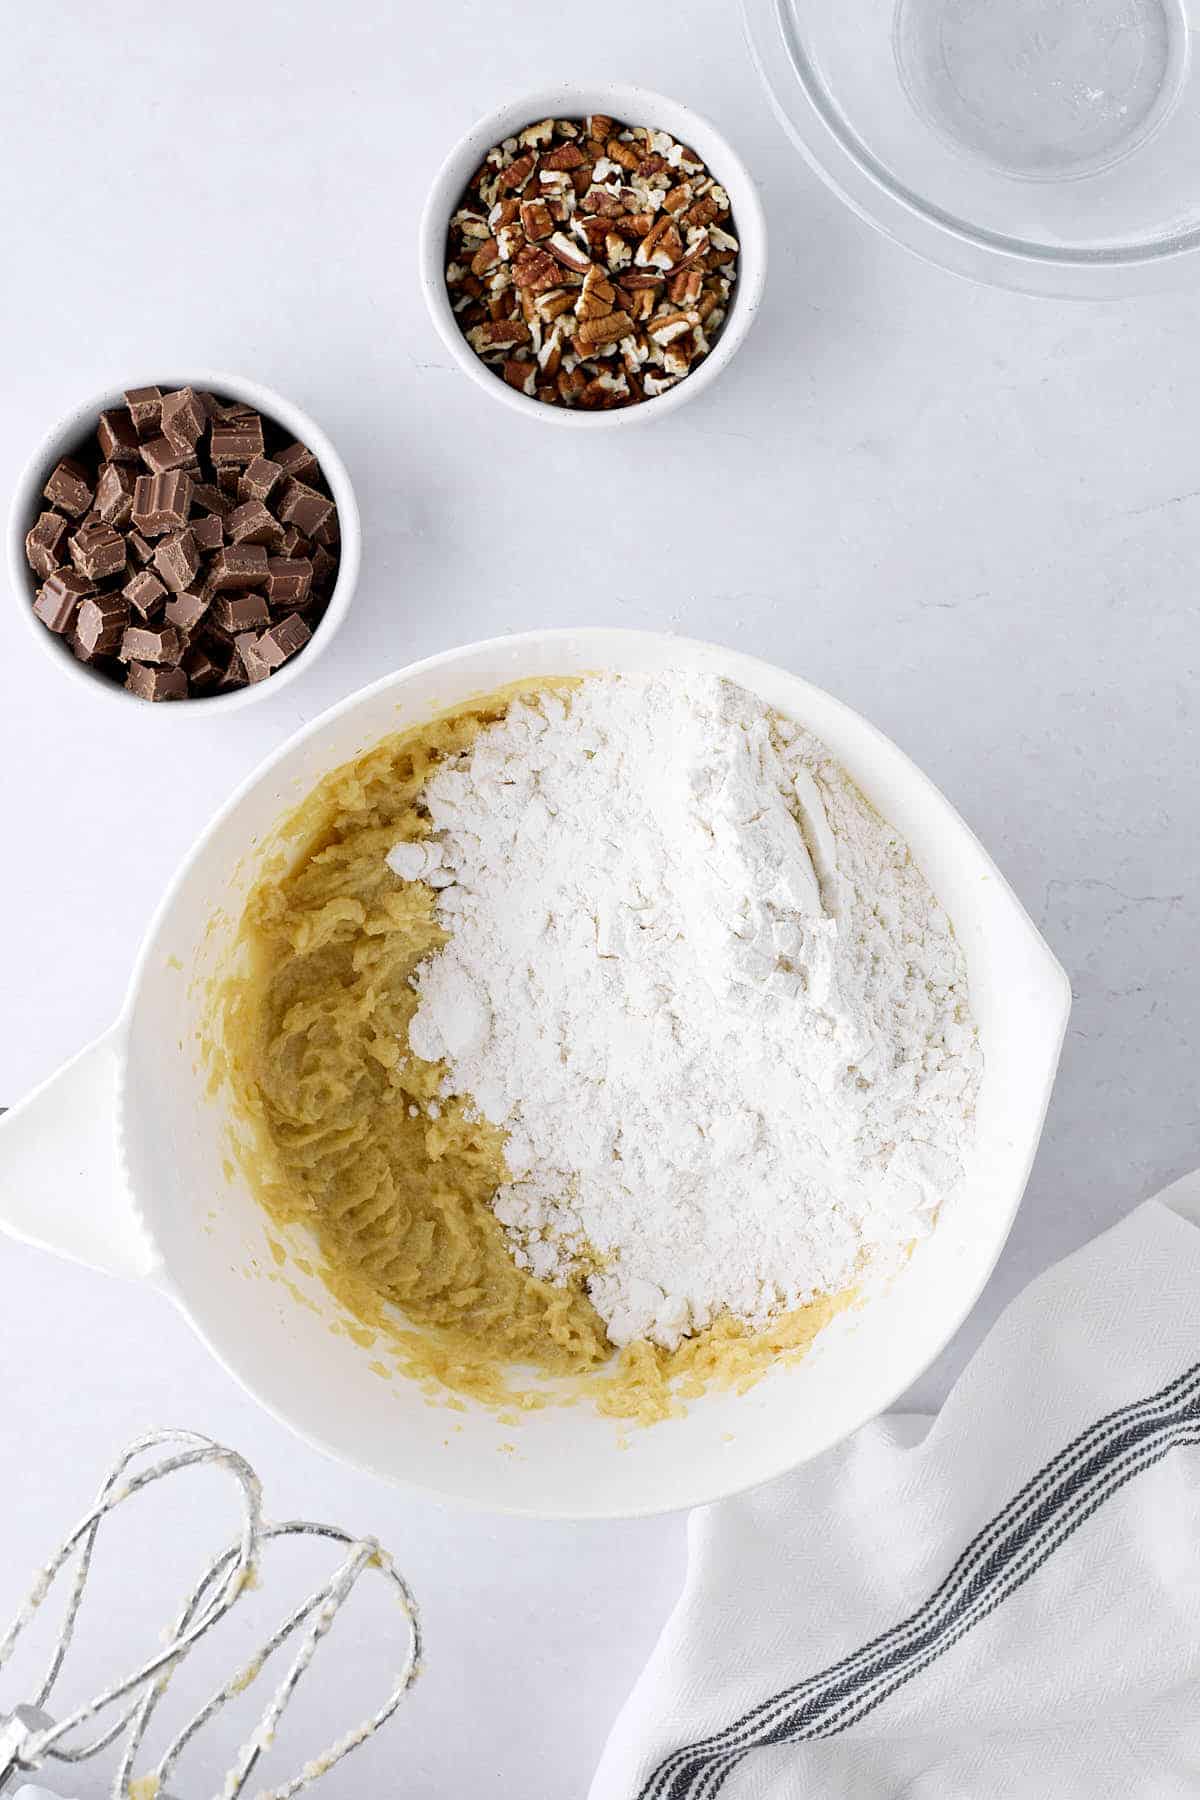
- POUR IN the dry ingredients all at once. Slowly blend until everything is incorporated (30 to 45 seconds). Scrape the bottom and sides of the bowl to be sure all the flour is incorporated into the dough.
When you add the flour mixture all at once, you mix the dough for less time.
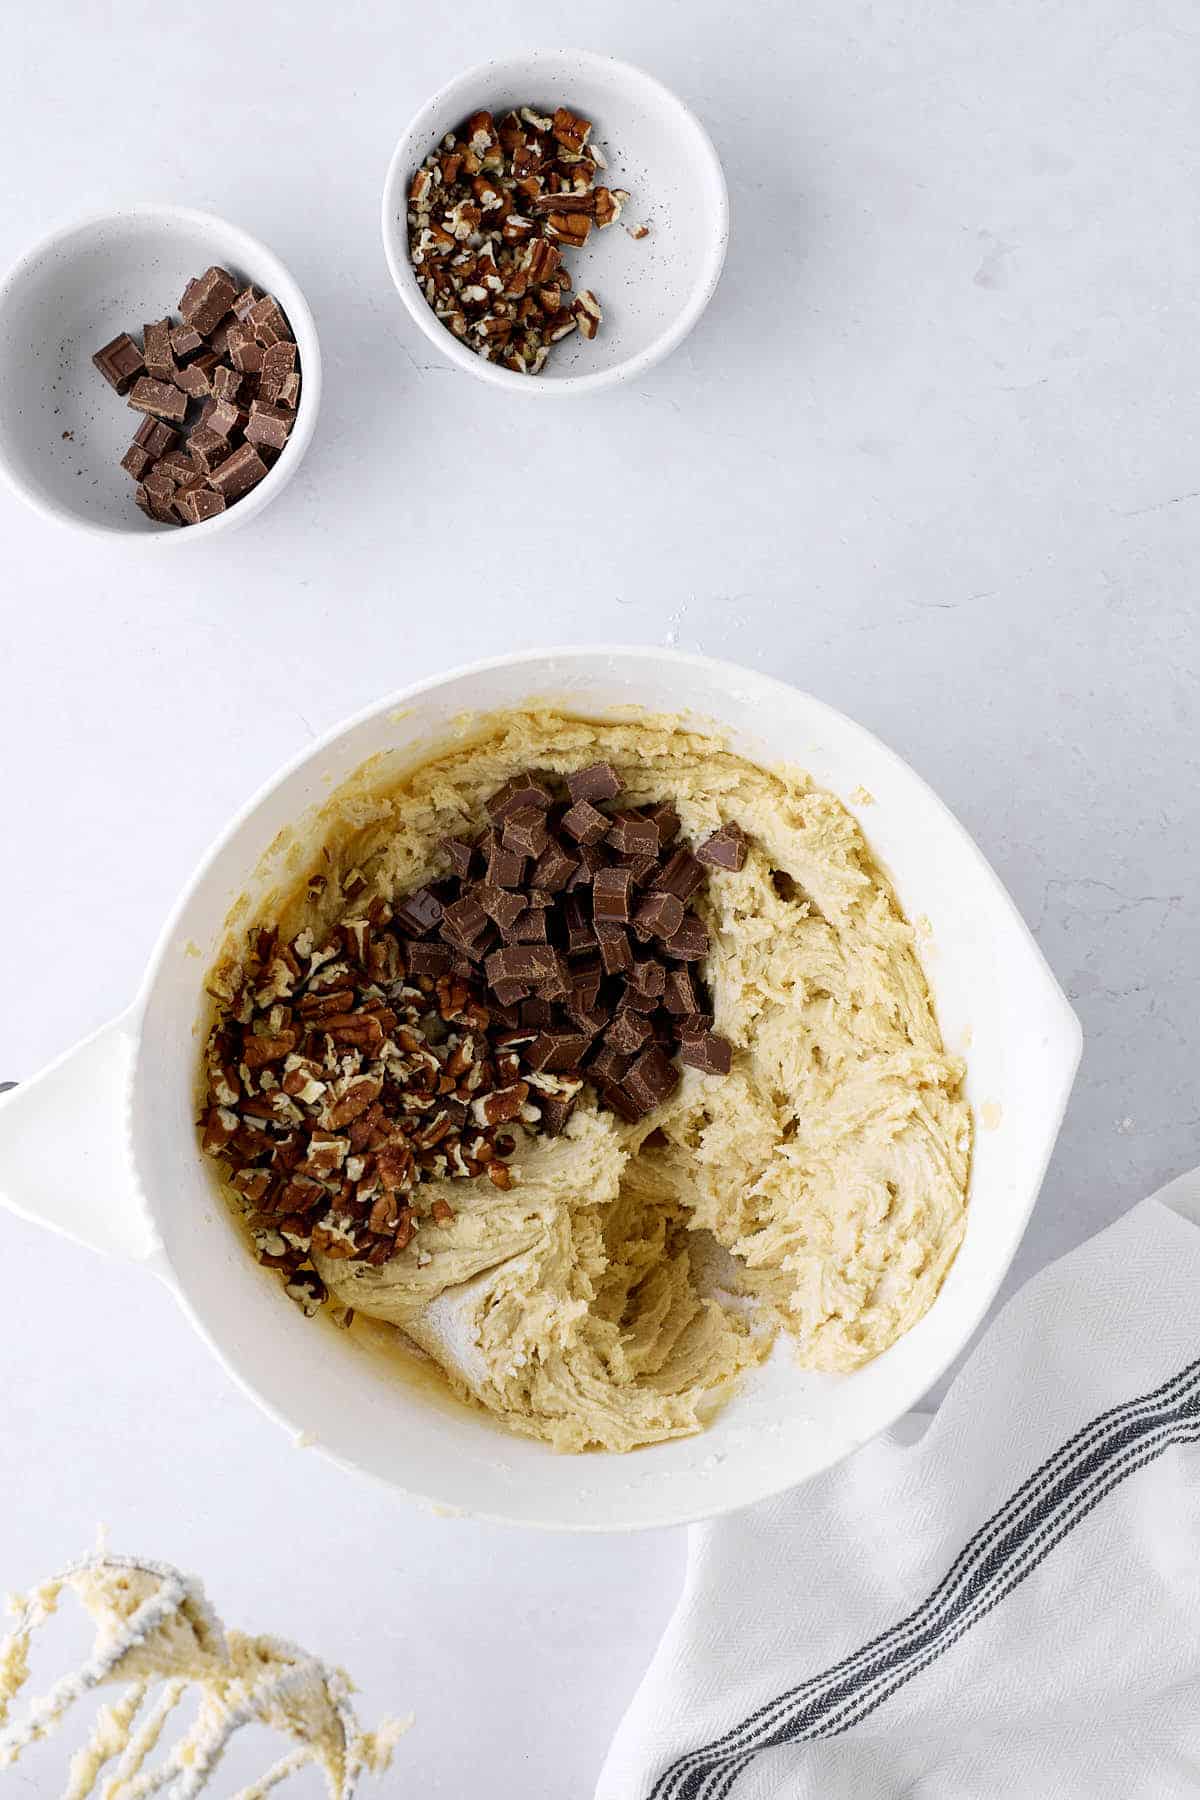
- STIR the chopped chocolate (and optional nuts) into the batter with a wooden spoon.
Optional: Reserve about 2 tablespoons of chocolate if you like adding chocolate chunks to the cookie dough tops.
- SCOOP the cookie dough with a teaspoon cookie scoop. A teaspoon cookie scoop will yield 3 dozen (3-inch) cookies.
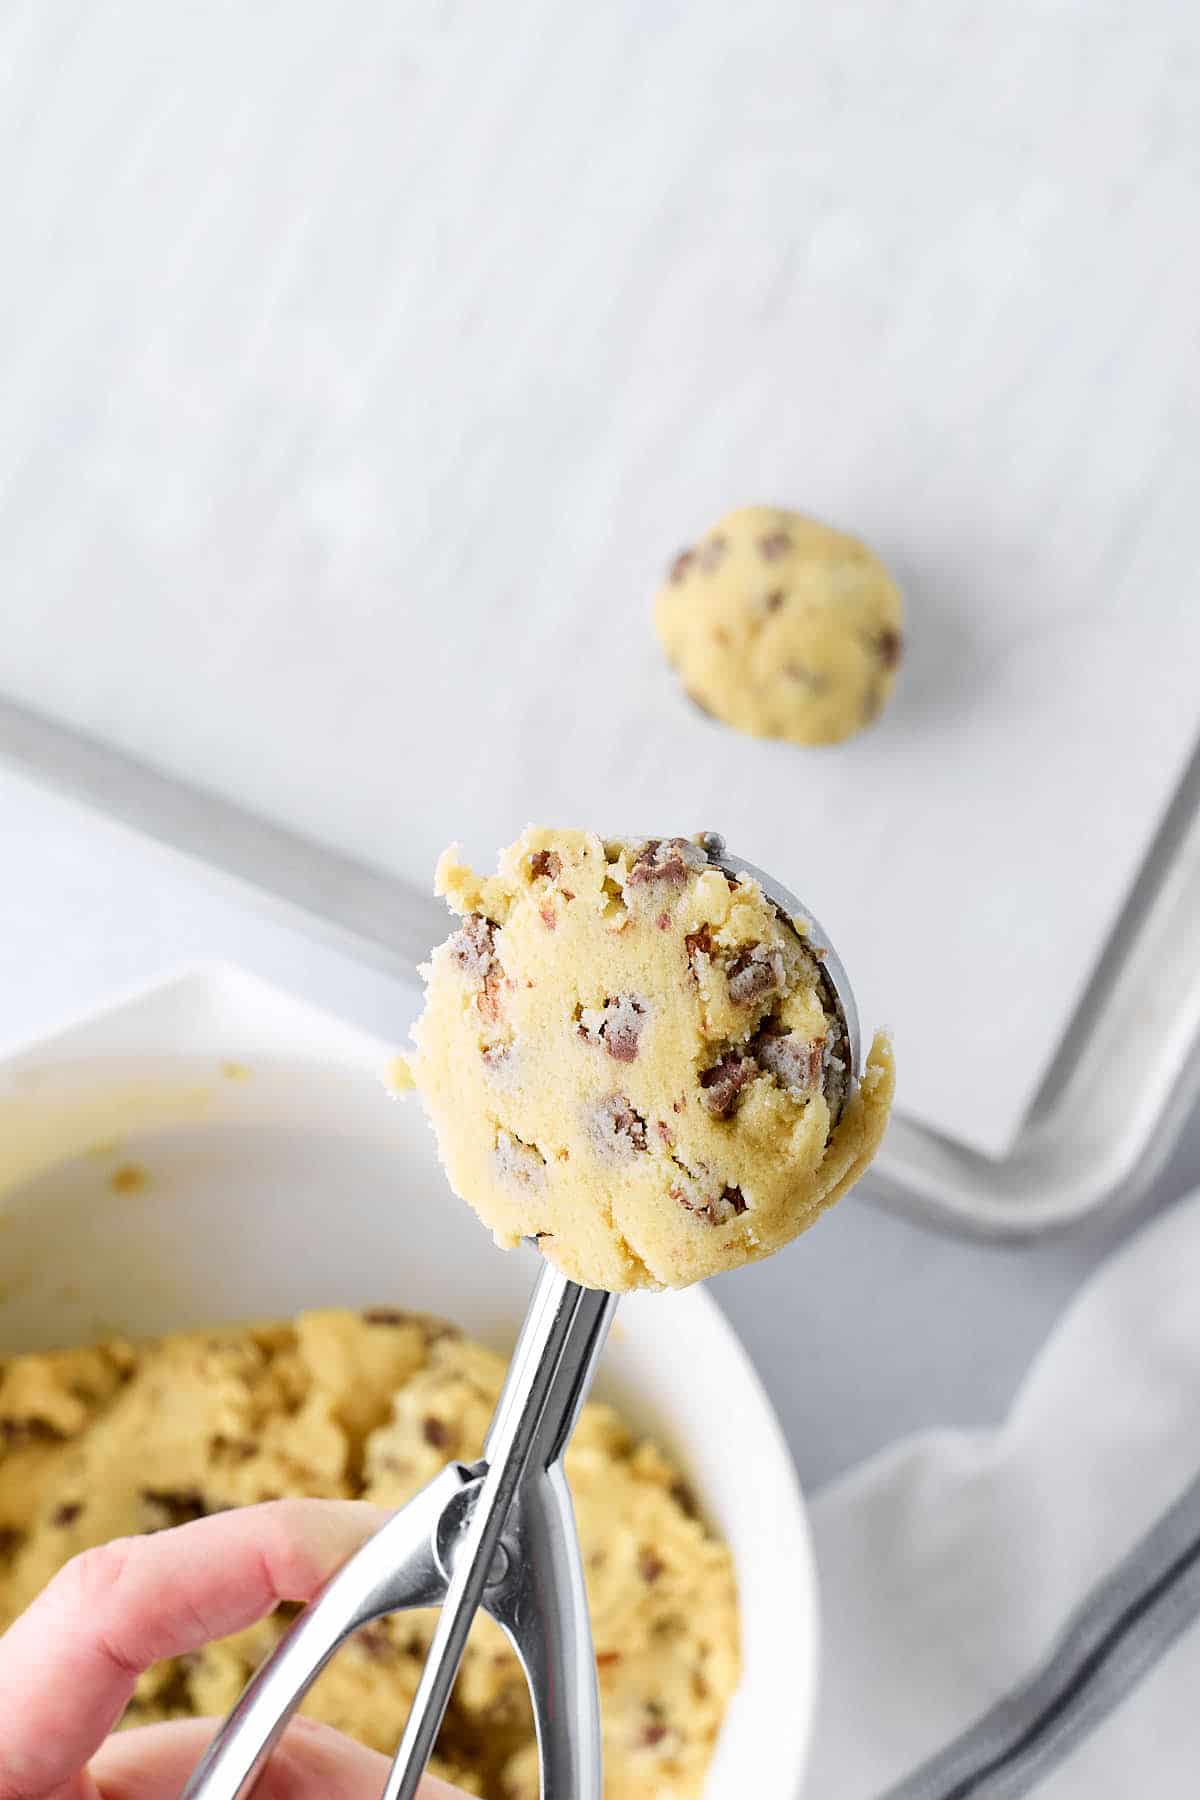
- ROLL the cookie dough balls between your palms to round them and keep all the cookies in a consistent shape.
- PLACE the round cookie dough balls on the prepared baking sheet. Space the cookies 2 to 3 inches apart.
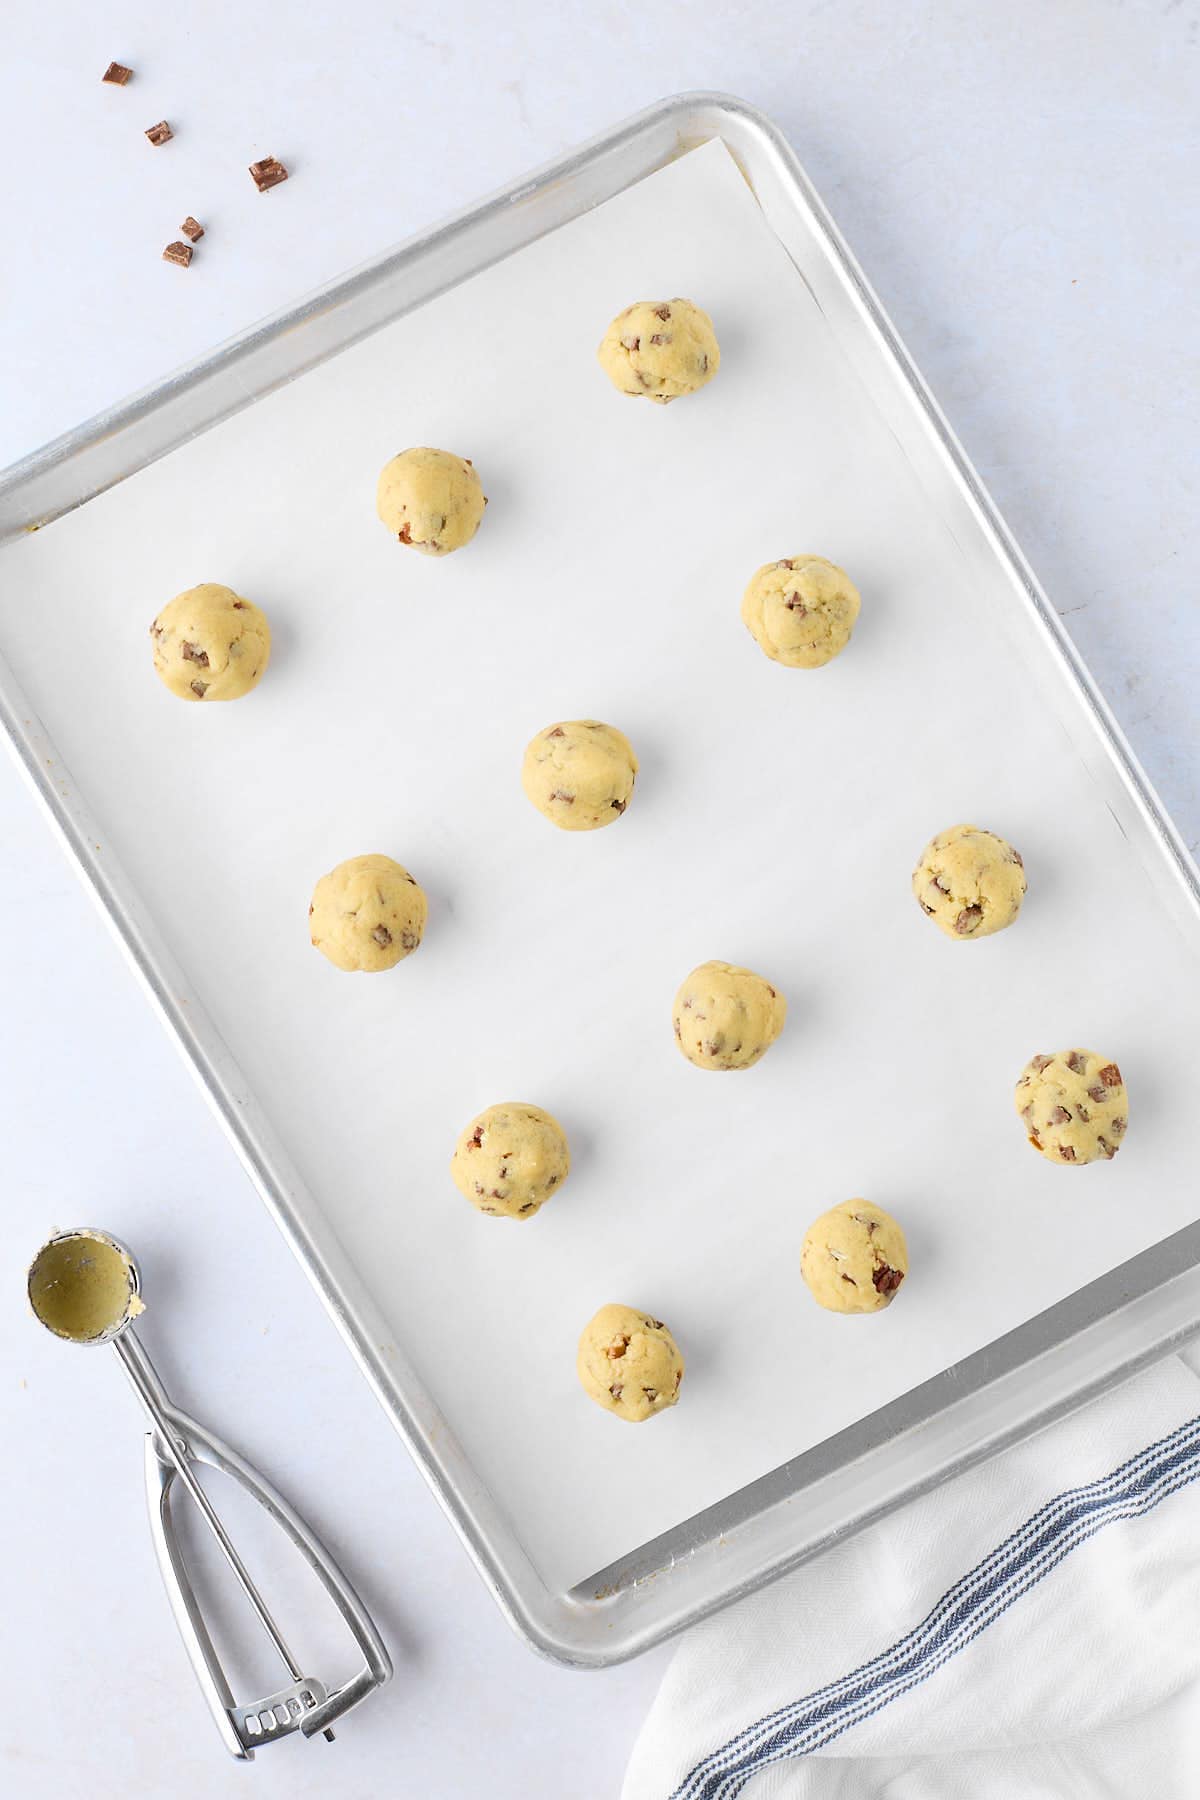
- PRESS the extra chocolate pieces to the tops of the cookie balls (optional).
STEP 3: Bake and cool the cookies.
- BAKE the cookies for 9 to 11 minutes or until lightly browned.
Optional: Rotate the baking sheet halfway through to ensure even baking. The edges should be set and turning golden brown.
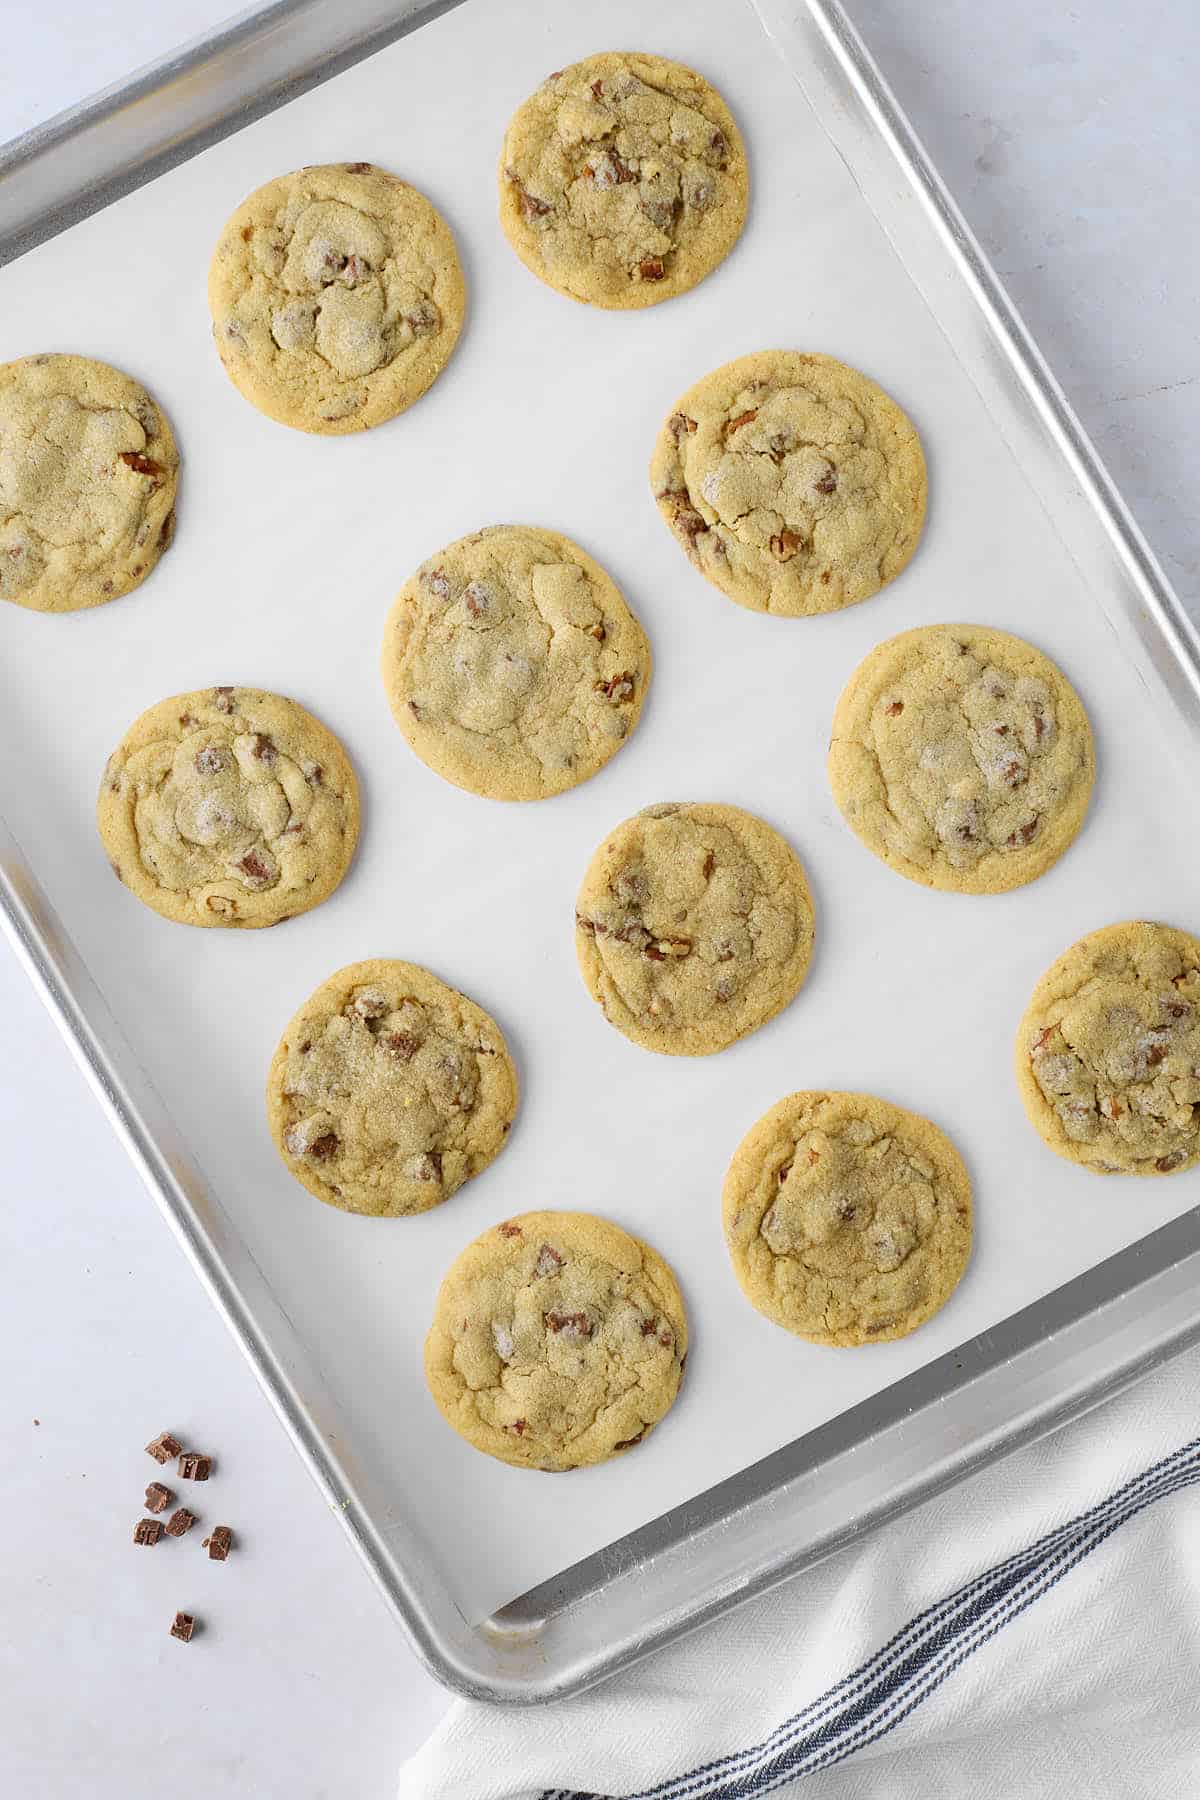
- REMOVE the cookies from the oven. Place the cookie sheet on a cooling rack for 5 minutes. Then, transfer the cookies from the baking sheet to a cooling rack.
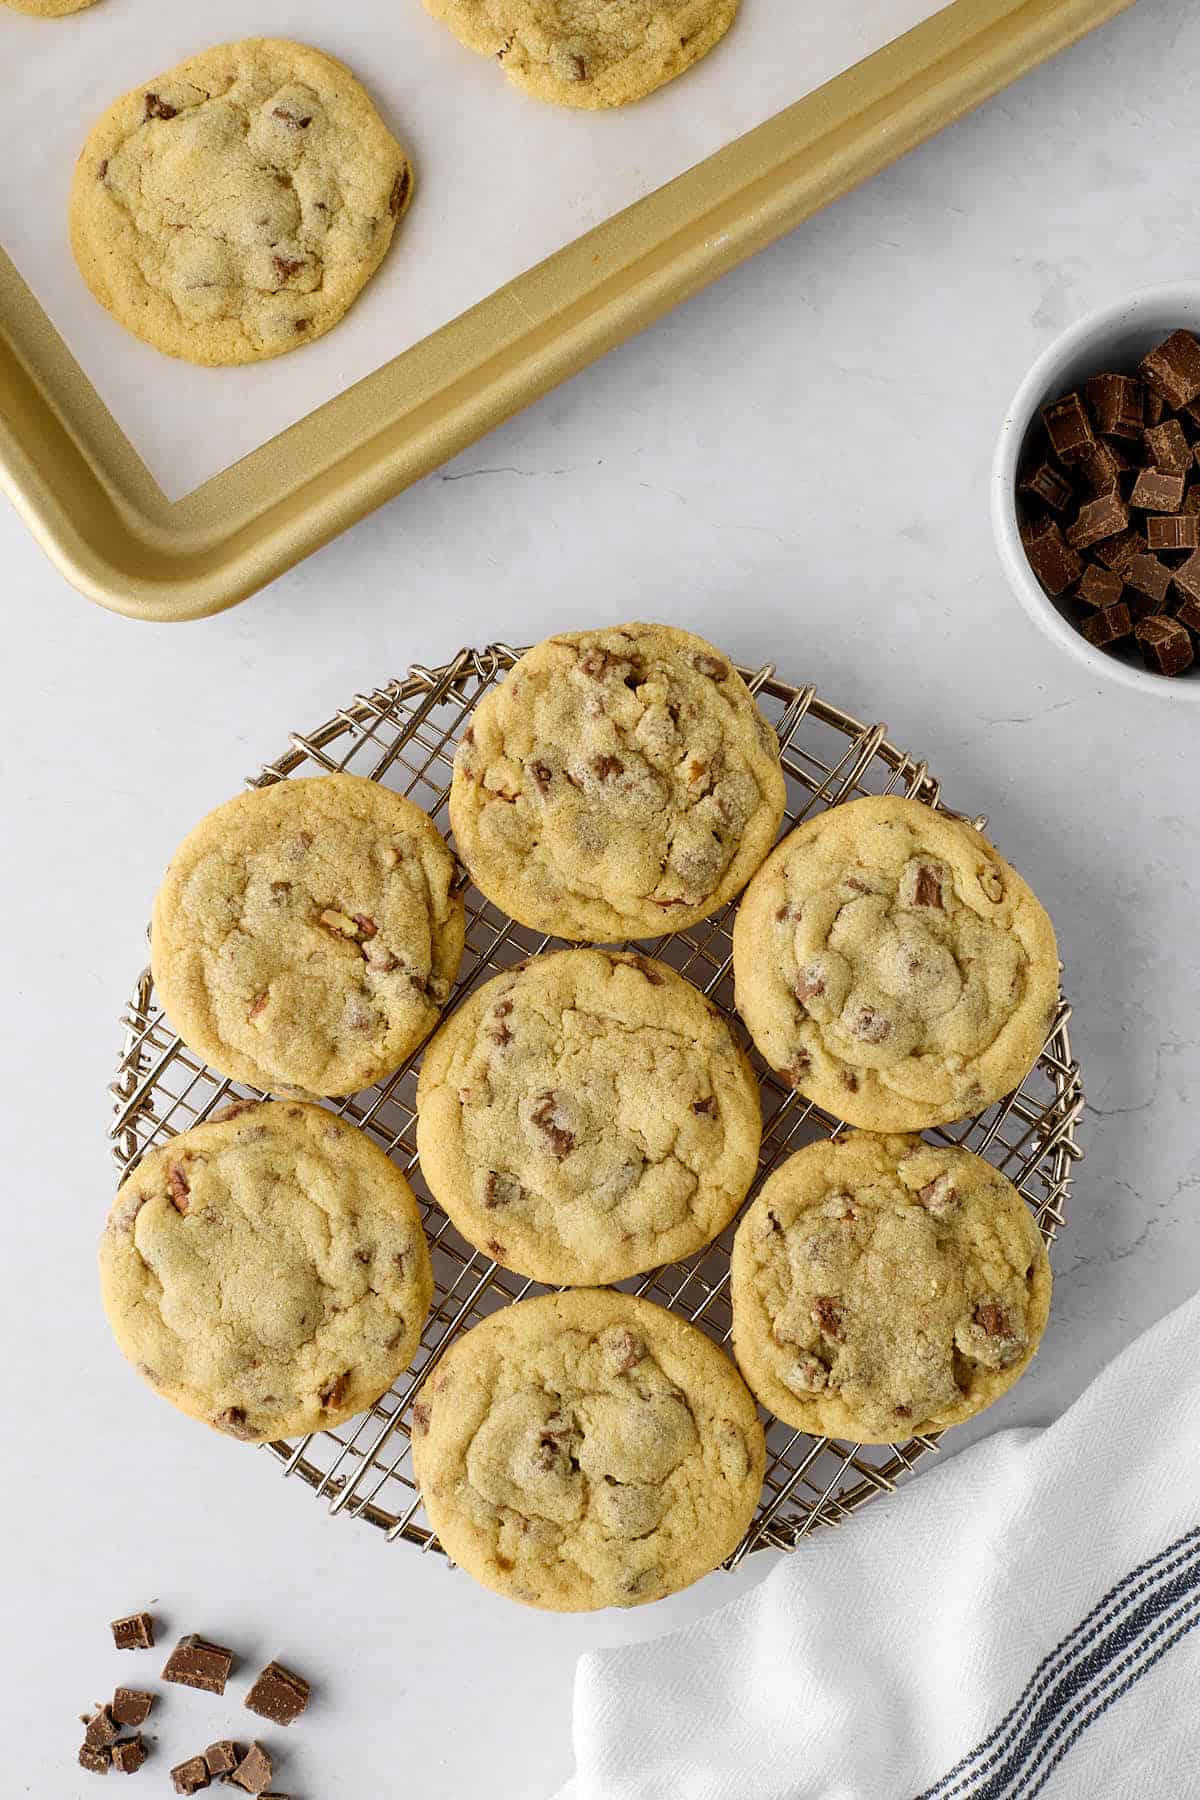
- COOL the cookies completely. Depending on your kitchen's temperature, this may take up to an hour.
When they cool, the cookie's structure starts to form, so it will keep its shape. The taste begins to mature.
In short, the cookies start to develop into the delicious dessert you desire.
- STORE the cookies in an airtight container for 30 to 60 minutes.
This is an optional step, but the cookie shape will solidify, and the taste will mature. This step is crucial to the chewy cookie texture you crave. Cookies straight from the oven are crispy, soft, and fall apart.
Cookies cooled and stored in an airtight container transform into chewy chocolate chip cookies.
This is one of the reasons many people think that leftover cookies eaten the next day taste better than they did the first day.
- SERVE with cold milk or hot chocolate. Or serve warm cookies with a scoop of vanilla ice cream.

Tasty Tips
- Do not overfill the cookie scoop. Do not be afraid to level each spoonful to help keep all your cookies the same size.
It may be a little tricky because the chocolate chips peek over the edge of the scoop, but do your best.
- Roll the dough into a ball after releasing the cookie dough from the scoop. Then, place it on the cookie sheet, and you will consistently get better-shaped cookies.
Use two spoons or a small ice cream scoop if you do not have a cookie scoop.
- Rotate the pan during baking. Every oven has hot and cold spots. When you rotate your cookie sheet during baking, you reduce the chance that some cookies will be done earlier than the rest of the batch.
During the rotation, you can check the progress of the cookies and estimate whether the cookies need as much time to finish baking as other batches did.
- Add more chocolate chunks if needed. If some cookie dough balls have less chocolate, add the extra chocolate you reserved to areas with fewer chips.
Mix into the dough by rolling it between your hands. This helps the chocolate blend in and prevents the cookies from becoming messy after baking.
Alternatively, if you don't mind a less uniform appearance, simply place a few chocolate chips on top of each dough ball before baking.
Frequently Asked Questions
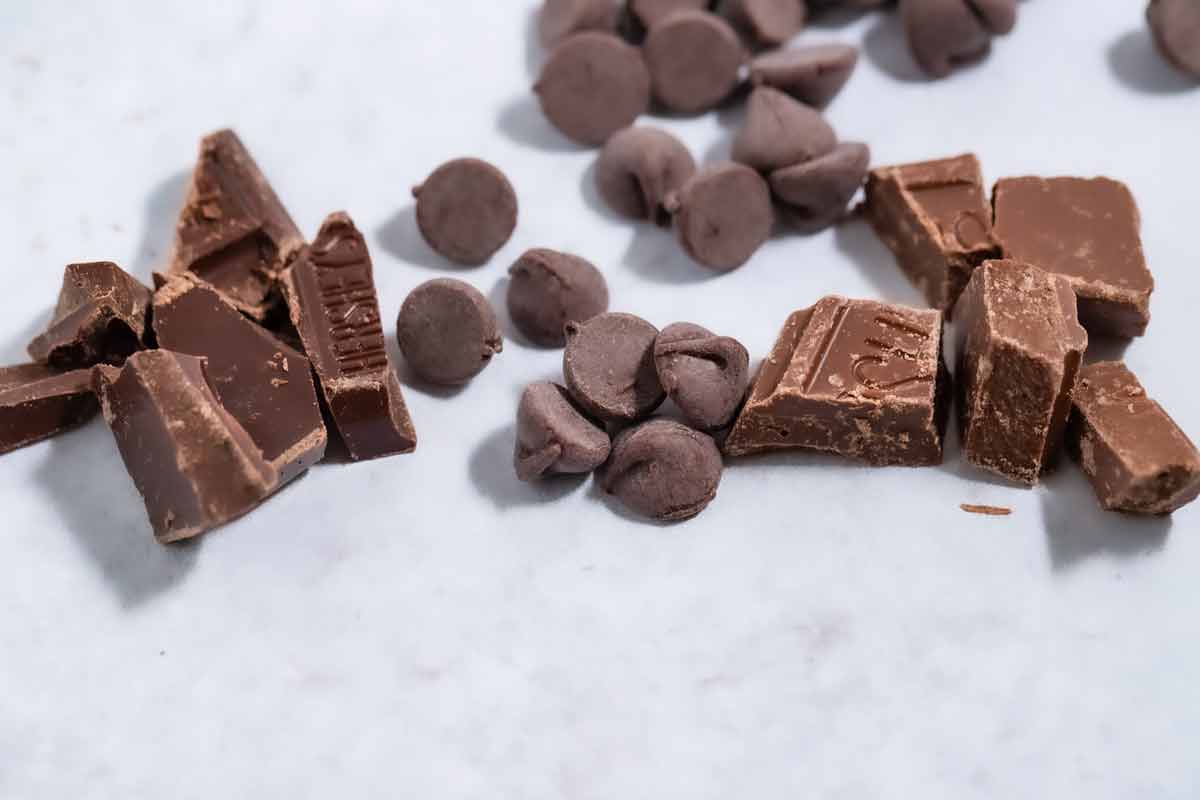
If you love the taste of Hershey's chocolate but want an easier recipe, use Hershey's chocolate chips.
Chocolate chips are manufactured to hold their shape. And no chopping is required.
How To Store Leftover Cookies
Leftover homemade chocolate chip cookies with Hershey bars stay fresh for 2 or 3 days if you store them in an airtight container.
Wrapping them in plastic wrap before placing them in the storage container adds another layer of freshness protection.
RELATED: See more information on how to store chocolate chip cookies.
If you have leftovers beyond 2 days, freeze the cookies.
How to Freeze and Thaw Cookies
To freeze cookies, make sure they are completely cool. Then, store them in the freezer in an airtight, freezer-safe container for up to 6 months.
To thaw, pull the cookies out of the freezer. Bring them to room temperature in an airtight container or zip-top bag for 30 minutes to 1 hour (depending on the temperature of your kitchen).
You can also freeze unbaked cookie dough balls. Freeze them for 1 hour on a tray, then put all the frozen balls in a freezer container and freeze them for up to 6 months.
When ready for freshly baked cookies, place the frozen cookie balls on a lined cookie sheet and bake them.
Lower the baking temperature by 25°F. Add a few extra minutes to the regular bake time.
RELATED: Lots of leftover cookies? Check out the creative recipes using chocolate chip cookies.
What To Serve With Hershey Bar Chocolate Chip Cookies
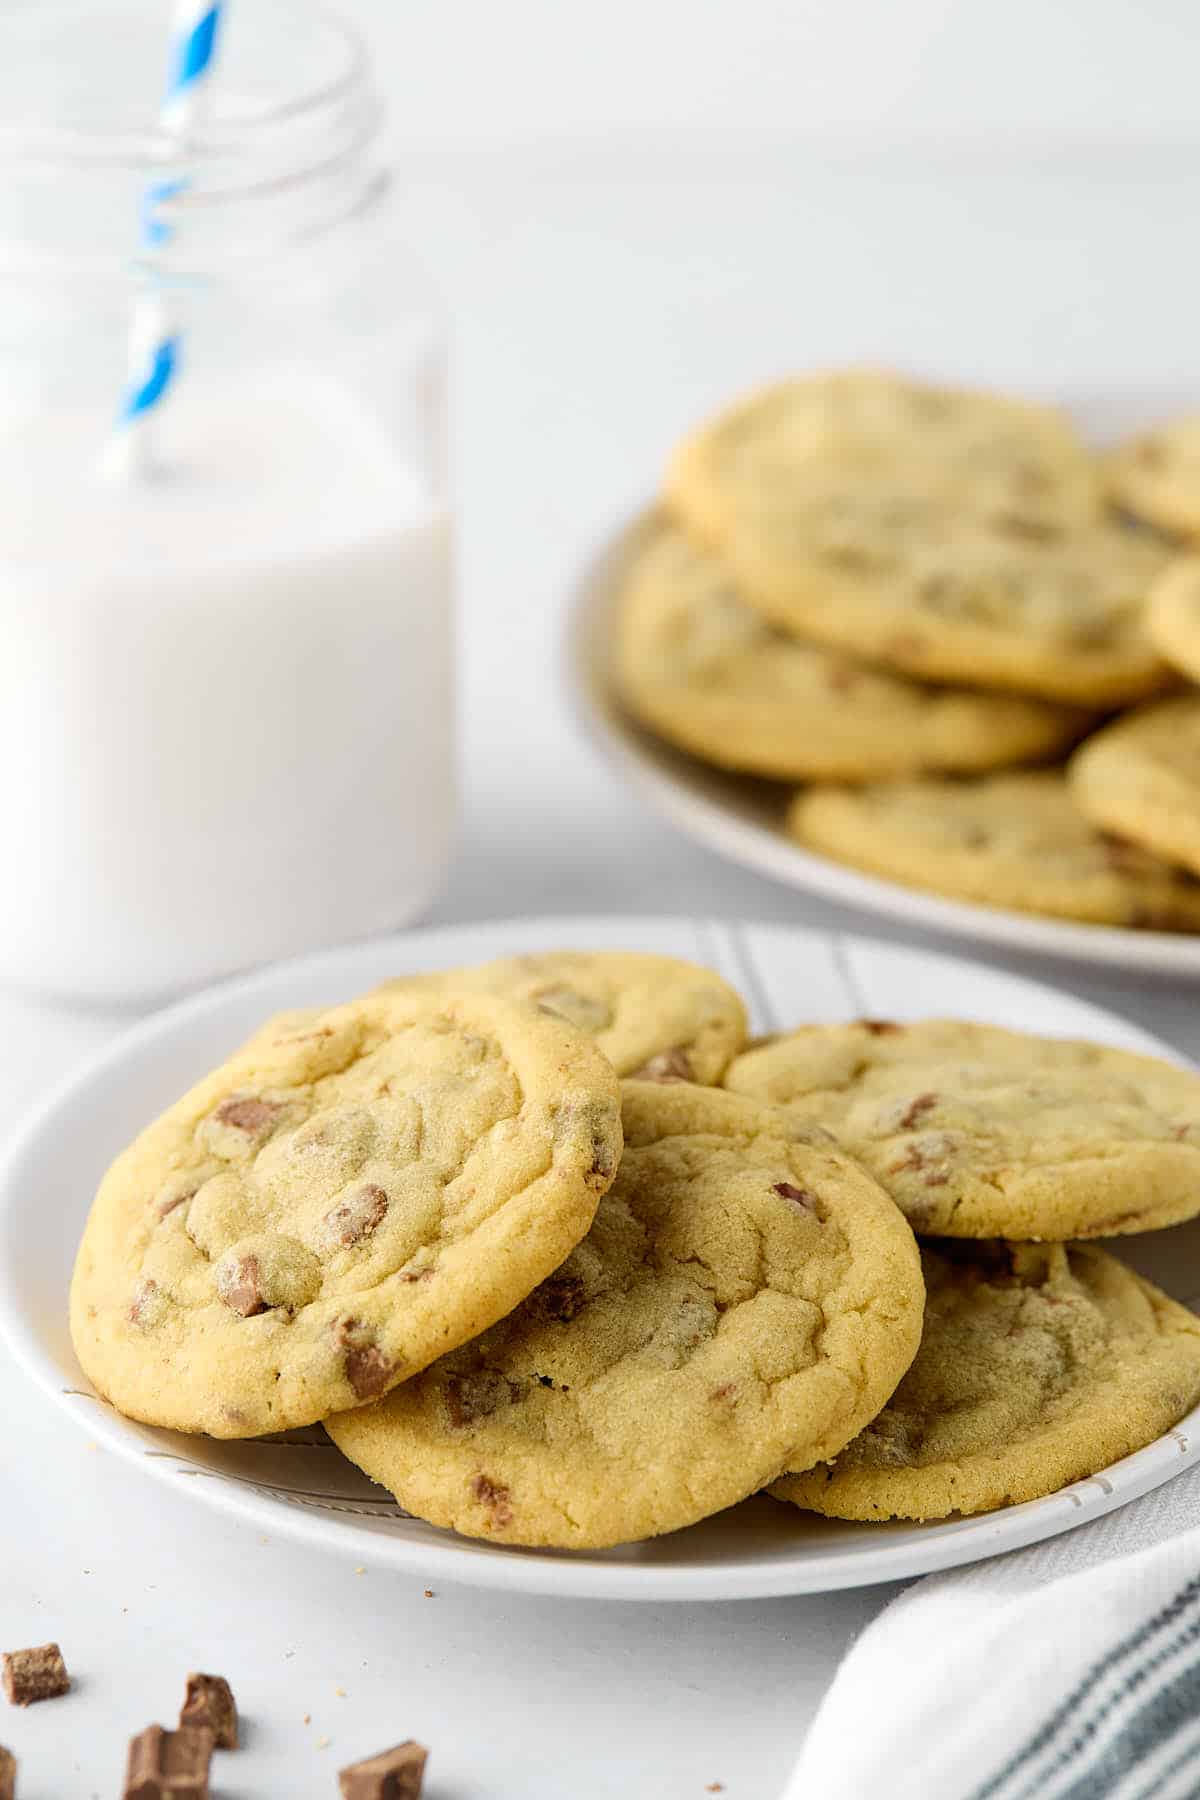
- Serve Hershey bar chocolate chunk cookies with a cold glass of milk in the summer or hot chocolate in the winter.
- Warm the cookie in the microwave for a few seconds. Then, scoop vanilla ice cream on top of the warm cookie.
Hungry For More Family Favorite Cookie Recipes?
- Snickerdoodle cookies - the cookie that launched the blog - the cookie you can't stop eating.
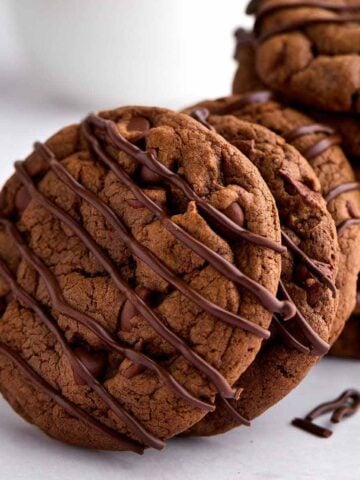
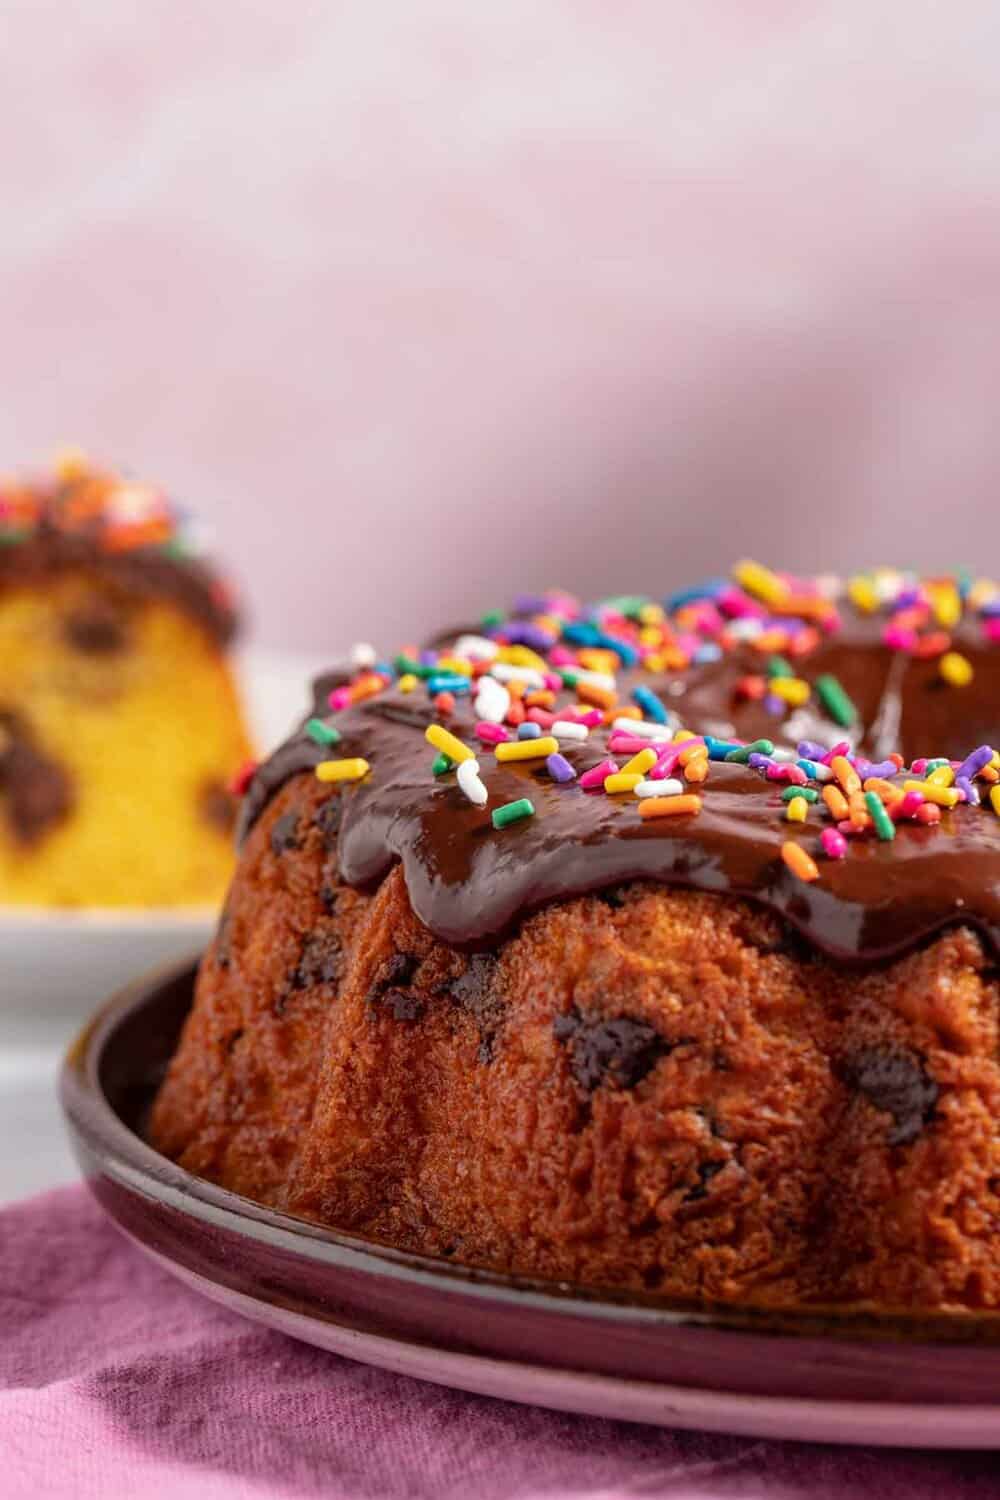
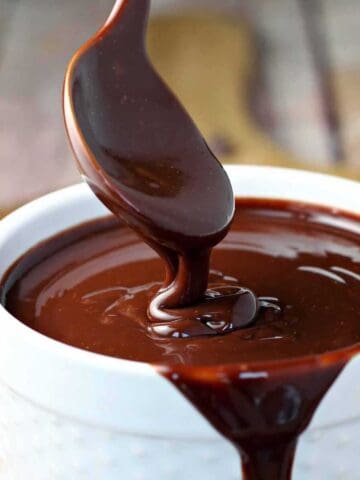
- Triple chocolate devil's food cake mix cookies - chocolate cake mix, chocolate chips, and chocolate drizzle.
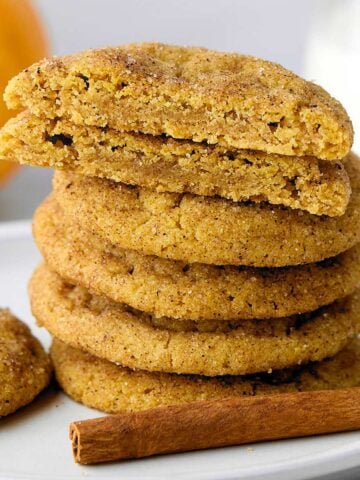
- Pumpkin snickerdoodle cookies - a variation of the original recipe that is perfect for fall.
- Funfetti cake mix cookies - cream cheese frosting and extra sprinkles make these cookies festive.
Did you like this post? Then let's be social. FOLLOW ME on INSTAGRAM and PINTEREST to keep up with the latest happenings.
Recipe
Hershey Bar Chocolate Chip Cookies
Ingredients
- 2¾ cups (330 grams) of all-purpose flour, stirred before measuring
- 1 teaspoon of baking soda
- ½ teaspoon of salt
- 1 cup (227 grams) of unsalted butter at cool room temperature (65 to 68°F/20°C)
- 1 cup (200 grams) of light brown sugar
- ½ cup (100 grams) of white granulated sugar
- 1 tablespoon of vanilla extract
- 1 egg (cold, straight from the refrigerator)
- 1½ cups (255 grams or 9 ounces) of Hershey chocolate bar, chopped
- ⅓ cup (33 ounces) pecans, finely chopped (optional)
Instructions
- PREHEAT the oven to 350°F (175°C). Place the oven rack in the middle of the oven.
- LINE a baking sheet with parchment paper (best choice) or silicone mat.
- MEASURE the flour, baking soda and salt. Whisk to combine them.
- CHOP the chocolate bar and the pecans.
- CREAM the butter and the sugars together for 1½ minutes with an electric hand mixer. The correctly creamed mixture will be light and fluffy.
- ADD the vanilla and the cold egg. Mix for 30 seconds.
- ADD the dry ingredients all at once. Then slowly blend until everything is incorporated (30 to 45 seconds). Scrape the bottom and sides of the bowl.
- POUR IN the chopped chocolate (and optional nuts). Stir them into the batter with a wooden spoon.
- SCOOP the cookies dough with a teaspoon cookie scoop.
- ROLL the cookie dough balls between your palms to round them and keep all the cookies a consistent shape.
- SPRINKLE extra chocolate pieces to the tops of the cookie balls (optional).
- PLACE the round cookie dough balls on the prepared baking sheet. Space the cookies 2 to 3 inches apart for teaspoon-sized balls.
- BAKE the cookies for 9 to 11 minutes or until they are lightly browned. Optional: Rotate the baking sheet halfway through to ensure even baking. The edges should be set and turning golden brown.
- REMOVE the cookies from the oven. Place the cookie sheet on a cooling rack for 5 to 10 minutes. Then transfer the cookies from the baking sheet to a cooling rack.
- COOL the cookies completely. This may take up to an hour, depending on your kitchen's temperature.
- STORE the cookies in an airtight container for 30 to 60 minutes. This is an optional step, but the cookie shape will solidify and the taste will mature.
- SERVE with cold milk or hot chocolate. Or serve warm cookies with a scoop of vanilla ice cream.
Notes
Nutrition
Did you make this recipe? Tag @thetastytip on Instagram and hashtag it #thetastytip.
More Chocolate Posts
- Find out how many chocolate chips in a tablespoon, an ounce, and a cup.
- Get the scoop on milk chocolate vs. white chocolate or dark chocolate vs. white chocolate.


Comments
No Comments